The Cold Brew Maker, and Why Time Does the Extracting
A cold brew maker has no pump, no heater and usually no electricity, because time does the extracting. What the vessel supplies is filtration, a lid and a shape that fits a fridge, which is worth knowing before you compare two of them.
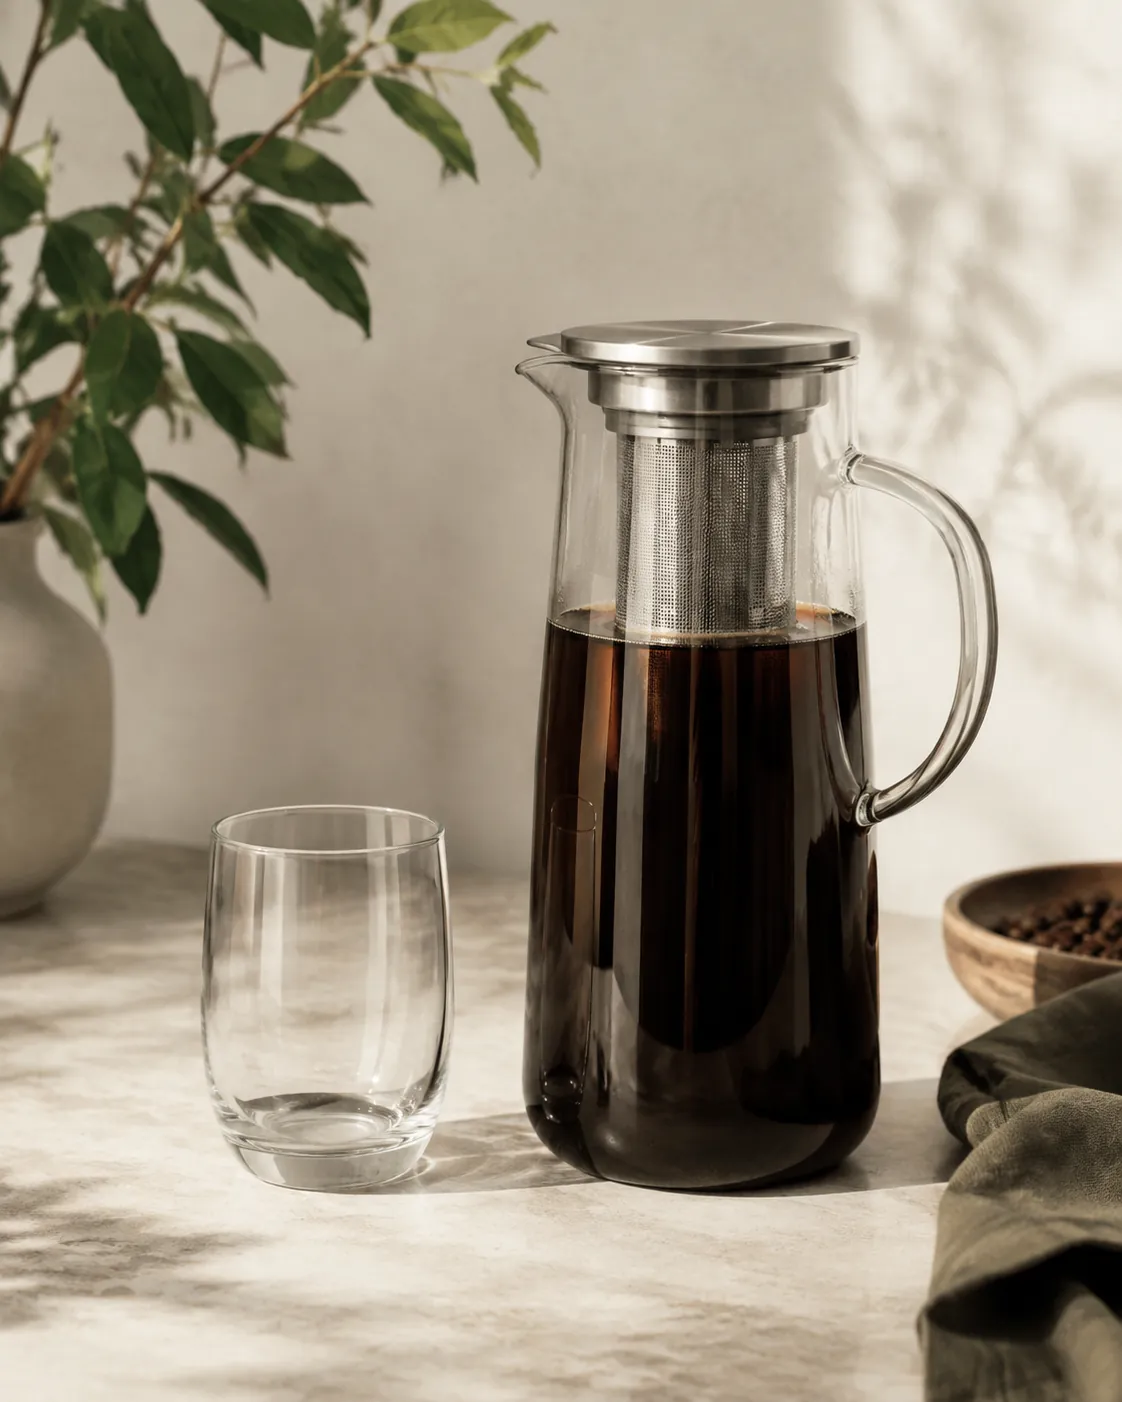
A cold brew maker is a container with a filter in it. There is no pump, no heater, no timer and, in the overwhelming majority of cases, no electricity.
That is not a criticism. Cold brewing extracts by leaving coffee in water for a long time, so the extraction is done by hours rather than by hardware, and the vessel has nothing to contribute to it.
What the vessel does contribute is separation and convenience: getting the grounds out of the liquid cleanly, in a shape that fits a fridge, without a colander and two tea towels. Judge one on that and the differences between models become easy to see.
The cold brew maker at a glance
- What it is
- A vessel and a filter. Nothing else, in most designs
- What does the extracting
- Time, at fridge or room temperature
- What you are buying
- Filtration, a lid, a pouring shape, and less mess
- The part that matters
- The filter medium, which decides clarity
- The part that is oversold
- Everything else, including the word maker
- Common capacities
- 600 ml to 1.5 litres, though yield is well below capacity
- The honest alternative
- A jar, a sieve and a cloth, for almost nothing
- Electric versions
- Exist, and mostly shorten the wait by agitating
What a cold brew maker actually does
Strip the marketing away and there are three jobs, none of which involves extraction.
The first is holding coffee and water together in a sealed vessel for many hours without the grounds drifting everywhere or the liquid picking up whatever else is in the fridge. A lid does that, and a lid is not an engineering achievement.
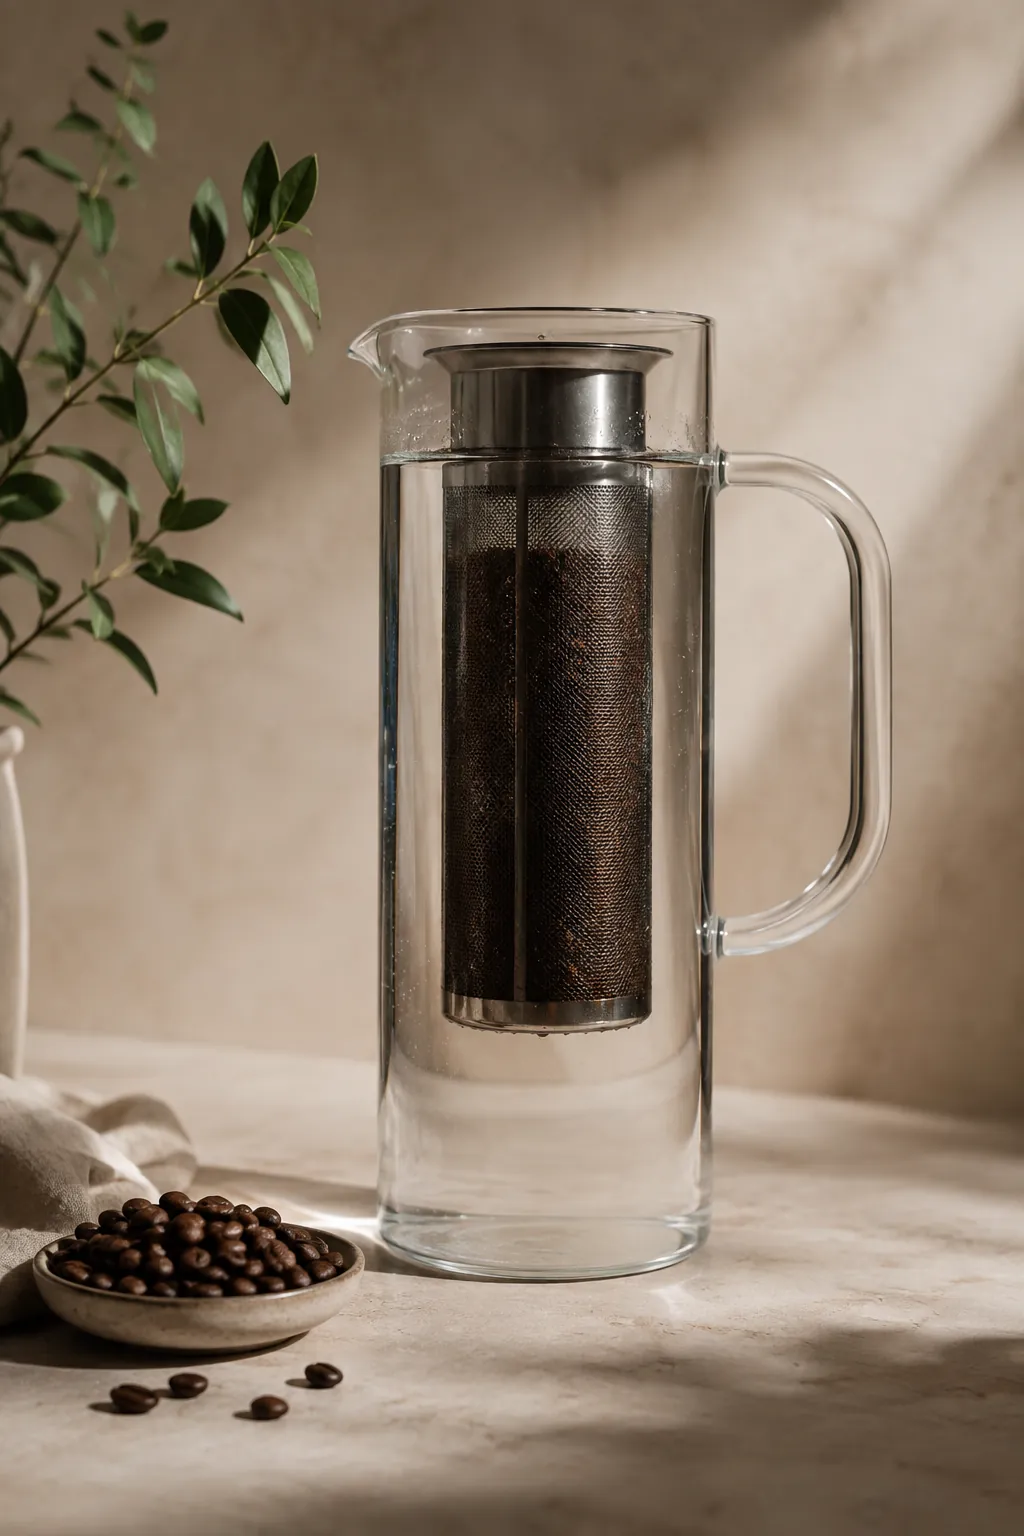
The second is separation. At the end of a long steep you have a vessel of wet grounds suspended in liquid, and getting one out of the other without losing half the coffee down the sink is the genuinely awkward part of the process.
What the vessel is doing, hour by hour
- LoadCoffee and water go in together, and the lid goes on.
- WaitTwelve to twenty-four hours in a fridge or on a worktop.
- NothingNo heat, no pressure, no movement. The vessel is inert throughout.
- LiftThe filter comes out, or the liquid drains away from the bed.
- StoreThe same container, or a decanter, holds the result for days.
The third job is storage, and it is the one most often overlooked when choosing. A vessel you brew in and then pour from saves a decanting step and a second thing to wash, and over a summer that adds up to more than any difference in filter design.
Extraction, meanwhile, is happening on its own schedule. Cold water pulls solubles slowly and pulls fewer of them, which is what makes cold brew taste as it does, and a more expensive vessel does not change that in any measurable way.
Ratio and time are yours to set whatever you brew in, and the method itself is unchanged by the container it happens in. The vessel has no view on how strong you want it.
Why the filter is the only part that changes the drink
If one component earns attention, this is it, because the filter is the only thing standing between the grounds and the glass.
Coffee ground for a long steep still sheds fines, and fines are what make a cold brew cloudy and gritty rather than clean. What catches them decides whether the last inch of the jug is drinkable.
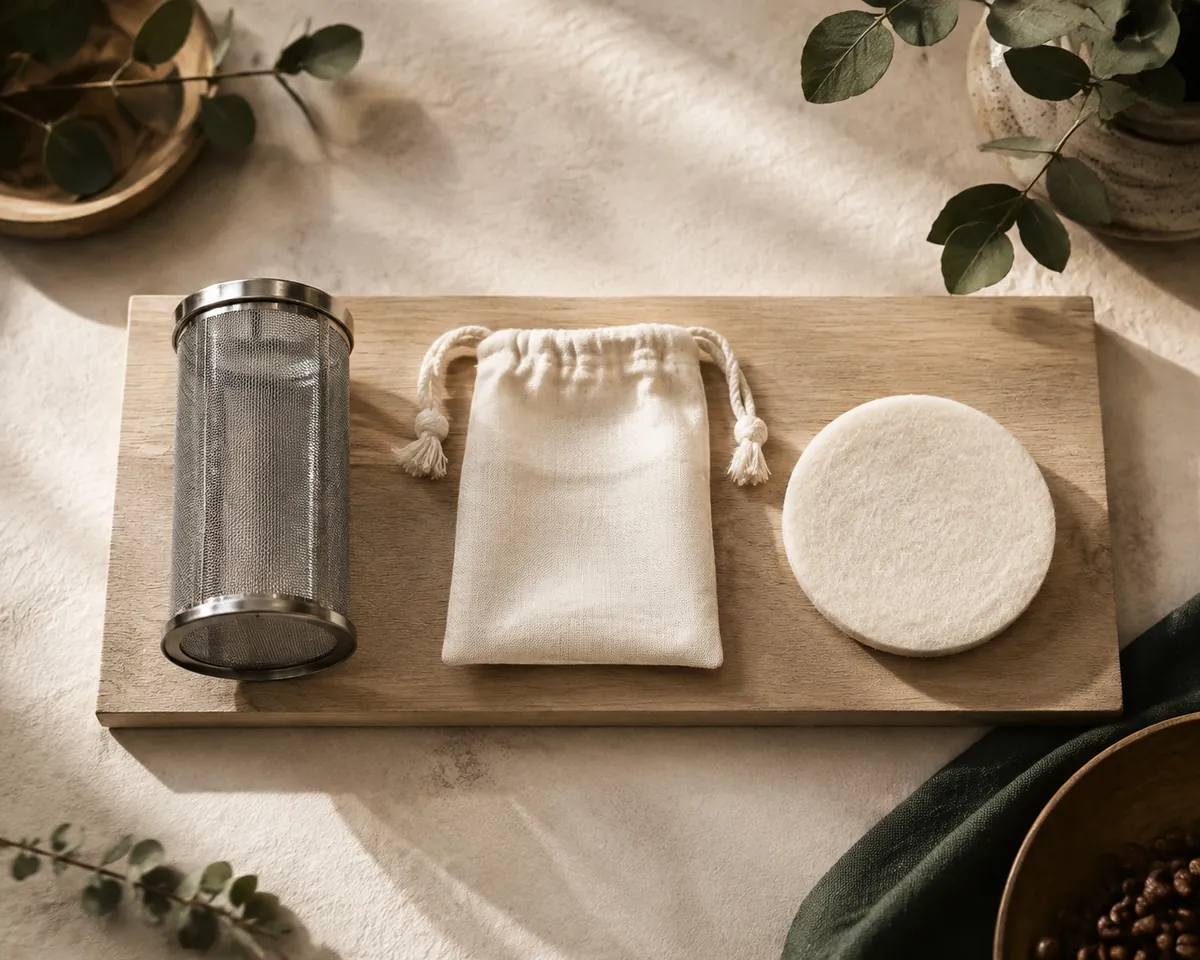
| Filter | Clarity | Body | The catch |
|---|---|---|---|
| Steel mesh | Fair. Passes fines steadily | Fullest | Clogs with oil, and sediment settles in the jug |
| Cotton bag | Good | Rounded | Must be rinsed and dried properly or it sours |
| Felt pad | Very good | Slightly reduced | Slow to drain, and needs storing wet |
| Paper, as a second pass | Cleanest available | Thinnest | An extra step, and it is slow when cold |
Metal is the default because it is the cheapest to make and never needs replacing. It is also the coarsest, and a mesh basket is why so many home cold brews arrive with a layer of silt in the bottom of the bottle.
Cloth and felt catch far more, at the cost of having to look after them. A felt pad in particular behaves like a filter in any other brewer that uses one: it holds oil, and if it dries out with that oil in it the next batch tastes stale.
The best result on clarity comes from using two media in sequence, with the coarse filter doing the bulk separation and a paper pass tidying up afterwards. That is a technique rather than a purchase, and it works with any of the vessels below.
Which shape you are choosing between
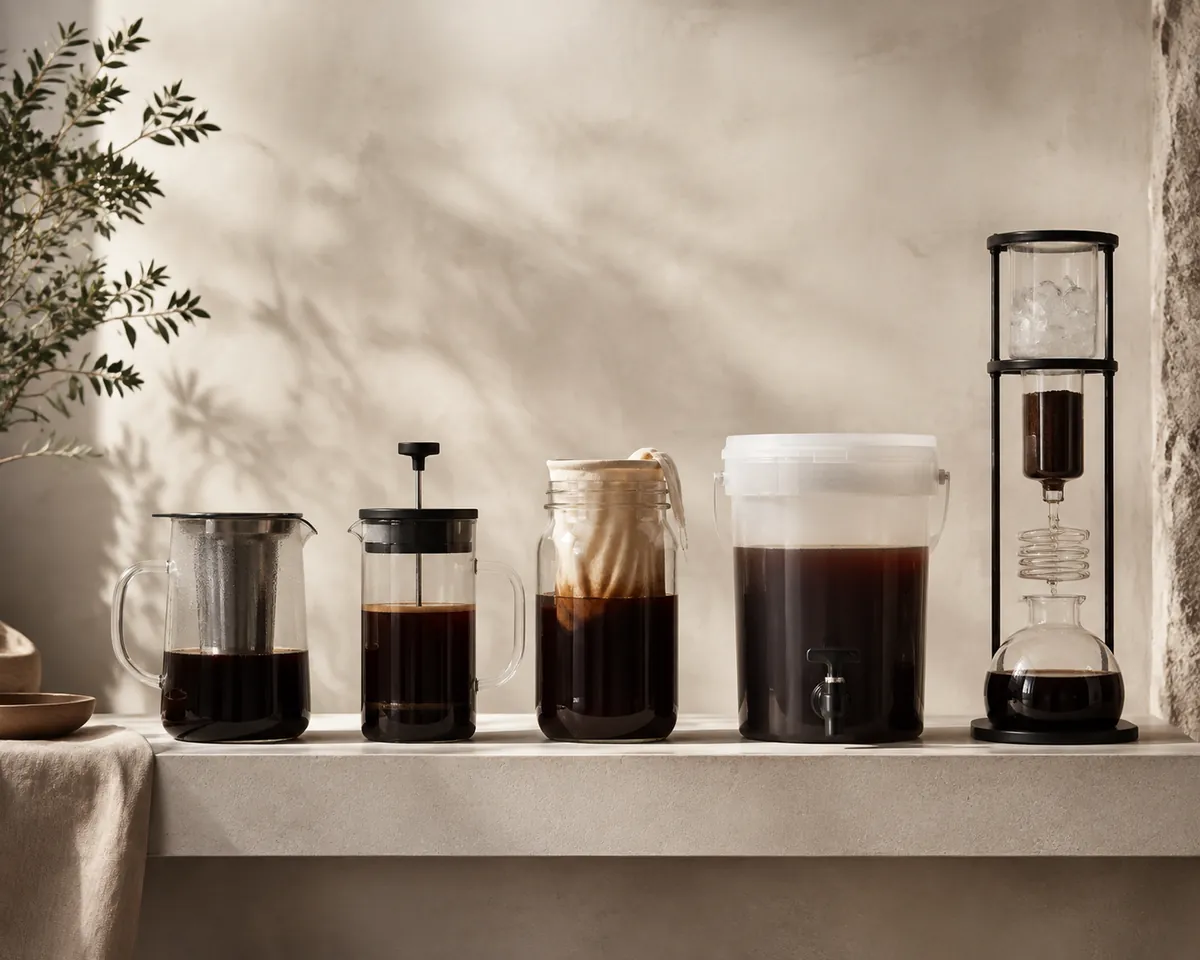
Almost everything sold as a cold brew maker falls into one of five patterns, and they differ far more in handling than in result.
Pitcher with a basket
A jug with a tall mesh cylinder down the middle. The most common design by far.
Bag in a jar
A fabric filter bag in a plain jar. The cheapest thing that works properly.
Bucket and pad
A brewing bucket with a felt pad and a stopper that drains into a carafe below.
Drip tower
A tall glass column that drips iced water over a bed. A different method entirely.
The pitcher is the sensible default for most kitchens, and its basket is both its convenience and its main compromise. Lifting the grounds out in one piece is genuinely pleasant, and the basket restricts where the water can go.
A plunger is the most versatile object in the list because it is not a single-purpose one. The screen is coarse, so the result is cloudier, and the same jug makes hot coffee on a winter morning when a dedicated pitcher is in a cupboard.
The bucket and pad is the professional pattern and it scales. It gives the cleanest immersion result, it drains rather than being poured, and it is the most trouble to clean by a wide margin.
How a drip tower is a different machine entirely
One item in that list does not belong with the others, and it is worth separating because it is sold under the same name and does something quite different.
A drip tower holds iced water in an upper vessel with an adjustable valve, and lets it fall onto a bed of grounds at roughly a drop a second. The liquid passes through the bed once and collects below, over three to six hours.
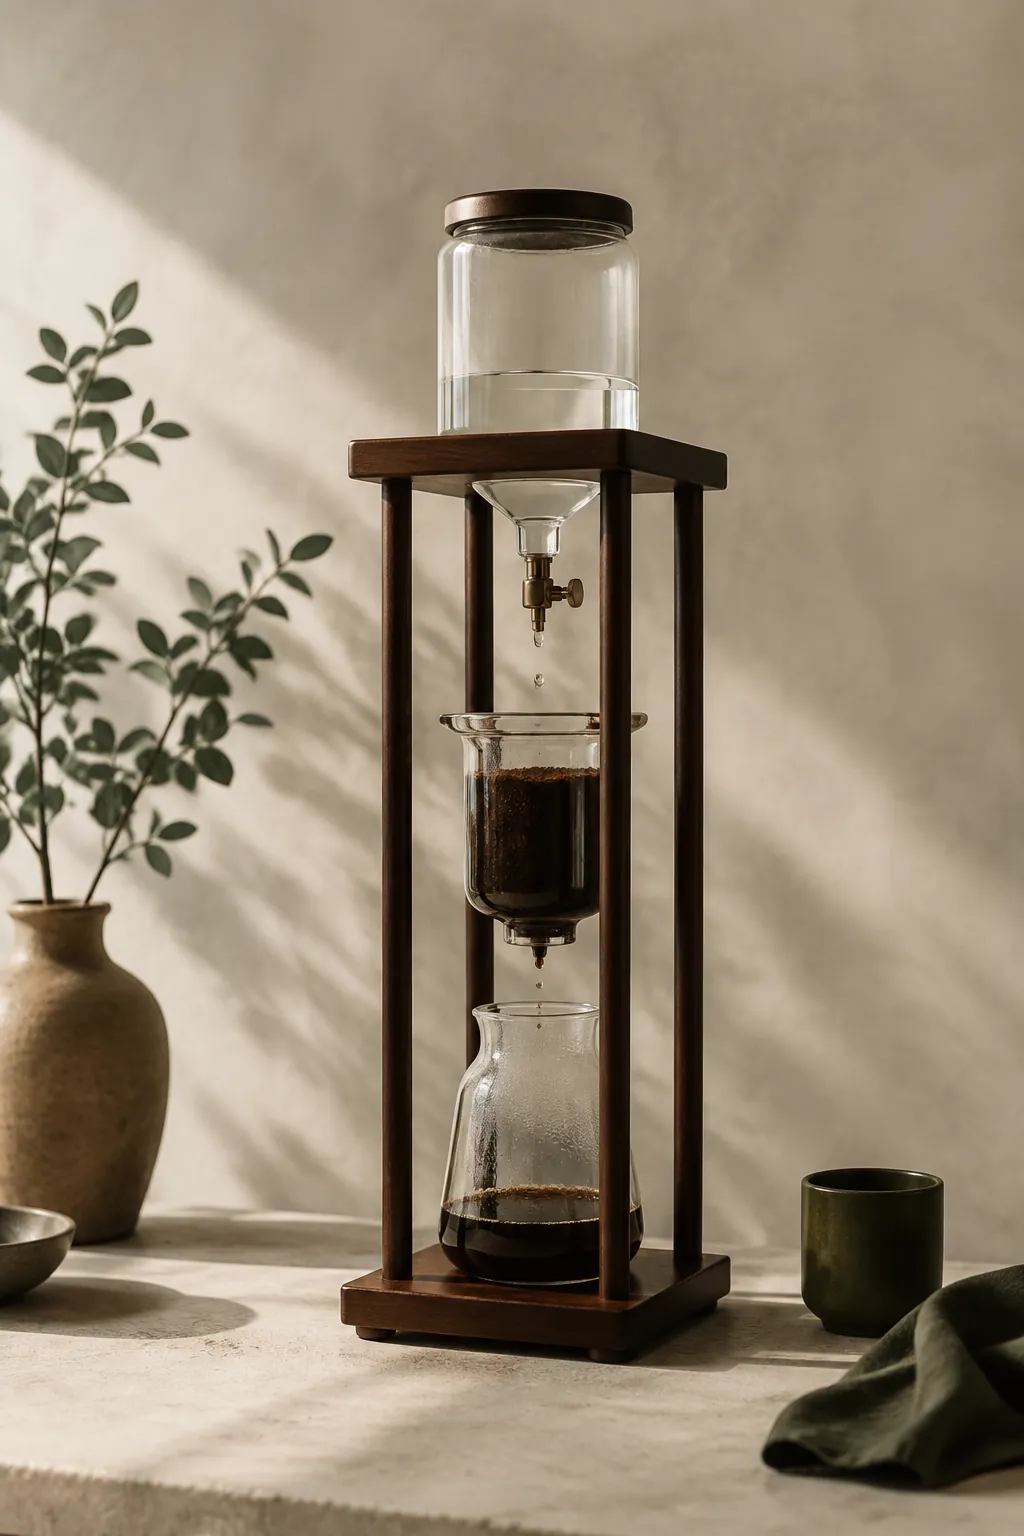
| Immersion | Slow drip | |
|---|---|---|
| How water meets coffee | All at once, and it sits | A drop at a time, passing through |
| Duration | 12 to 24 hours | 3 to 6 hours |
| Where extraction is decided | Time and ratio | Drip rate and grind |
| Result | Rounder, heavier, softer | Lighter, more tea-like, more aromatic |
| Attention needed | None once loaded | The valve drifts and needs checking |
This is percolation rather than immersion, which puts it in the same family as a pour over run at a hundredth of the speed. Fresh water is always meeting the bed, so extraction continues efficiently where an immersion slows as the water saturates.
The result genuinely differs, and it is lighter and more aromatic rather than merely better. It reads as a different drink from the immersion version, further from the flavour people expect and closer to a cold filter coffee.
Whether that is worth a metre of glassware is a question about your kitchen rather than about your coffee.
Drip towers also demand attention that immersion does not. Valves drift as the ice melts and the head of water drops, so a tower that started at a drop a second can be running twice that an hour later, and nobody watches it for five hours.
Why basket geometry matters more than the label
Two pitchers with identical mesh can brew differently, and the reason is where the coffee is allowed to sit.
A tall narrow basket packs the grounds into a column. Water has to work its way in from the sides, the centre of the column saturates last, and the bed nearest the mesh does most of the extracting while the core does less.
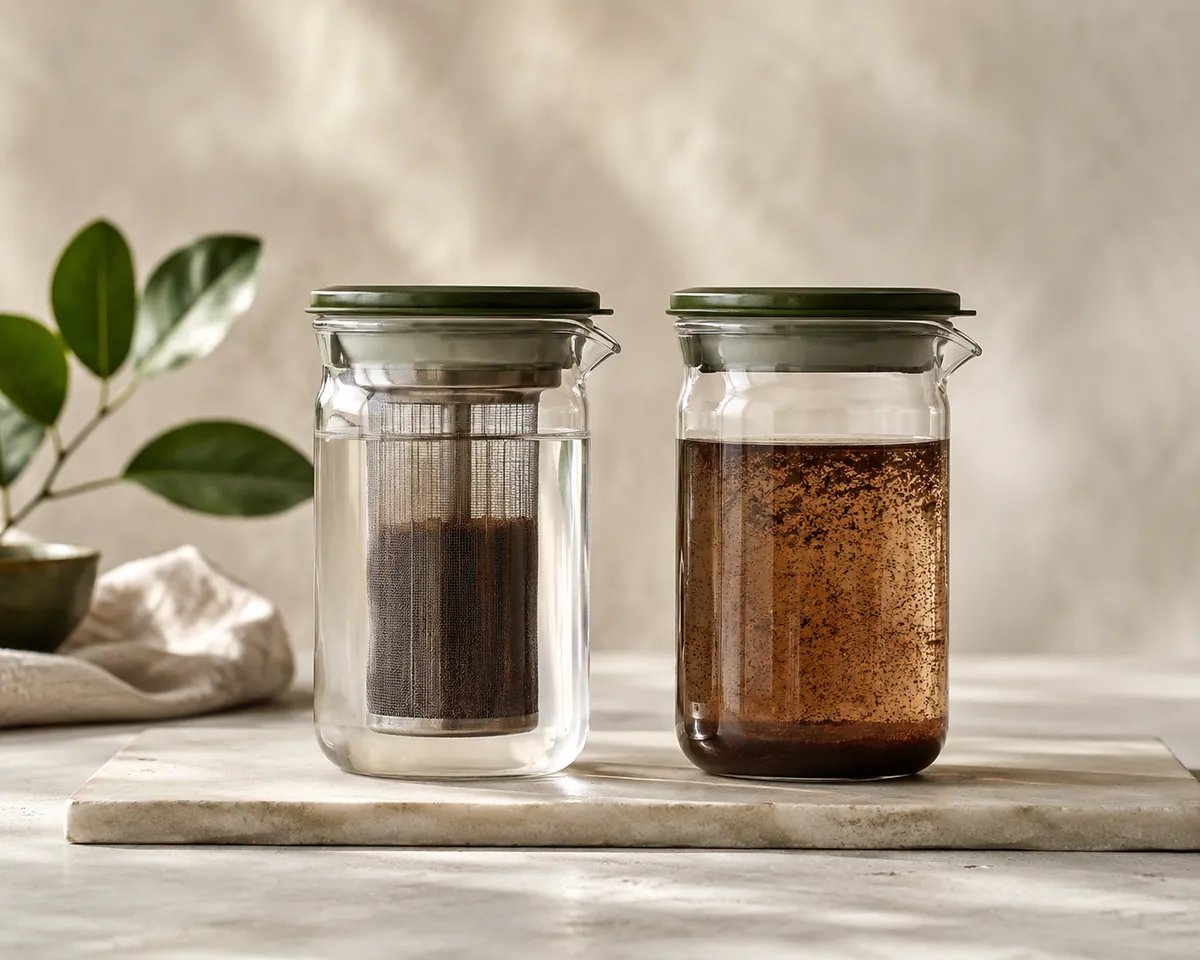
Loose grounds in the whole vessel have none of that problem. Every particle is surrounded by water from the start, extraction is even, and the price is that you then have to strain the whole thing.
- Prefer a wide, short basket over a tall narrow one where the choice exists.
- Fill a basket no more than three quarters, since grounds swell considerably.
- Stir once at the start if the design allows it, to wet everything evenly.
- Give the basket room to sit clear of the base, so liquid can circulate underneath.
- Accept a strain step if you want the most even extraction available.
Coarse grinding partly compensates, because large particles pack less tightly and leave channels for water to move through. Getting a genuinely even coarse grind is a burr grinder question, and it is the one upstream purchase that improves cold brew regardless of which vessel you own.
None of this shows up on a box. Basket proportions are the difference between two pitchers that look identical, and the only way to judge them is to hold the basket and see how much of the jug it occupies.
What size and material to buy
Capacity numbers on these vessels describe how much water goes in, which is not how much coffee comes out, and the gap surprises people.
Ground coffee absorbs and retains roughly twice its own weight in water. A batch built on 150 g of grounds therefore keeps around 300 ml behind in the spent bed, and that liquid leaves with the grounds however hard you press.
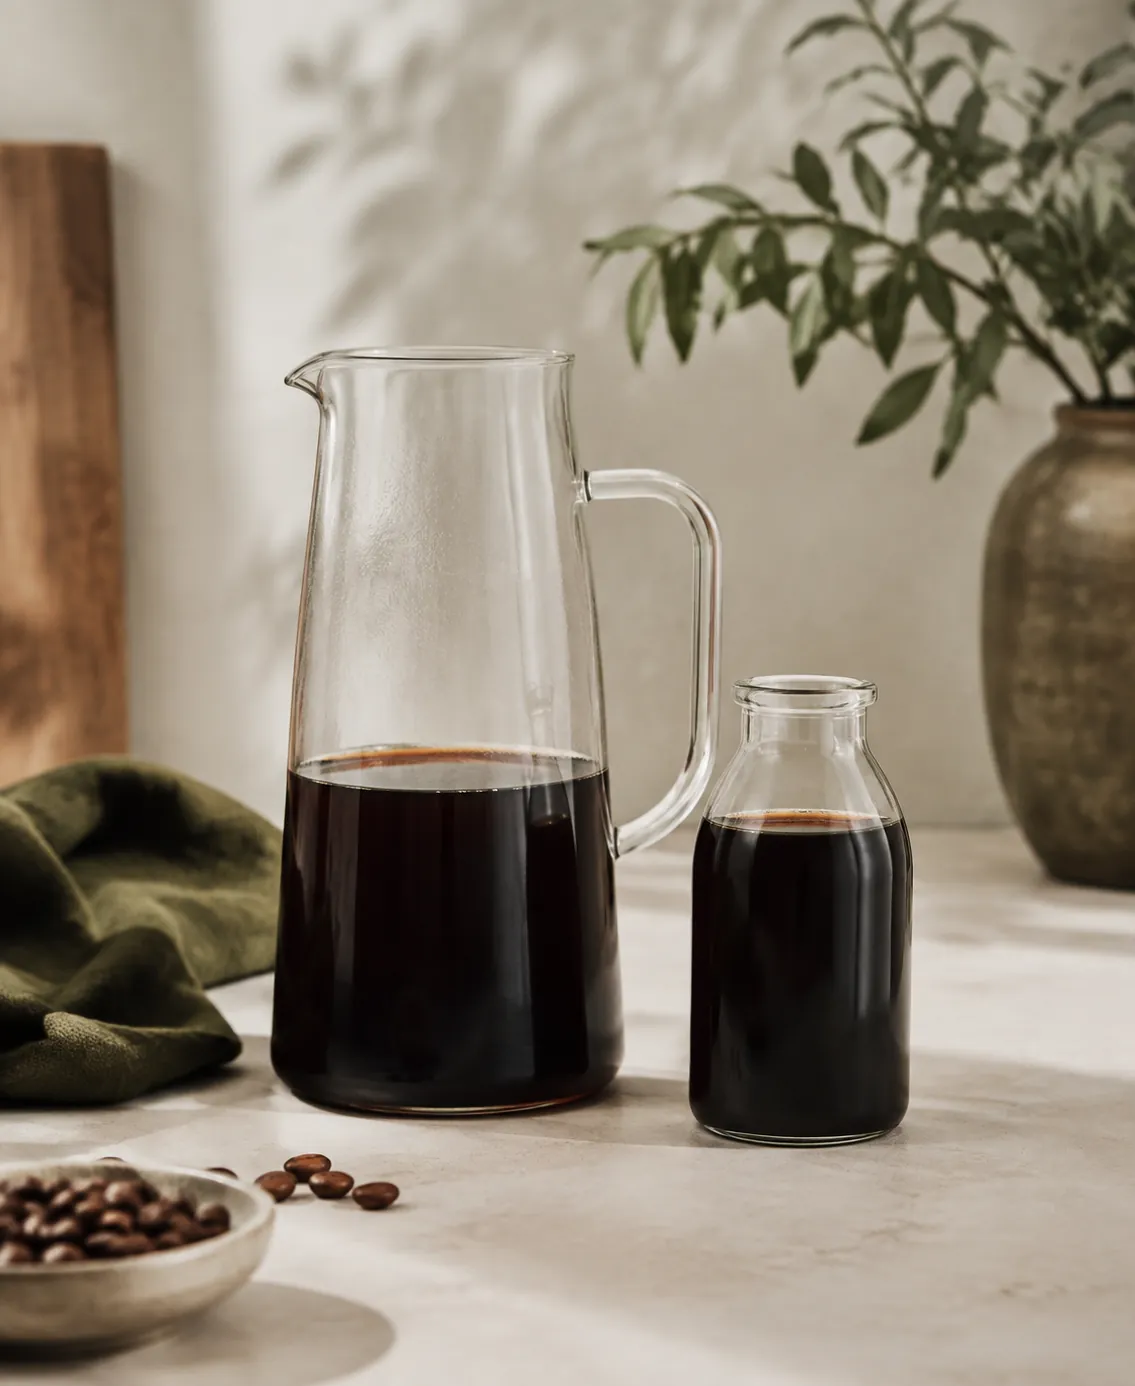
Headroom is the other reason to size up. Grounds swell as they wet, so a vessel filled to its brim at the start will push a slurry past the lid within an hour, and the usual fix is to fill to about four fifths.
Fridge geometry decides more purchases than any of this. A tall pitcher that will not stand upright on a shelf gets used twice and then lives in a cupboard, so measuring the shelf before buying is not a fussy step.
Concentrate changes the arithmetic in your favour. Brewing strong and diluting at the glass means a smaller vessel serves more people, which is the standard reason to accept a 1 litre maker rather than hunting for a larger one.
Material is the second half of the same decision, and it is more consequential than it looks, because these vessels sit full for a day at a time.
Three materials in common use, and the choice is more consequential than it looks because these vessels sit full for a day at a time.
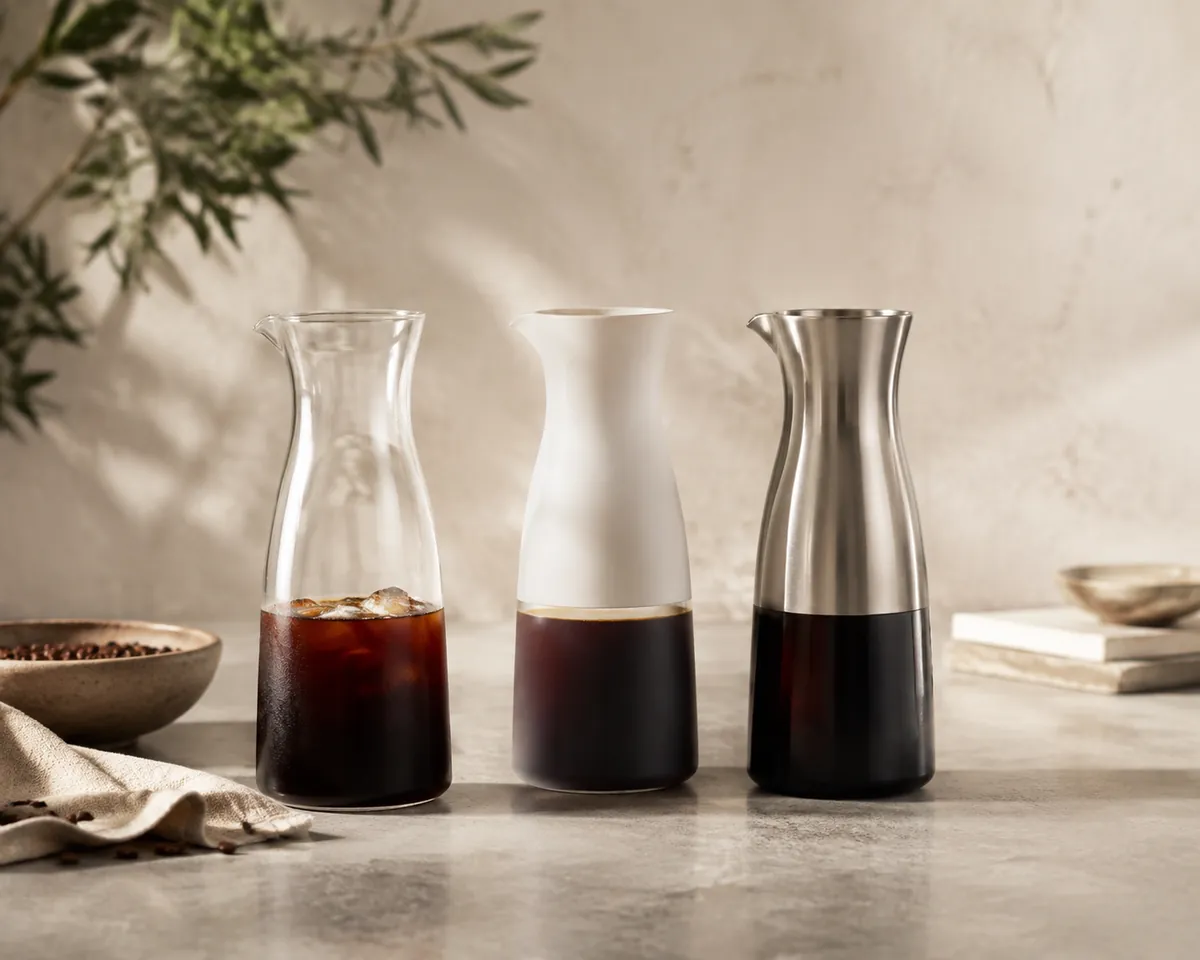
| Material | Holds odour | Durability | Notes |
|---|---|---|---|
| Borosilicate glass | Never | Breakable | Lets you see the level and the clarity |
| Plastic | Yes, over time | High | Light and cheap, and scratches trap oil |
| Stainless steel | Never | Highest | Opaque, so you are brewing blind |
| Ceramic | Never | Fair | Heavy, and rarely made in useful sizes |
Glass is the right default for a vessel that holds a drink for several days. It picks up nothing, shows the colour so you can see whether the batch is drawing evenly, and washes completely clean, and its only real fault is that it breaks.
Plastic is where the compromise bites. A scratched plastic jug holds coffee oil in every scratch, and a jug that has held coffee for two summers will contribute a stale note to a batch made in it, which people usually blame on the beans.
Steel is excellent and slightly dull. It survives anything, keeps nothing, and denies you the one useful piece of feedback the process offers, which is watching the colour deepen through the glass.
Why cleaning decides whether you keep using it
Every abandoned cold brew maker was abandoned for the same reason, and it is never the brewing.
Coffee oil sets on a mesh basket and does not rinse off. Within a few batches the mesh is drawing slowly and holding a stale film, and a jug that started clean is now flavouring every batch with the one before it.
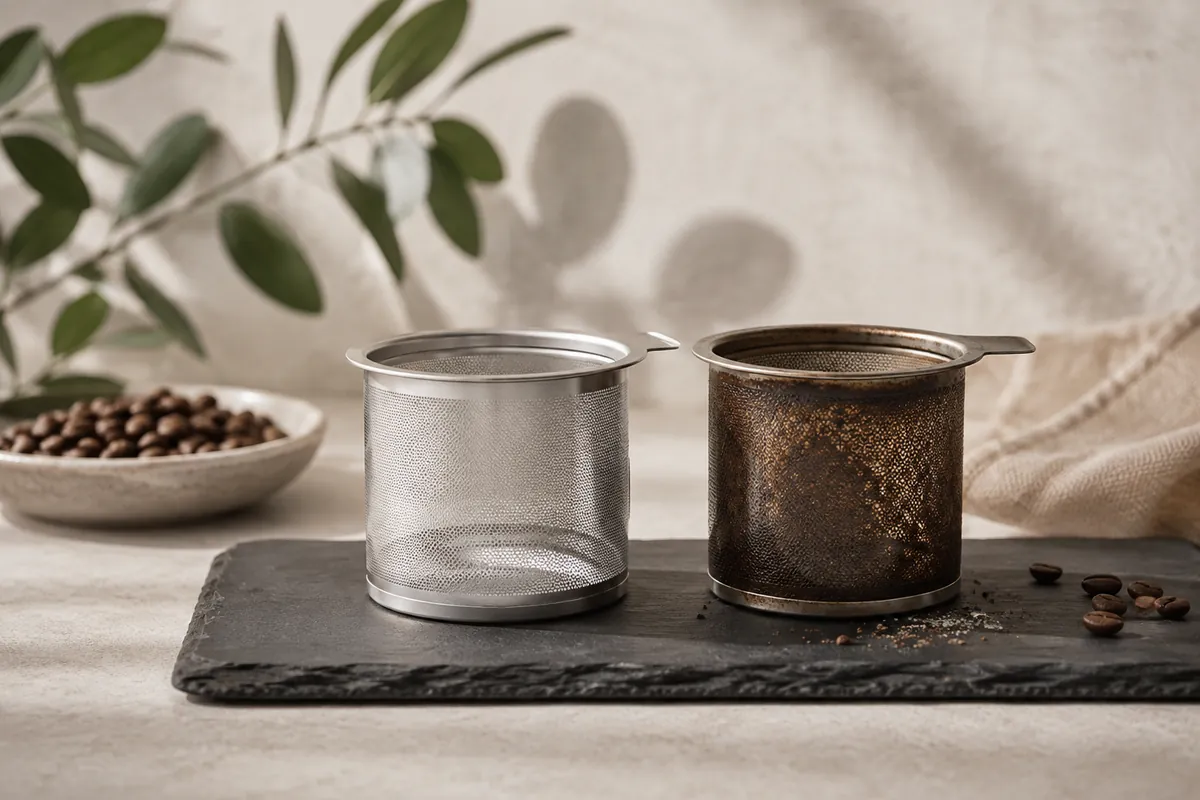
- Empty the grounds straight into a bin or a compost caddy rather than a sink, which they will block.
- Rinse the filter under hot water immediately, while the oil is still soft.
- Brush the mesh from the inside out, so the fines go back the way they came.
- Soak a clogged basket in hot water with a little bicarbonate of soda, then rinse thoroughly.
- Wash and dry a cloth bag or a felt pad, and store a felt pad wet in the fridge as you would any cloth filter.
- Dry every part fully before assembling it for storage.
The tap on a bucket-style maker is the worst offender in the whole category. It has an internal seat that never gets brushed, coffee sits in it between batches, and it will sour long before anything else on the vessel does.
Hard water adds a second layer of deposit on top of the oil. Where the supply is hard, an occasional descale keeps a mesh draining properly, and the water going in is worth thinking about for the taste as well.
Nothing here needs detergent except on the vessel body. Filters of any kind are better handled with hot water, a brush and prompt attention than with washing-up liquid, which is difficult to rinse out of a mesh completely.
What a jar and a cloth do just as well
This is the part usually left out, and leaving it out would be dishonest given how little the equipment contributes.
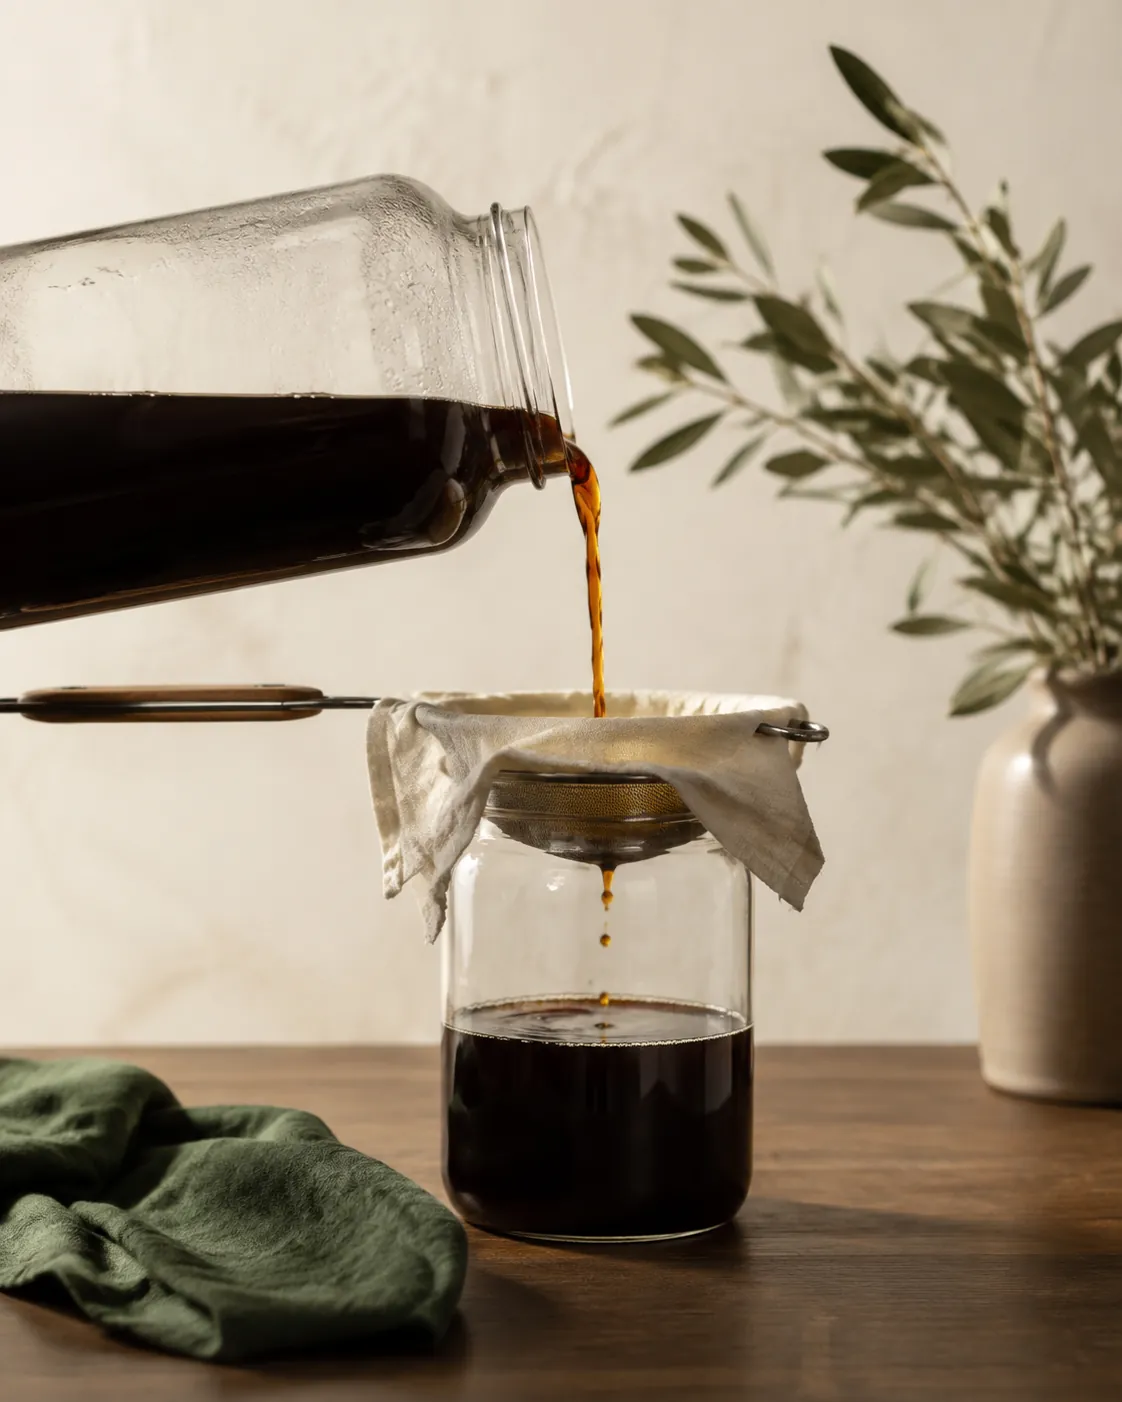
A large glass jar with a lid, coarse grounds tipped straight in, twenty hours in the fridge, and then a pour through a sieve lined with a cloth, produces cold brew that is indistinguishable from the output of a pitcher costing many times more. The extraction is identical, because the extraction was never the vessel's job.
Works well for
- A dedicated maker lifts the grounds out in one motion, with no straining
- It brews and stores in the same vessel, so there is one less thing to wash
- Its lid and shape are designed to fit a fridge shelf
- A felt or cloth model filters more finely than a household sieve
- A tap on a larger model makes serving straightforward
Struggles with
- The jar method costs nothing and extracts identically
- A basket restricts the grounds, so a jar can extract more evenly
- Mesh baskets clog, and cleaning them is the chore that ends most of these
- The vessel adds no control over strength, time or temperature
- Single-purpose kit takes cupboard space a plunger does not
Set out plainly, the case for buying one is convenience, and the case against it is that convenience is all you get. That is a perfectly good reason to buy a thing, and it is a bad reason to expect it to taste different.
The comparison that flatters a dedicated maker most is with a sieve alone. Straining a litre of slurry through a mesh sieve with no cloth is slow, messy and still leaves sediment, so the honest version of the jar method includes a cloth or a paper filter and a little patience.
Where a dedicated maker earns its place
Frequency is the whole test. Something used twice a summer is a cupboard occupant, and something used twice a week pays for itself in avoided mess within a month.
Buy one if
You make cold brew weekly through warm months and want it to take two minutes of handling.
Buy one if
You want a filter finer than a sieve without running a separate paper pass.
Buy one if
You serve several people and a tap saves you decanting.
Skip it if
You make it occasionally, since a jar and a cloth are genuinely equivalent.
Skip it if
You already own a plunger, which does the same job with no new object.
Skip it if
You want a drip tower's lighter cup, which is a different purchase altogether.
The plunger point deserves emphasis because it saves most people a purchase. A press pot brews cold overnight, screens the grounds, and returns to making hot coffee in October, and its only failing against a dedicated pitcher is a cloudier result.
An AeroPress doubles up in the same way at a smaller scale.
Grind and beans outrank the vessel comfortably. A coarse, even grind and beans stored properly change a batch far more than any filter does, and a bright washed arabica will still read as bright through a mesh basket.
One last expectation worth setting. A maker will not make cold brew faster, will not make it stronger, and does not alter the caffeine picture across brew methods at all, since strength there is a function of ratio and dilution rather than of what the liquid was sitting in.
Where it sits against the rest of the kit
Judged as equipment rather than as a brewer, this is the least mechanical thing in a coffee cupboard, and that is worth saying plainly next to what else is available.
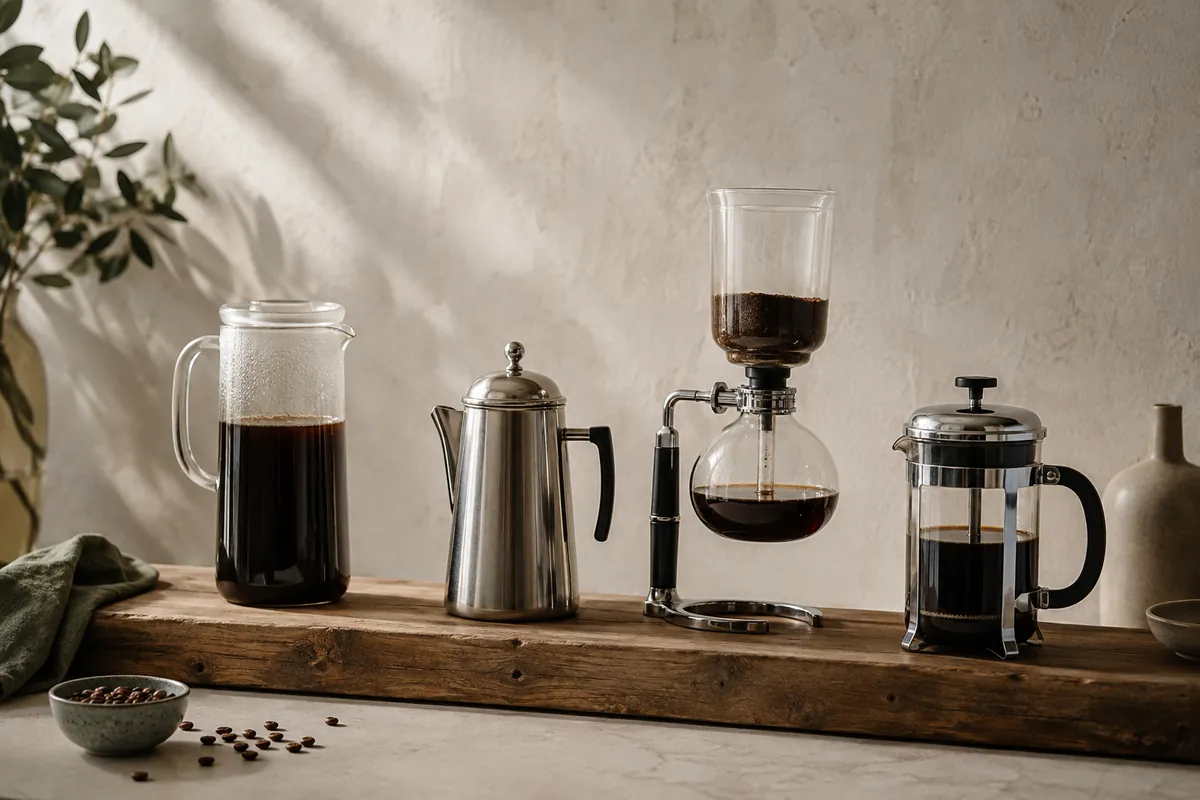
| Method | What the equipment controls | How much it matters |
|---|---|---|
| Cold brew maker | Filtration and convenience | Very little |
| Drip machine | Temperature and pour pattern | A great deal |
| Siphon | Temperature stability and filtration | A great deal |
| Percolator | Nothing useful, and it recirculates | Actively harmful |
| Tea infuser | How freely the leaf can expand | Moderately |
That table is the argument in one place. In most brewing, the device is making decisions about heat and flow that you could not make yourself, and here it is holding a lid on a jar.
Which is not nothing. Holding a lid on a jar in a shape that fits a fridge, with a filter that comes out cleanly, is a real convenience and the reason these sell in the numbers they do.
It just means the money is better spent upstream. Coarse-capable grinding, decent beans, and good ice for the glass will each do more for a summer's coffee than trading one vessel for a slightly prettier one, and the same reasoning applies to a jug of iced tea brewed the same way.
Dilution is the last free variable, and it is what separates a concentrate from an ordinary iced coffee once the jug reaches the glass.
Common questions
Does a cold brew maker change how the coffee tastes?
Only through its filter. The extraction is done by time at fridge or room temperature, and the vessel is inert throughout, so the parts that vary between models are clarity and convenience rather than strength or flavour development. A steel mesh passes fines and leaves sediment, while a cloth bag or a felt pad catches far more and gives a cleaner result.
Is a cold brew maker better than a jar and a cloth?
Not for the coffee itself. A large jar with a lid, coarse grounds tipped straight in and a pour through a cloth-lined sieve extracts identically, because the extraction was never the vessel's job. What a dedicated maker buys is lifting the grounds out in one motion, brewing and storing in the same container, and a filter finer than a household sieve.
Why does a cold brew maker yield less coffee than its stated capacity?
Ground coffee retains roughly twice its own weight in water, so a batch built on 150 g of grounds keeps around 300 ml behind in the spent bed however hard it is pressed. Grounds also swell as they wet, so the vessel is filled to about four fifths rather than the brim. A 1.5 litre maker commonly yields closer to a litre.