How to Make Cold Brew: Five Numbers and One Procedure
Cold brew has five numbers and one procedure. Get the ratio, the grind, the vessel, the clock and the strain right and every batch tastes like the last one, which is the only thing a method can honestly promise.
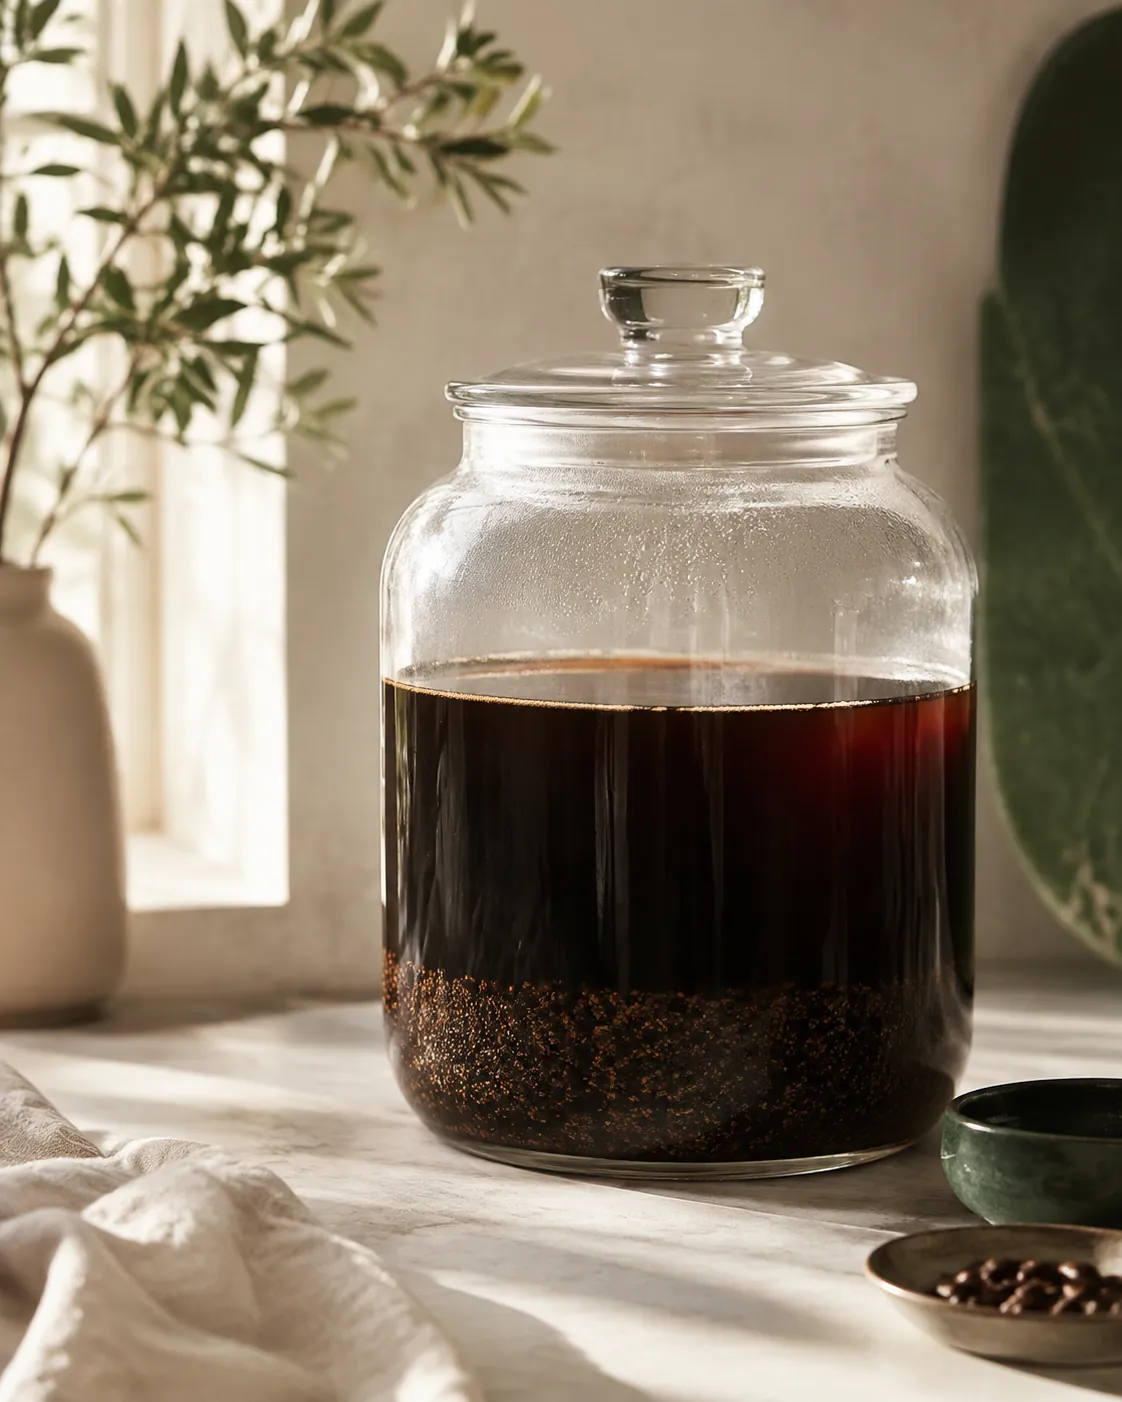
This is the procedure rather than the argument for it. What cold water leaves in the grounds, and why the finished drink tastes as it does, belong to cold brew and to cold brew flavour respectively.
What follows is the part you can actually get wrong: the weights, the grind, the vessel, the clock and the strain. None of it is difficult, and all of it is easy to do inconsistently, which is why two batches from the same bag so often taste nothing alike.
The five numbers you are actually setting
Cold brew has fewer moving parts than any other coffee method, which is exactly why the few it does have carry so much weight. There is no pour technique, no temperature to hold, no bloom to judge and no window to hit within seconds.
The batch this page is built around
- Coffee
- 100 g, coarse ground
- Water
- 500 ml, cold and filtered
- Ratio
- 1:5 by weight, a concentrate
- Vessel
- A 1 litre jar with a lid
- Steep
- 14 hours at room temperature
- Yield
- Roughly 300 ml after straining
Read that yield figure twice, because it is the number recipes leave out. Coffee grounds hold onto about twice their own weight in liquid, so 100 g of grounds keep roughly 200 ml of what you poured in, and 500 ml of water gives back something nearer 300 ml of concentrate.
Everything else on this page is one of those five numbers seen from a different angle. Change the ratio and you change strength; change the grind and you change how much sediment you fight at the end; change the clock and you move a small distance along an extraction that has mostly finished by hour twelve anyway.
The sequence, from weighing to first glass
Weigh, grind, wet, wait, strain.
Making a 1:5 concentrate
- Weigh the coffee100 g on a scale. Volume measures drift with grind size, so a scoop is not a substitute.
- Grind coarseCoarser than for a French press, roughly the texture of raw sugar.
- Add water500 ml of cold filtered water, poured over the grounds rather than the grounds tipped in after.
- Wet everythingStir once, slowly, until no dry pockets are floating. Dry grounds never extract at all.
- Cover and leaveA lid or a plate. Fourteen hours on the counter, out of direct sun.
- Strain coarselyThrough a sieve into a second jug. Do not press the bed.
- Strain againThrough paper or cloth, under gravity only, however long it takes.
- Bottle and chillInto a sealed container, and dilute glass by glass rather than the whole batch.
The stir is the step people skip and the one that ruins the most batches. Coarse grounds float, and a raft of dry coffee sitting on the surface for fourteen hours is coffee you paid for and did not brew, which shows up as a batch that is weaker than the ratio promised.
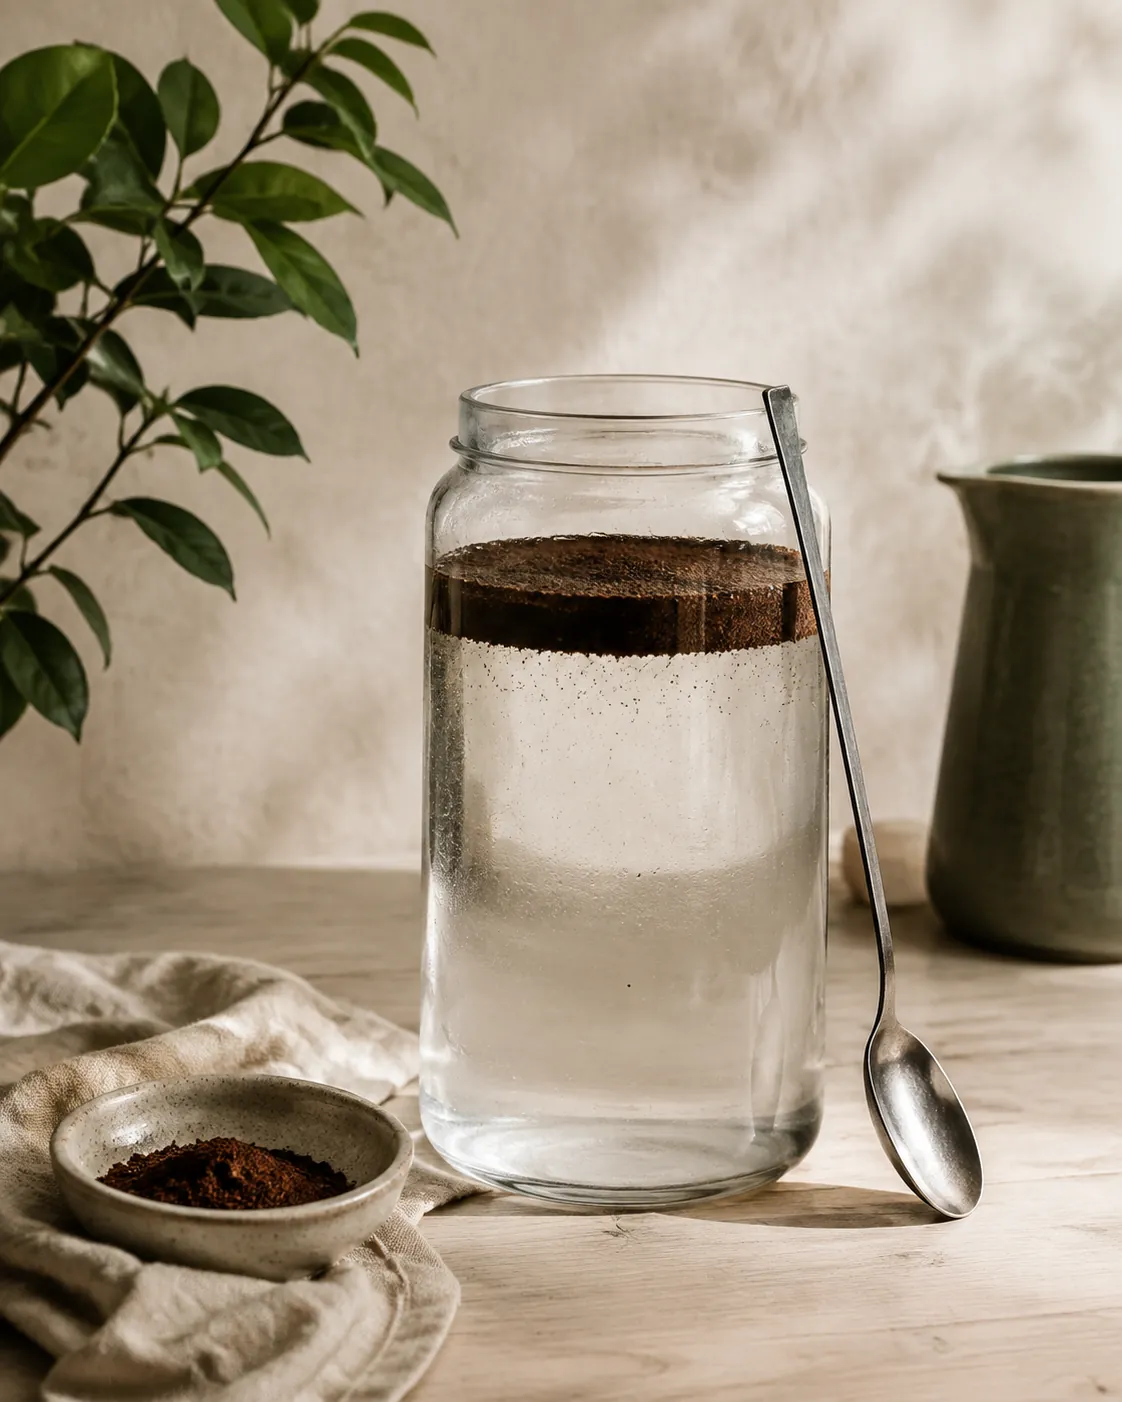
Everything after the stir is waiting. There is nothing to check at hour four and nothing to rescue at hour ten, which is the genuine appeal of the method and also why it rewards writing the start time on the lid.
Why the grind matters more for evenness than for size
Grind size does two jobs in this method and only one of them is extraction. Over fourteen hours almost everything soluble comes out of a coarse grind and a medium one alike, so the size you choose is mostly deciding how much sediment you have to deal with at the end.
Evenness is the variable that actually moves the result. A grinder that produces a spread of sizes gives you boulders that contribute almost nothing over the whole steep and fines that over-extract early and then keep going in the bottle after straining.
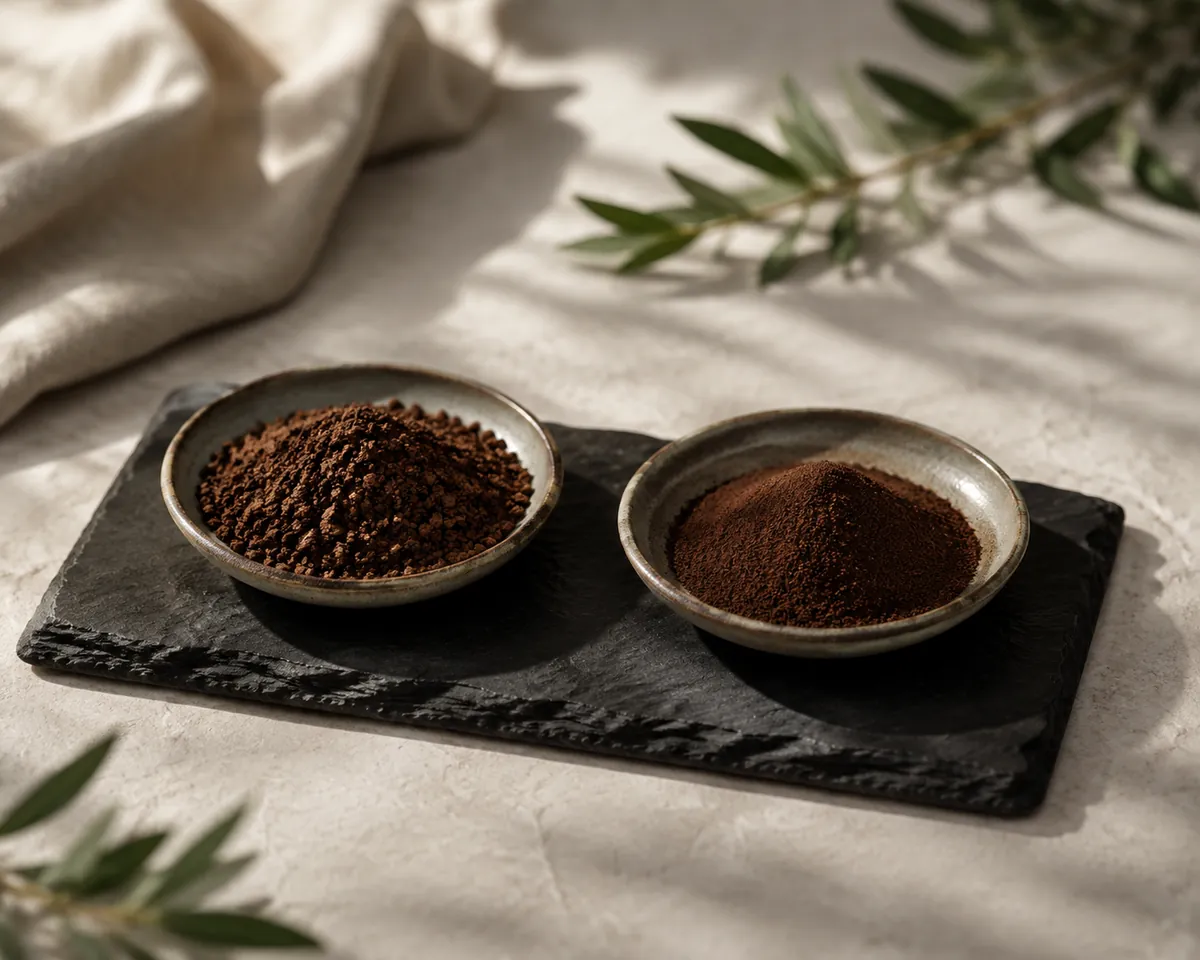
What each grind size costs you here
- Very coarse, like sea saltClean and easy to strain. Slightly lower yield
- Coarse, like raw sugarThe target. Full extraction, manageable sediment
- Medium, like sandStrains slowly and leaves a silt layer in the bottle
- Fine, like espressoClogs any filter, and keeps extracting after bottling
- Blade-ground, all sizes at onceThe worst of both, whatever the average
A burr grinder is the single purchase that changes this method most, because it controls the spread rather than just the average. Bought pre-ground coffee for a press works acceptably; pre-ground for filter does not, and pre-ground for espresso is unusable here.
If you are stuck with an uneven grind, sieving out the dust through a fine kitchen sieve before brewing is worth the two minutes. Removing the fines is easier before the water goes in than after it comes out.
How long to leave it, and where
There is no clock that suits every kitchen, because the temperature and the time are one setting rather than two.
A warmer room extracts faster, so the counter and the fridge want different numbers for the same result.
Extraction also flattens off. Most of what is going to dissolve has dissolved by hour twelve, and the hours after that are adding a diminishing amount of body and a slowly growing amount of woody character.
| Counter | Fridge | |
|---|---|---|
| Temperature | 18 to 22 C | 4 C |
| Steep | 12 to 16 hours | 18 to 24 hours |
| Body | Slightly fuller | Slightly cleaner |
| Start it | After dinner, strain at breakfast | In the morning, strain the next morning |
| Risk | Leaving it a full day by accident | Forgetting it for two |
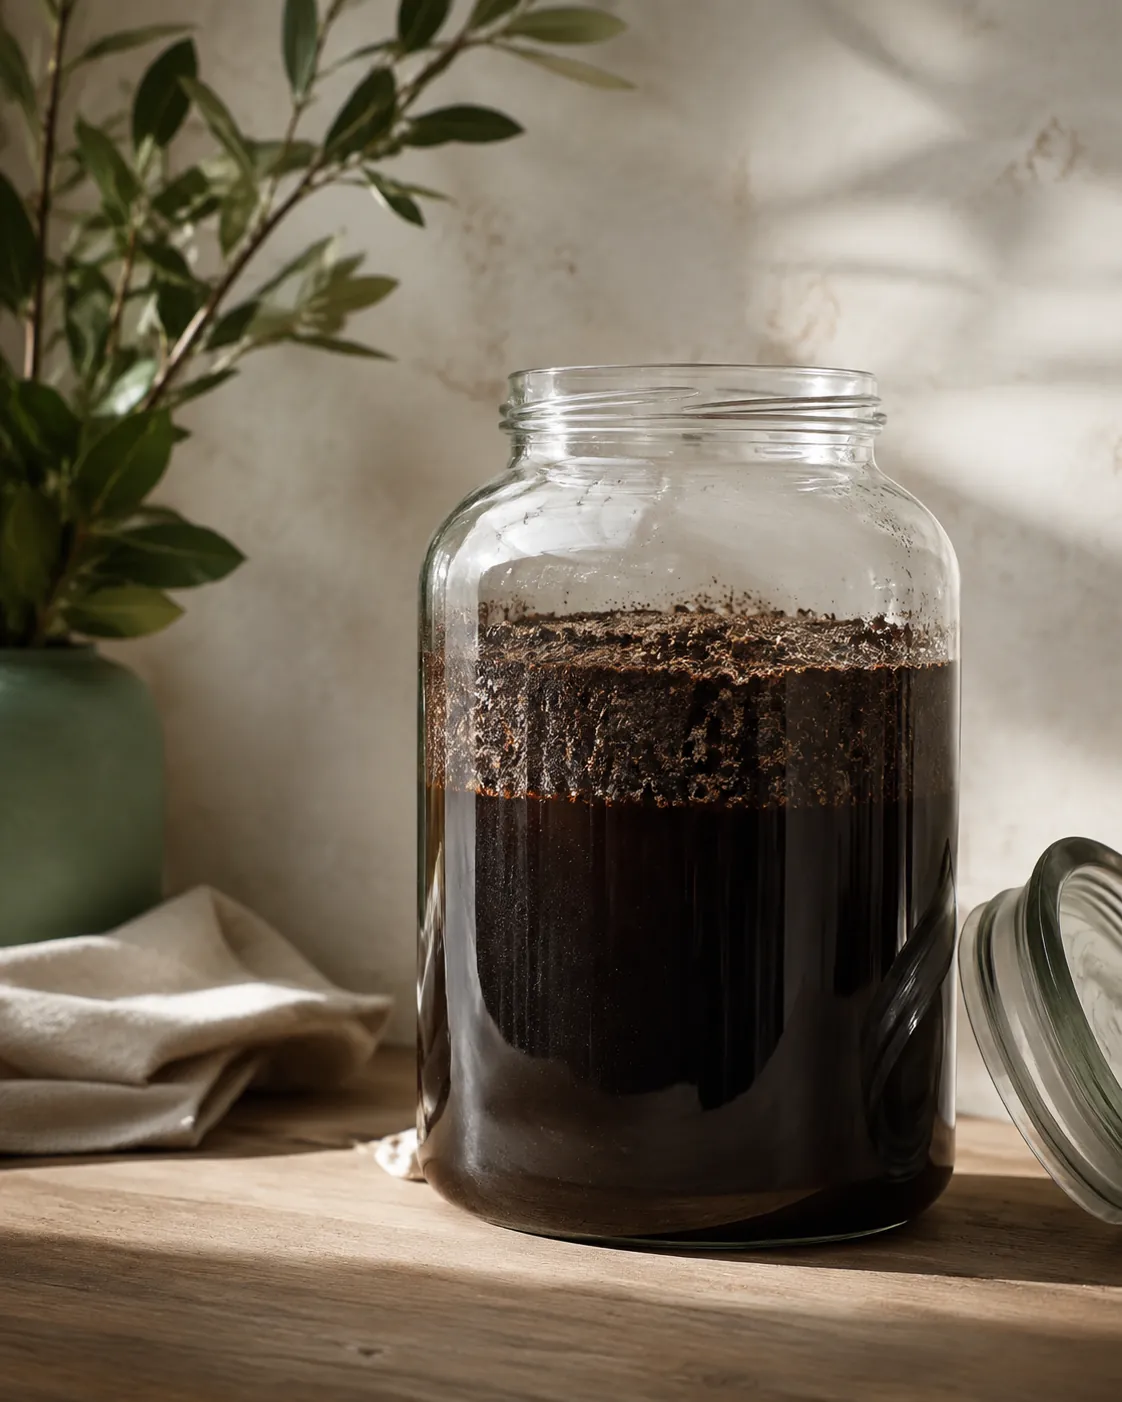
Pick one and stay with it, since the point of a schedule is that batch two matches batch one. The counter version is the easier habit because it fits a night, and the fridge version is the safer one because the penalty for forgetting it is smaller.
What does not work is splitting the difference by starting on the counter and moving it to the fridge partway, which gives you a steep you cannot repeat and a time you cannot reason about. If a batch has run long, that is a dilution problem rather than a lost batch, and cold brew problems collects the rest of them.
Which ratio to brew at, and how to convert between them
A ratio is only a promise about the finished glass, and cold brew is the one method where the number you brew at and the number you drink at are routinely different. That is the source of nearly every argument about cold brew recipes.
The arithmetic is simple once it is written down. Brew ratio multiplied by dilution gives the ratio in the glass.
A 1:5 concentrate cut one to one arrives at 1:10, cut one to two it arrives at 1:15, and neither of those is a different recipe from the other.
| Brewed at | Cut with | Lands at | Suits |
|---|---|---|---|
| 1:5 | Equal water | 1:10 | A short, strong glass |
| 1:5 | Two parts water | 1:15 | The usual serving strength |
| 1:5 | Two parts milk | 1:15 | An iced latte without a machine |
| 1:8 | One part water | 1:16 | A middle route, less fridge space than 1:12 |
| 1:12 | Nothing | 1:12 | Ready to drink, poured straight from the bottle |
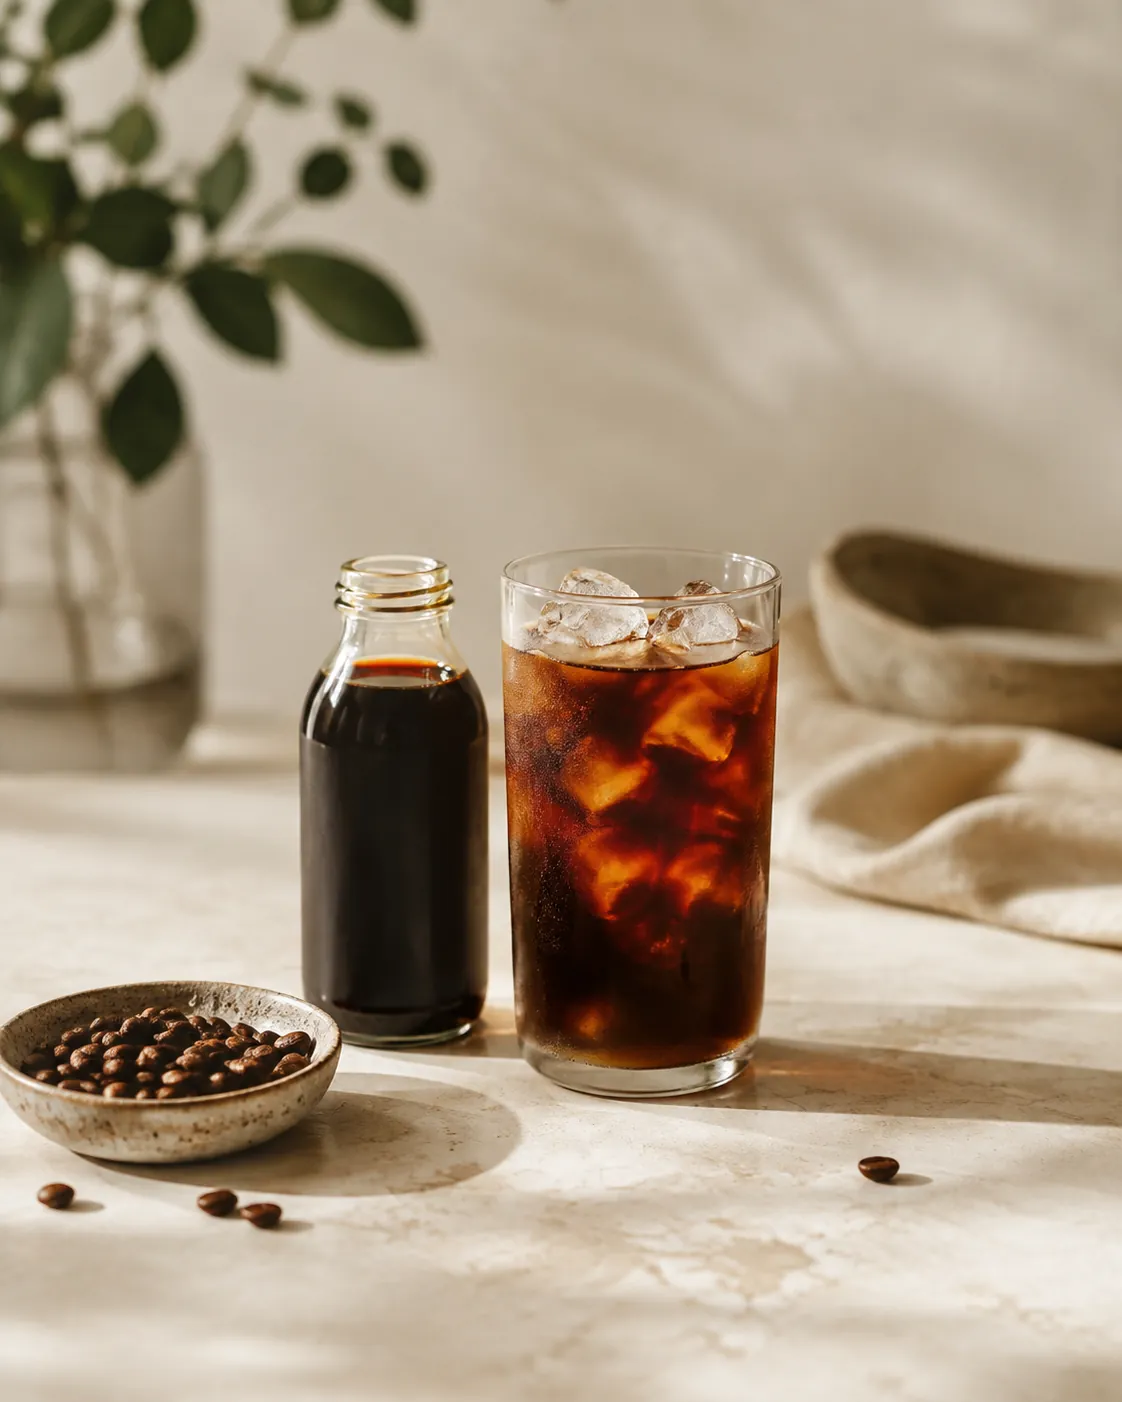
Concentrate is the better default for one practical reason. It occupies a fifth of the fridge space, keeps longer because there is less water in it, and lets the same batch serve as a small strong glass at eight in the morning and a long milky one at three in the afternoon.
The case against it is that you have to remember to cut it, and drinking 1:5 neat is a genuinely unpleasant surprise. Where a jug that needs no thought is the point, brew at 1:12 and pour it over ice without doing anything else to it.
The strength you end up preferring is worth recording alongside the rest of the cold brew topic.
Two passes, and neither of them hurried
The strain is where a good batch is most often lost, and the temptation is always speed. Everything that goes wrong at this stage comes from making the liquid move faster than gravity wants it to.
Nothing else about the method rewards impatience so poorly.
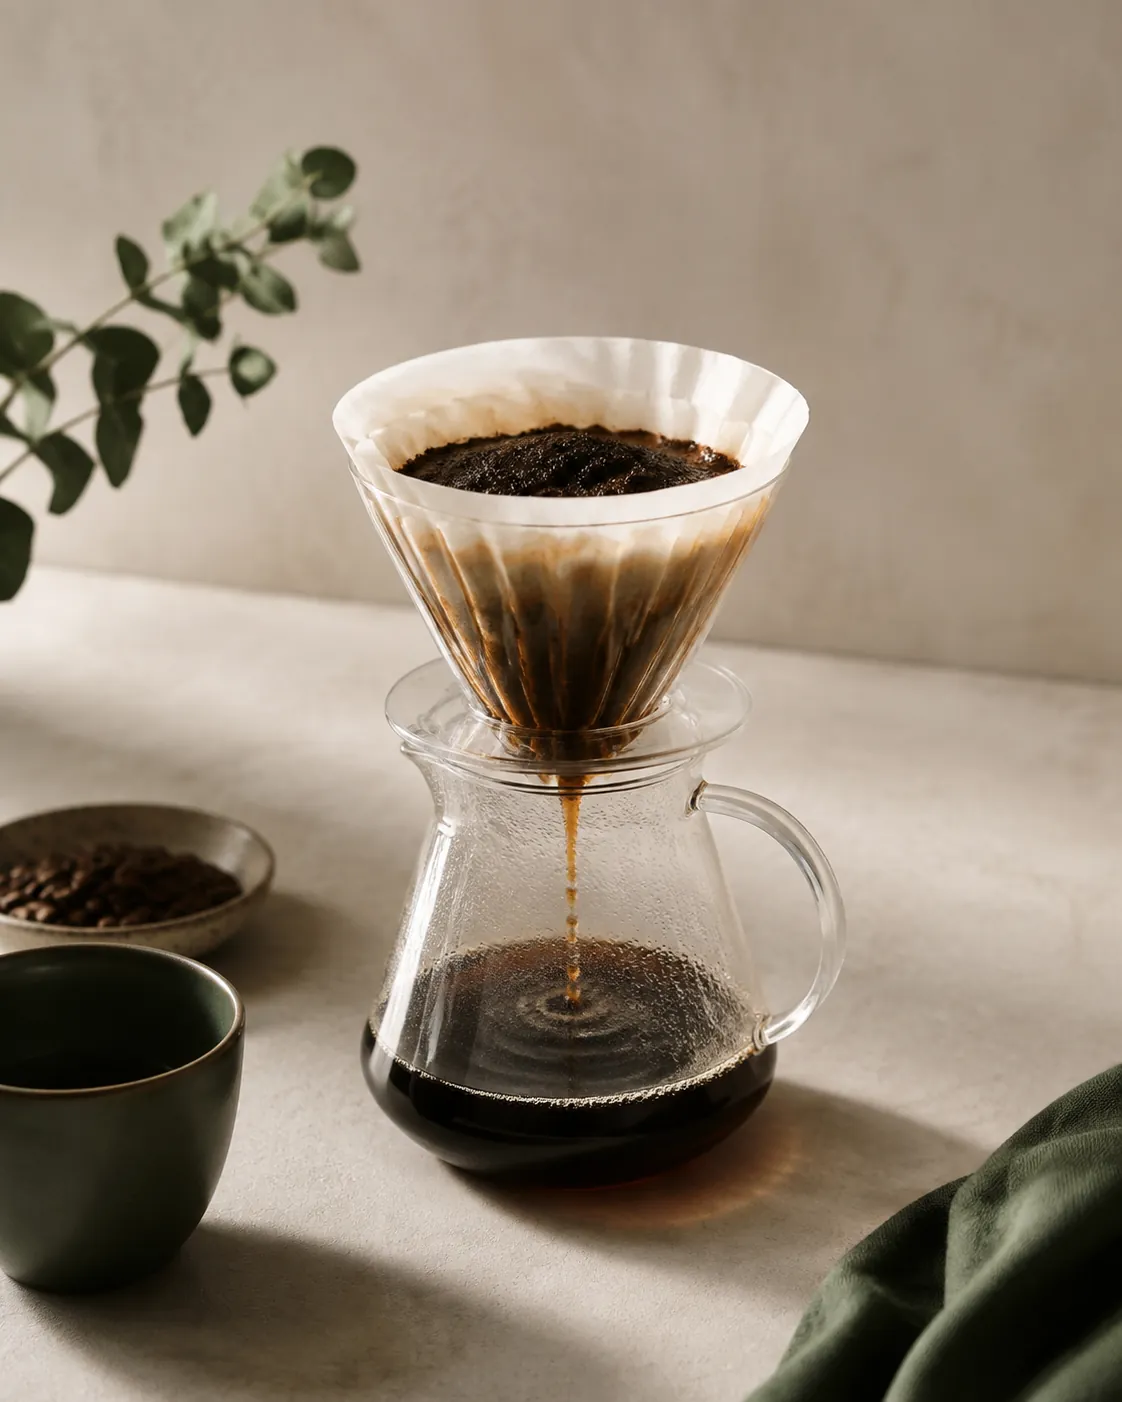
- First pass through a coarse mesh sieve, to take out the bulk of the bed.
- Second pass through paper or a fine cloth, to take out the fines.
- Let it fall under its own weight, even if the second pass takes half an hour.
- Never press, squeeze or wring the grounds or the filter bag.
- Rinse a paper filter with cold water first if you dislike the taste of dry paper.
Pressing is the specific error worth naming. Squeezing the bed pushes fine particles through the filter along with the harshest fraction of what those fines are holding, so the batch you were trying to clean up gets both siltier and rougher, and the same instinct spoils a pour-over in exactly the same way.
The second pass is not optional if the coffee is going to sit in a bottle for a week. Fines that survive the strain keep extracting in the fridge, so an under-strained batch is a moving target: pleasant on day one, noticeably rougher by day four, and the difference has nothing to do with age.
Expect to lose liquid at both stages. Between the water the grounds retain and the wetted filter, a 500 ml pour comes back as roughly 300 ml, and a recipe that promises otherwise has not been made by whoever wrote it.
What the water is doing before the coffee gets in
Water is over 98 per cent of what ends up in the bottle, and cold brew is unusually exposed to whatever that water brings with it.
There is no aroma of hot coffee rising off the glass to distract from an off note, and nothing about a long cold steep that drives volatile taints away.
Chlorinated tap water is the common culprit. It reads as a faint swimming-pool edge that is easy to miss in a hot cup and hard to ignore in a cold one, and a simple jug filter removes it entirely.
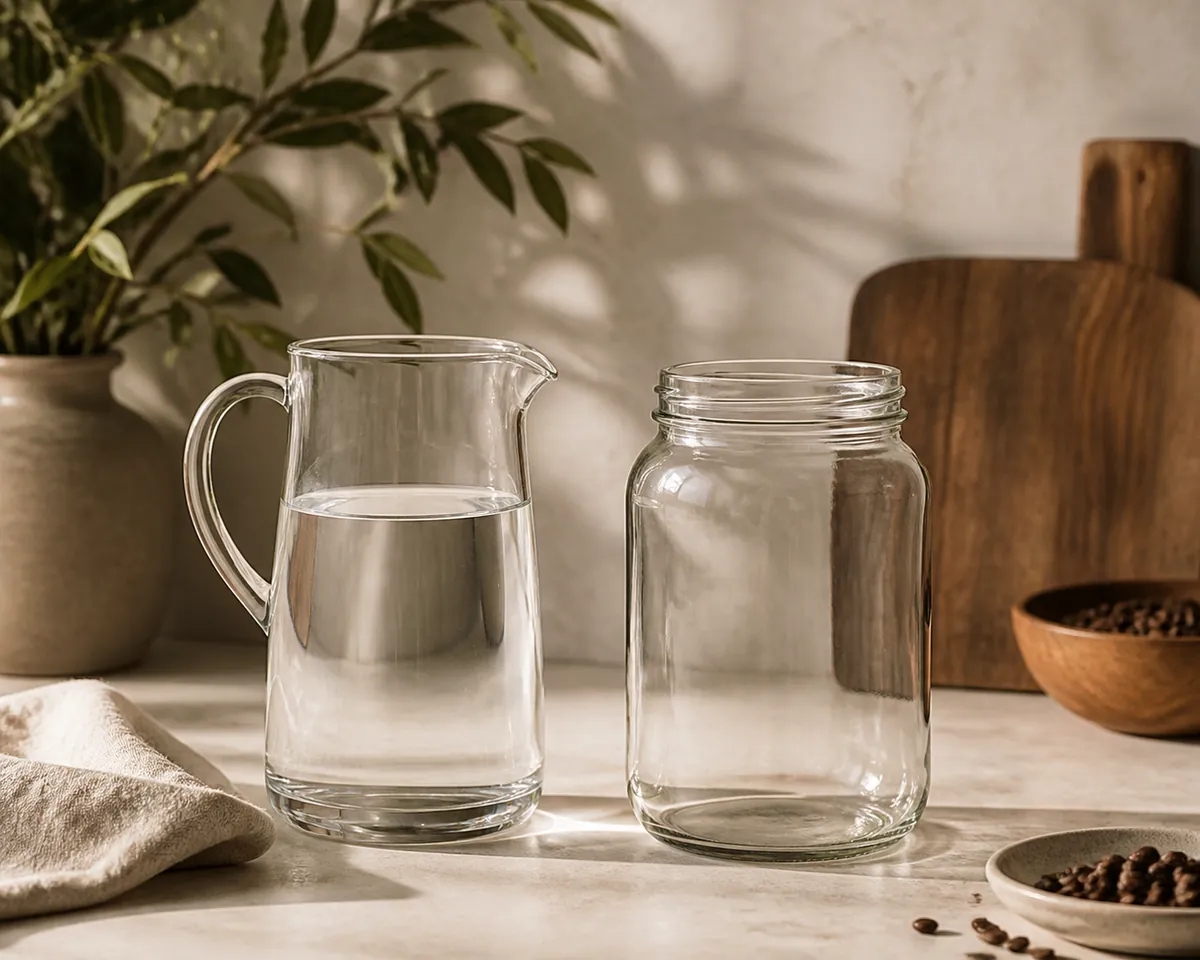
Hardness matters in the other direction. Very soft or distilled water extracts poorly and gives a hollow, flat batch, because dissolved minerals take an active part in pulling flavour compounds out of the grounds.
Temperature of the water going in barely matters, which surprises people who expect it to. Cold from the tap and cold from the fridge behave the same over fourteen hours, and using warm water to start does not speed things up so much as it changes which method you are performing.
That is a different drink with a different name, and iced coffee covers it.
What each piece of kit actually changes
Nothing on the shelf brews better coffee than a jar does. That is worth saying plainly, because the equipment market for this method sells convenience while implying quality.
A jar and a sieve
Sufficient in every respect. The bottleneck is your patience at the strain.
A filter bag
Removes the first strain entirely. Lift the bag out and let it drain.
A jug with a built-in mesh
Convenient, and the mesh is usually too coarse to skip a second pass.
A slow-drip tower
A different method altogether, not a faster version of this one.
The filter bag is the one genuine time-saver, because it turns the messiest stage into lifting something out of a jar. It has to be loose enough for the water to move through the bed, so a bag packed tight with 100 g of coffee brews unevenly and the fix is a larger bag rather than a longer steep.
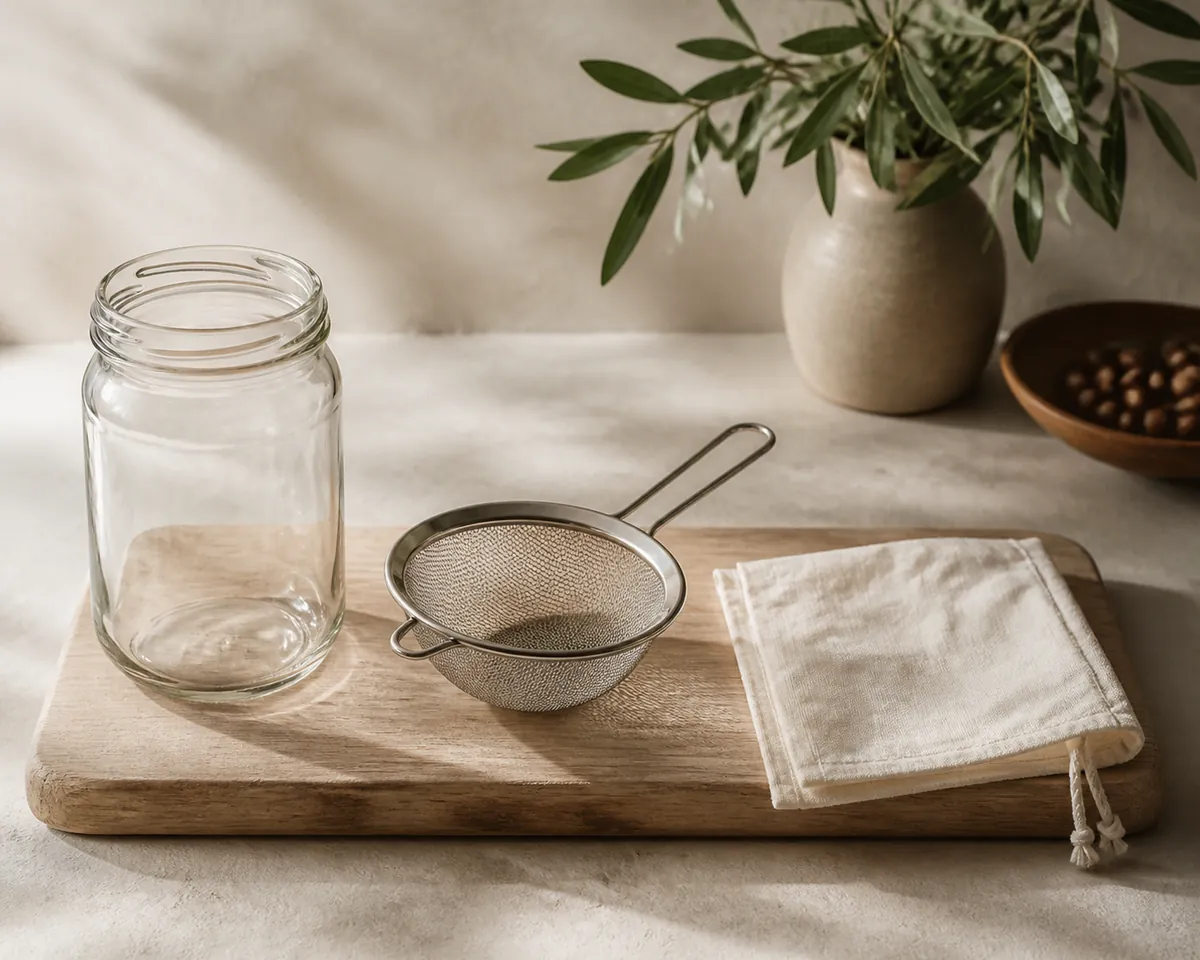
Vessel shape matters more than the material does. A tall narrow jar gives a deep bed that the water struggles to penetrate evenly, and a wide one gives a shallow bed that wets through in the first minute, which is one more reason the initial stir is worth doing properly.
How to scale a batch without changing the result
Doubling a recipe is not the same as doubling a batch. The ratio scales cleanly and the geometry does not, so 200 g of coffee in the same jar behaves differently from 100 g even though the numbers look identical.
Depth is the variable that breaks. A deeper bed of grounds packs under its own weight, the water at the bottom saturates and stops moving, and the batch extracts unevenly no matter how long you leave it.
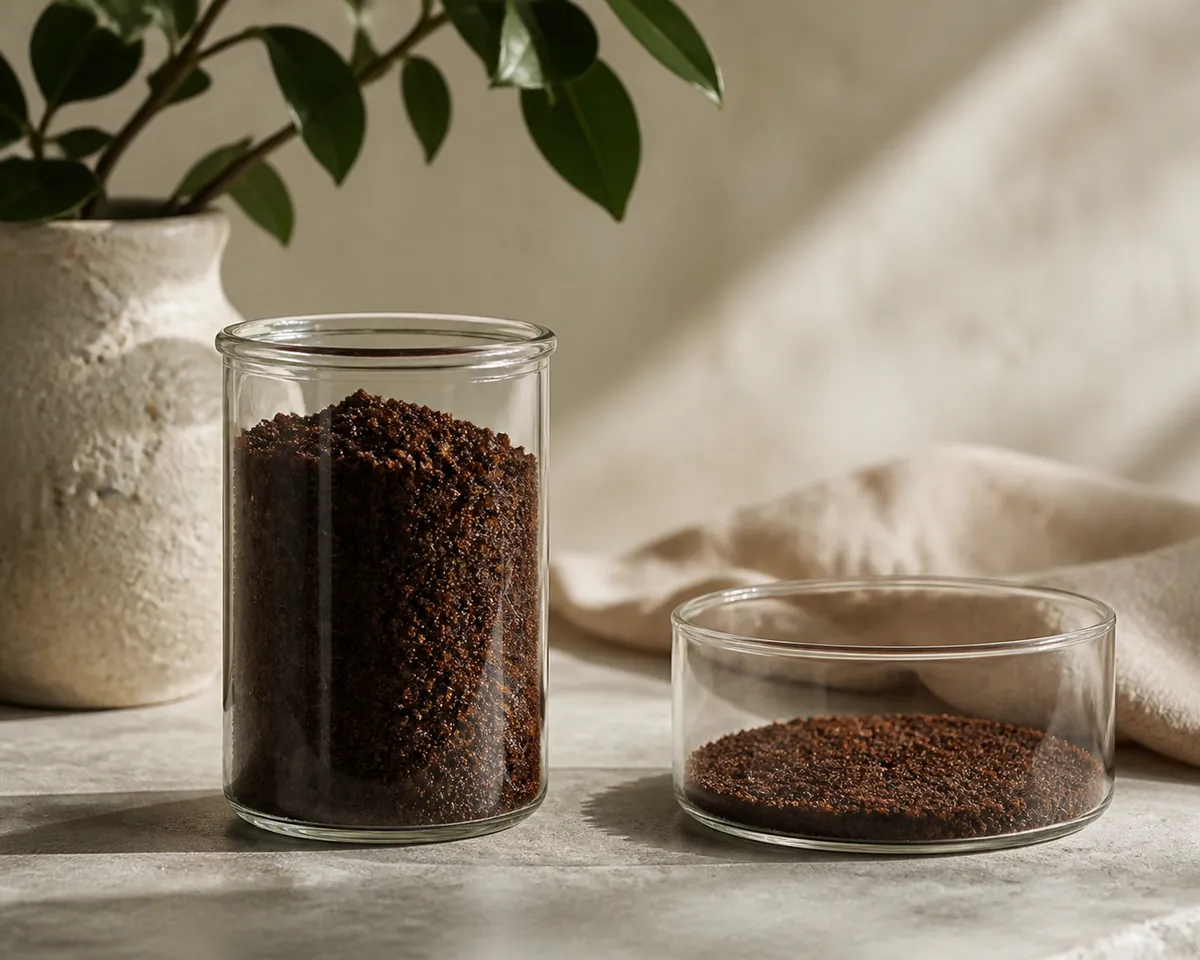
- Scale the vessel with the coffee, not just the water.
- Keep the bed under about 8 cm deep, and go wider rather than taller.
- Stir twice for a large batch, once at the start and once an hour in.
- Allow headspace, since grounds swell noticeably as they wet through.
- Strain in two or three goes rather than flooding a single filter.
Straining is the other thing that does not scale.
A paper filter that handles 500 ml in twenty minutes will clog partway through 2 litres, so a large batch wants either a cloth filter or several passes, and forcing a blocked filter takes you straight back to the pressing problem.
For anything above a litre, splitting the coffee across two vessels is usually less work than solving those two problems at once. It also means one can be started a day later, which keeps the fridge stocked without ever having a bottle that is a week old.
How to read a batch that came out wrong
Most failed batches announce themselves in one of five ways, and each of those ways points back at one specific decision made twelve hours earlier. Diagnosing by symptom is quicker than changing everything at once.
| Symptom | Most likely cause | The fix |
|---|---|---|
| Weak and watery | Dry pockets, or the yield loss ignored | Stir properly, and measure the yield |
| Silty in the bottle | Fines through the strain | Coarser grind, second pass, never squeeze |
| Harsh and drying | Fines still extracting, or a very dark roast | Strain better, or change the bag |
| Thin and sour | Under-extracted, usually too short or too coarse | Add hours before you change the grind |
| Fine on day one, rough by day four | An incomplete strain | Second pass through paper |
Change one thing at a time and give it a full batch, which is the slowest feedback loop in coffee and the reason so many people brew the same mediocre batch repeatedly. Fourteen hours between adjustment and answer means guessing at two variables at once teaches you nothing.
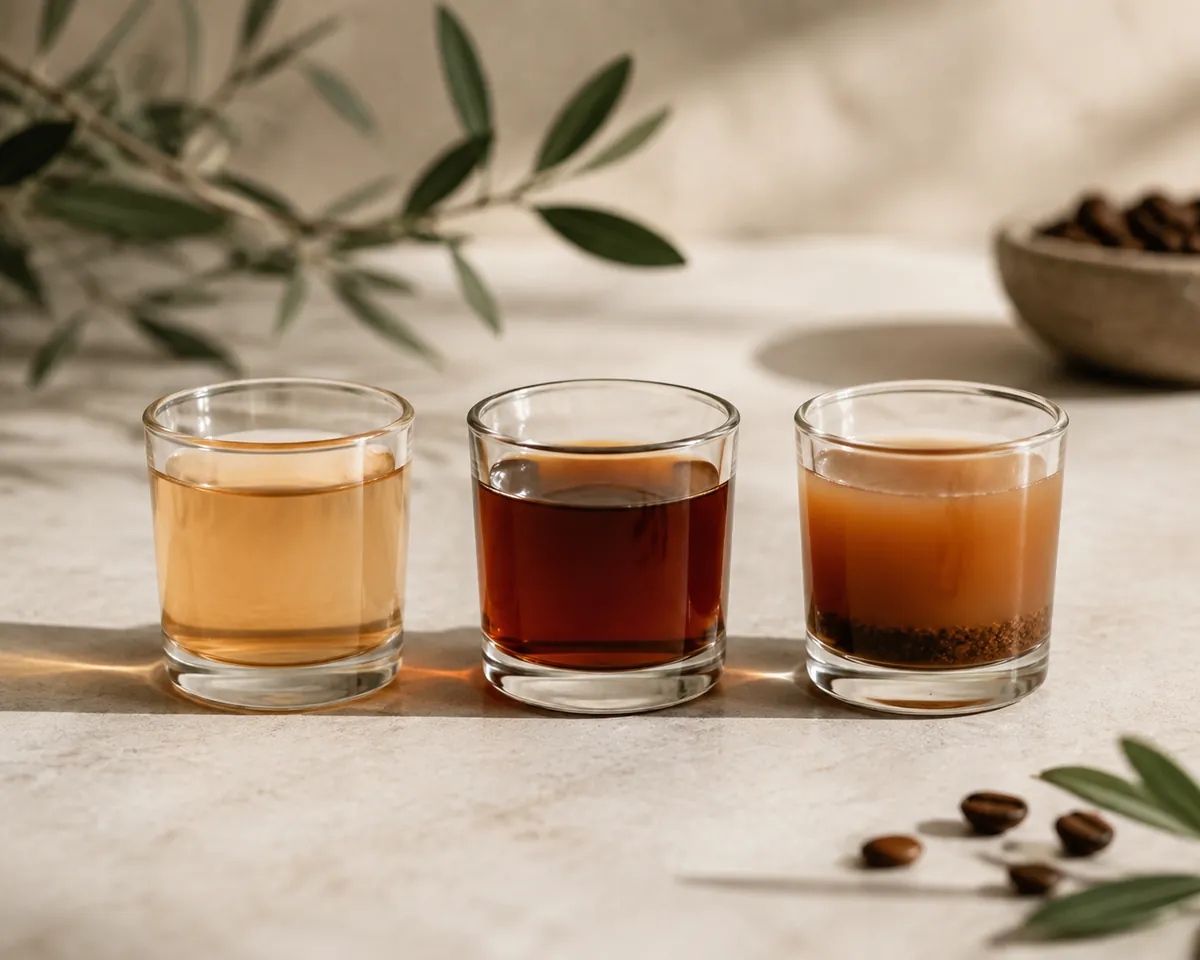
Some faults are not the method's at all. Beans stored badly taste flat here before they taste stale anywhere else, so keeping beans fresh is worth ruling out first.
A bag of light, delicate arabica that was always going to read thin cold will not be rescued by any adjustment on this page.
Making the second batch match the first
Batch two is where the method pays.
Write down the four things that vary and nothing else: the weight of coffee, the weight of water, the start time and the strain time. That is a single line on the lid or in a notebook, and it turns cold brew from a thing you make into a thing you can adjust.
One batch, one change
- Batch oneBrew the standard numbers exactly and taste it cut 1:2.
- Note the faultWeak, harsh, thin or silty, in one word.
- Change one numberThe ratio for strength, the clock for extraction, the strain for texture.
- Batch twoEverything else identical, so the change is the only explanation.
- StopWhen two consecutive batches taste the same and you like them.
Most people land within three batches, and most land on a slightly stronger ratio than the recipe they started from. That is a preference rather than a correction, and no published number can settle it for you.
Once the numbers are yours, the batch becomes the base for everything else the method is good for: over ice as a plain glass, cut with a barista oat drink, sweetened with simple syrup since nothing granulated will dissolve in a cold glass, or let down with hot water for a low-acid cup in winter. How long the bottle stays good is covered in storing cold brew.
Common questions
What ratio should I use for cold brew?
1:5 by weight gives a concentrate that is cut before serving, and 1:12 gives a batch you can pour straight from the fridge. The two are the same coffee: brew ratio multiplied by dilution is what actually lands in the glass, so 1:5 cut one part to one part of water arrives at 1:10.
How long should cold brew steep?
Twelve to sixteen hours on the counter, or eighteen to twenty-four in the fridge. Temperature and time are one setting rather than two, and extraction flattens off well before the end of either window, so a few hours either way changes far less than the ratio does.
Why is my cold brew silty at the bottom of the bottle?
Fines got through the strain, usually because the grind was too fine, the filter too coarse, or the grounds were squeezed to speed the drip up. Strain twice, let it fall through under its own weight, and never press the bed.