Pour-Over Brewing, and Why Fresh Water Leaves the Bed
Pour-over passes fresh water through a bed of grounds and away, through a paper filter. It gives the cleanest, most transparent cup of any common method, and it asks for the most technique in return.
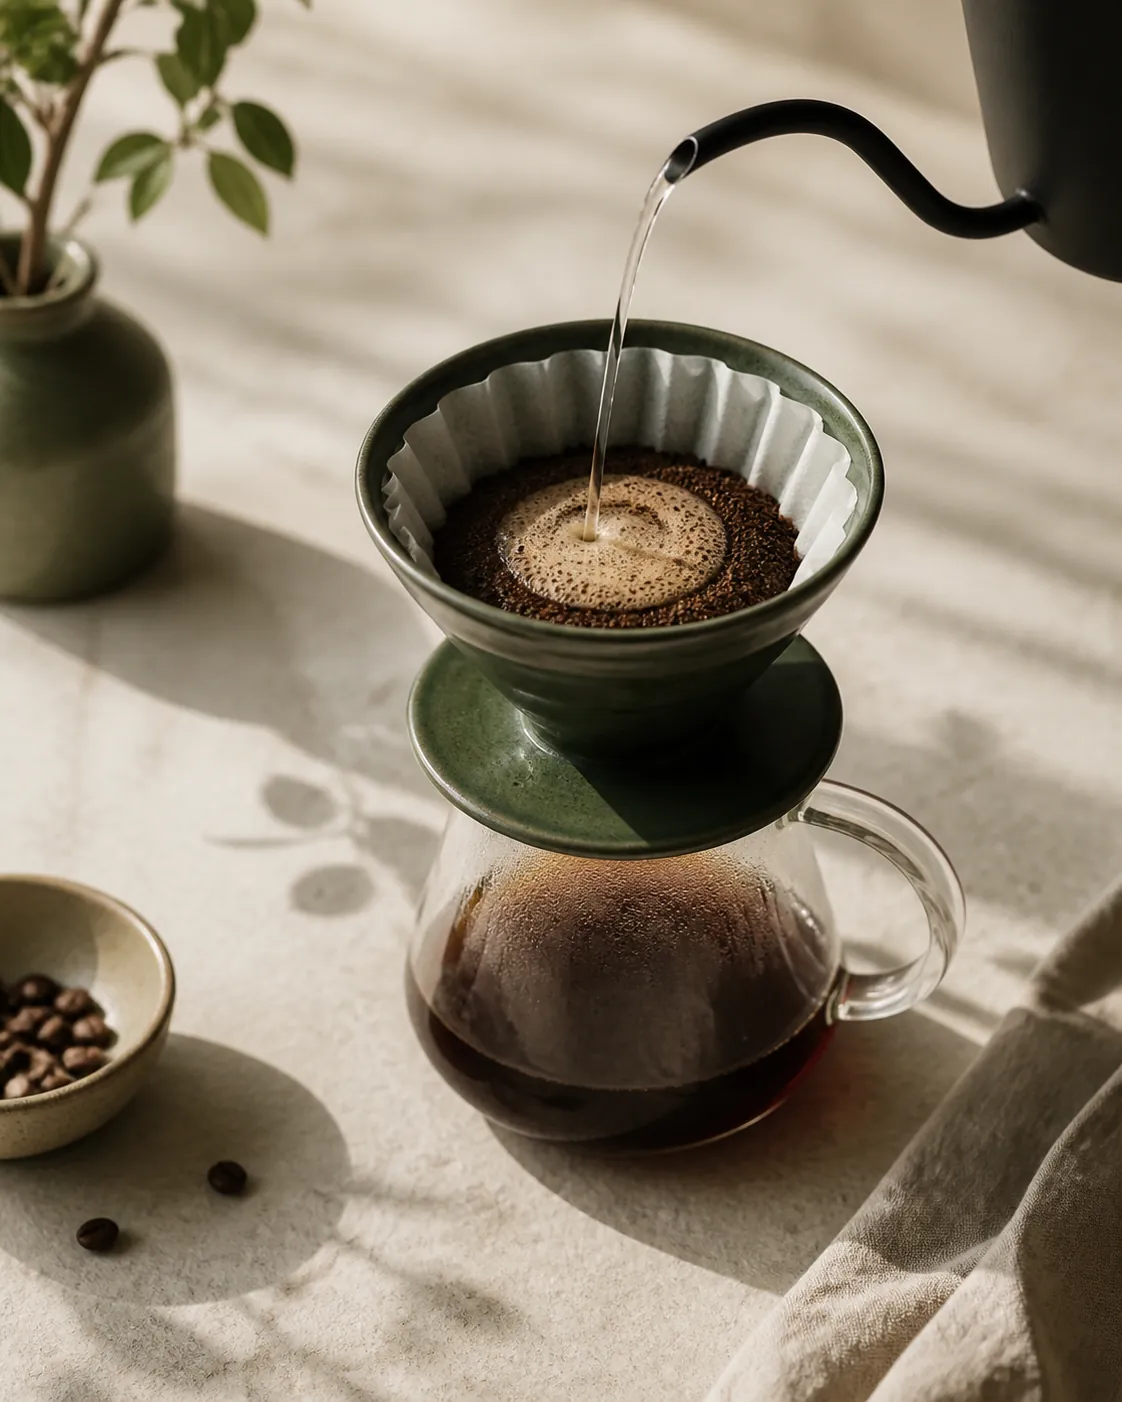
Pour-over is percolation brewing.
Water is poured onto a bed of ground coffee sitting in a cone, passes through it under gravity, and drains away into a vessel below. Unlike immersion, the water is always moving and always fresh.
The paper filter is the other half of the definition, and it is what gives the method its signature clarity.
Pour-over at a glance
- The mechanism
- Percolation. Water passes through the bed once and drains away
- The filter
- Paper, which traps oils and fines and sets the clarity of the cup
- Grind
- Medium, roughly table salt, adjusted to the cone
- Ratio
- About 1:16, near 15 g of coffee to 250 ml of water
- Bloom
- 30 to 45 seconds before the main pour
- Total brew
- Two and a half to three and a half minutes for a single cup
- What sets the flow
- The grind, because the coffee bed is itself the restriction
Why the paper makes such a clean cup
Because a paper filter traps coffee oils and almost all of the fine particles, what reaches the carafe is water carrying dissolved compounds and very little else, which is a different physical thing from the suspension a mesh filter delivers.
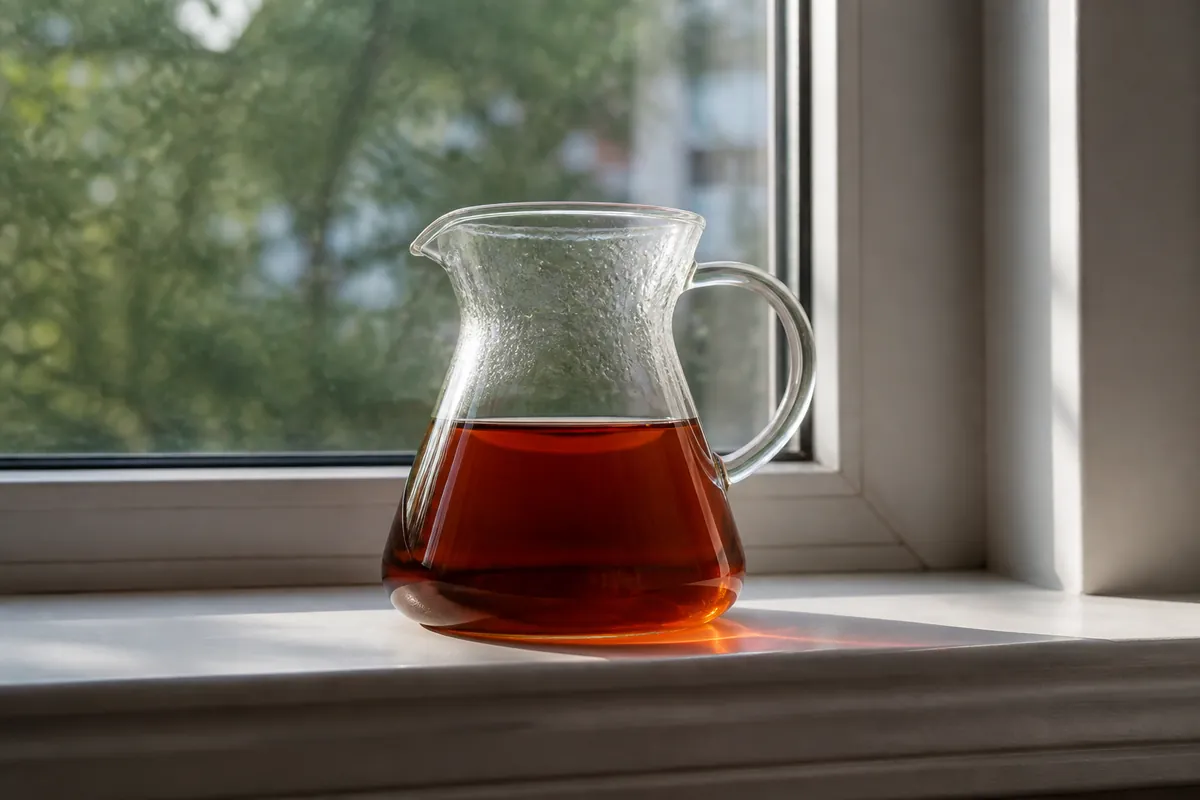
That removes the heavy body a French press has, leaving a lighter, more transparent cup where individual flavour notes are easy to pick out. It is why pour-over is the standard method for tasting a coffee's character: a lightly roasted Ethiopian with delicate floral and citric notes shows those clearly through paper and has them muddied in a press.
Clean is not the same as thin, since what the paper removes is body and oil rather than flavour dissolved in the water.
The paper itself is not a neutral component, and swapping one for another changes the cup.
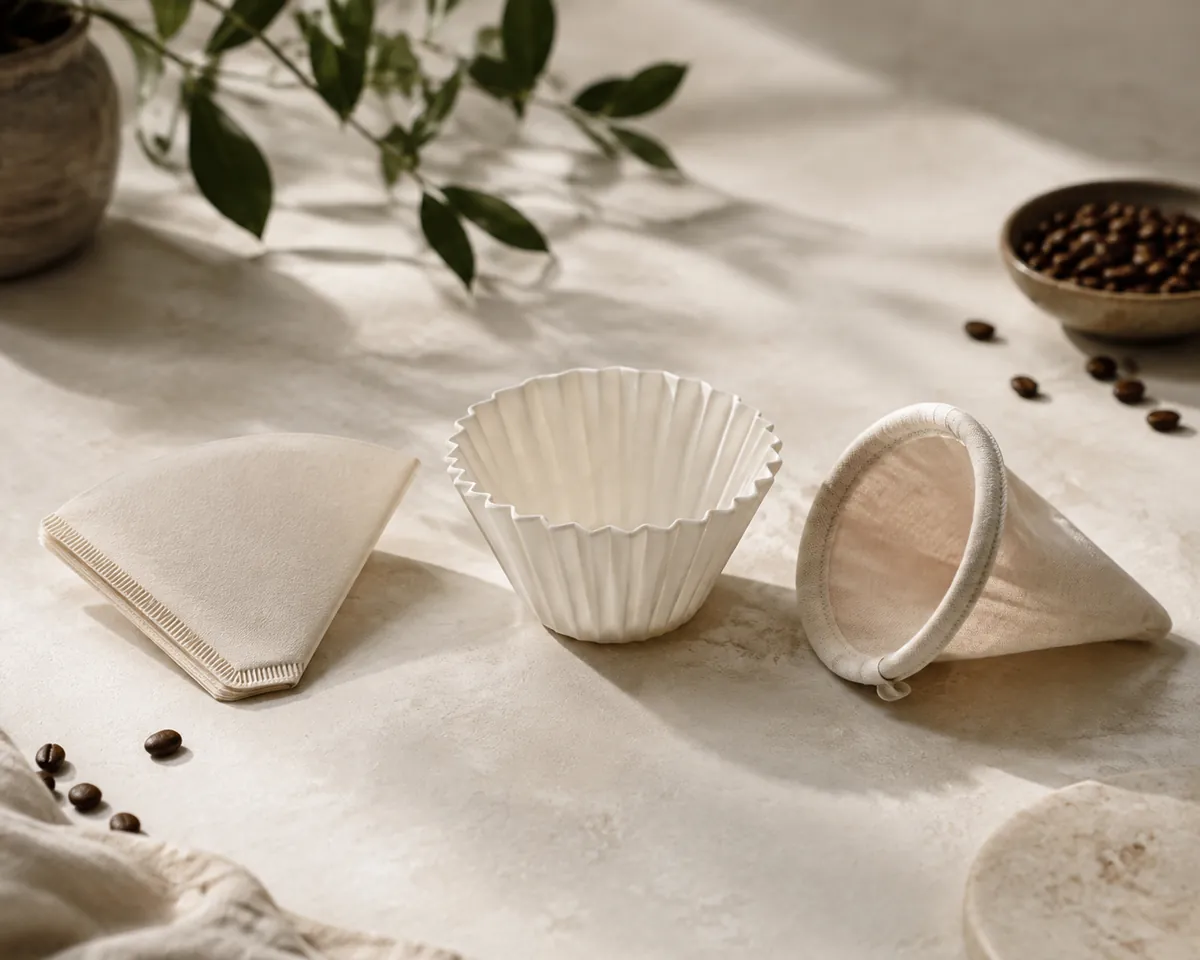
| Filter | Effect on the cup | Notes |
|---|---|---|
| Bleached white paper | Clean and neutral | The standard. Rinse it anyway to warm the cone |
| Unbleached brown paper | Can carry a faint papery note | Rinsing matters more here than with white |
| Thick paper, cone specific | Slower flow, higher clarity | Some papers are noticeably thicker than others |
| Cloth | Between paper and metal. Keeps some oils | Needs washing and refrigerating between uses |
| Metal mesh | Body and oils pass through | A different drink, closer to a French press |
Filters are not interchangeable between cones. A filter that does not sit flush lets water run down the gap between the paper and the cone wall, bypassing the coffee entirely, and that bypass is the commonest cause of a weak pour-over that appeared to be made correctly.
Cone geometry, cone material, and where the shape came from
The geometry of the cone is not decoration. It sets how deep the bed sits and how fast water can move through it, and the same dose of coffee occupies three quite different shapes in the three common designs.
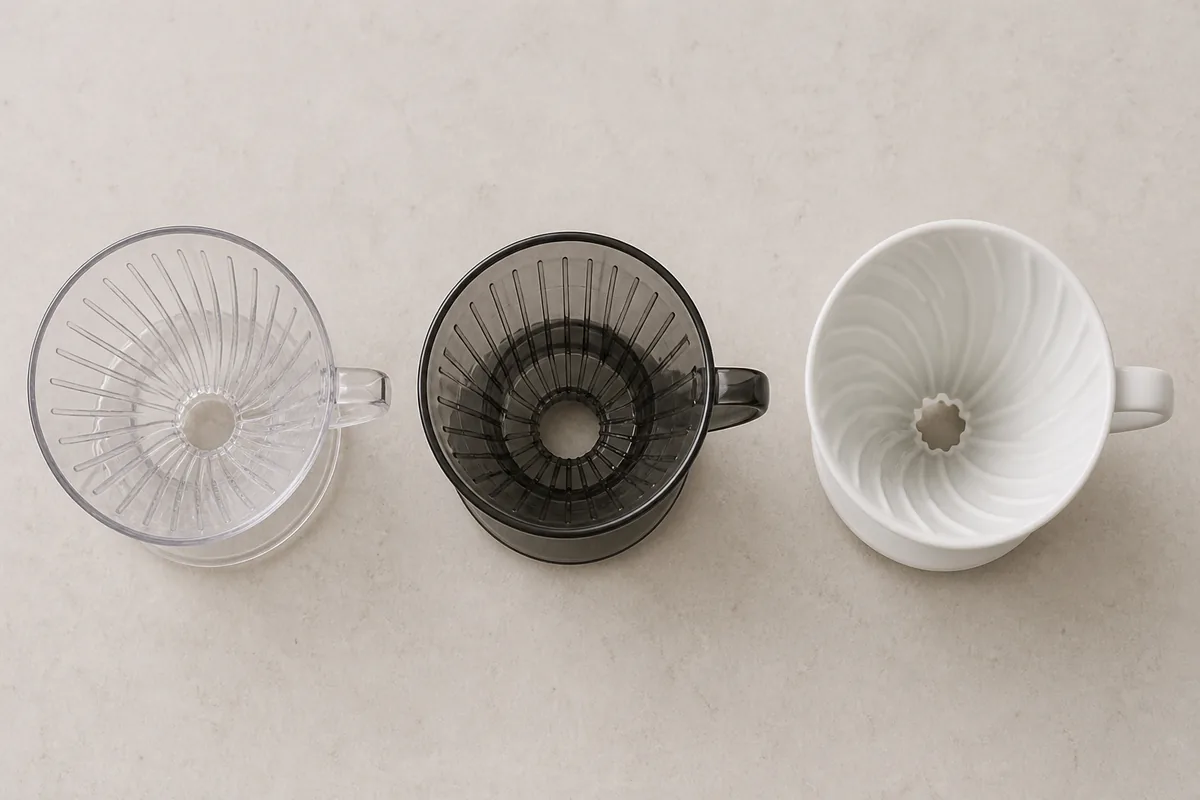
| Shape | Bed shape | Behaviour |
|---|---|---|
| Conical, large single hole | Deep, tapering | Flow rate is largely set by your pour, so it rewards control and punishes carelessness |
| Flat bottom | Shallow, even | More forgiving. The bed levels itself, so distribution errors matter less |
| Wedge, small holes | Deep, restricted outlet | The cone restricts flow, so it is slower and more tolerant of grind variation |
A flat-bottom cone is usually the easier place to start, and a conical one gives more control once you want it. Material then changes heat far more than it changes flavour.
- Ceramic. Holds heat well once warmed, which is why rinsing with hot water matters most here. Heavy and breakable.
- Glass. Behaves much like ceramic and lets you see the drawdown, which is genuinely useful while learning.
- Plastic. Loses the least heat because it barely absorbs any, and it is effectively unbreakable.
- Metal. Usually a mesh rather than a paper holder, which puts the body and the oils back in the cup.
A metal cone is a different drink rather than a cheaper cone, sitting closer to a press than to a paper pour-over.
The shape is older than the coffee scene that made it fashionable. Paper filtration was patented in Dresden in 1908, using blotting paper in a perforated brass pot to escape the sediment that boiled and percolated coffee left in the cup, and the cone and paper have barely changed since.
What changed recently is intent: for most of the twentieth century paper filtration meant convenience, and the electric drip machine took that role over in the home. The revival from the 2000s treated the same equipment as a control surface instead, which is why modern pour-over writing is preoccupied with pour rate and bed geometry in a way a mid-century manual is not.
What the pour is countering, and why you swirl at the end
Percolation is uneven by nature. Water follows the path of least resistance, so an uneven bed means some coffee is over-extracted while some is barely touched, and every instruction in a pour-over recipe exists to counter that one tendency.
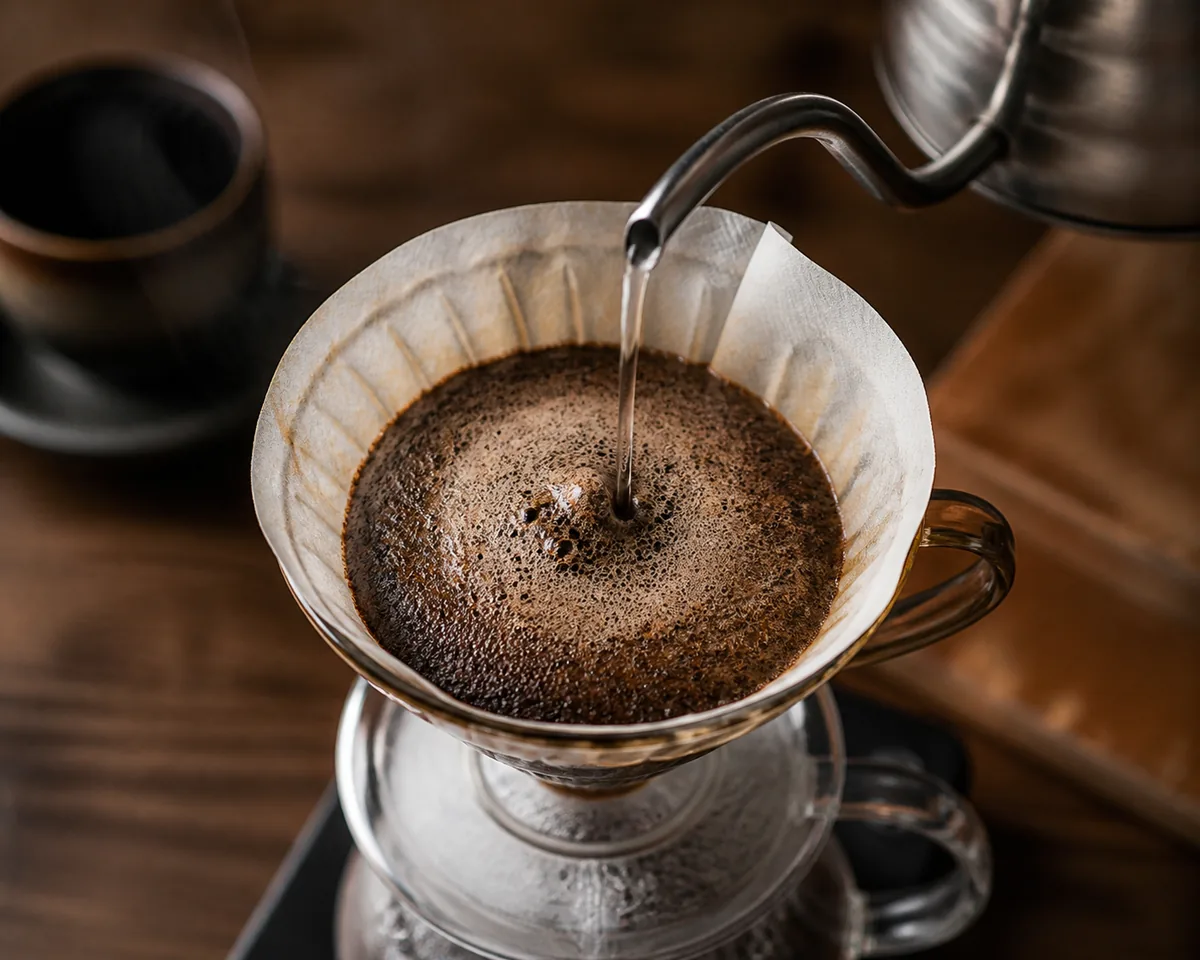
What happens in the bed, in order
- WetThe bloom saturates the grounds and lets trapped carbon dioxide escape.
- DissolveAcids and sugars leave the grounds first, in the earliest part of the brew.
- DevelopBody and sweetness build through the middle of the drawdown.
- Over-runPast the useful point, harsher compounds arrive and the cup dries out.
What each stage is for
- The bloomAn initial small pour, then a 30 to 45 second pause. Fresh coffee releases carbon dioxide, and that gas blocks water from reaching the grounds. The bloom lets it escape first.
- Slow, controlled pouringKeeps the bed saturated evenly rather than punching a channel through it.
- Spiral pouringWets the outer grounds as well as the centre, which otherwise take much less water.
- Keeping the bed levelA flat bed drains evenly. A bed piled up one side drains through the shallow part.
This is where a gooseneck kettle earns its place, since the narrow curved spout gives a slow, precise stream a normal kettle cannot produce. The bloom is also a freshness test worth reading: coffee that barely rises has little gas left in it, which says more about how it has been kept than about your pour, and storing coffee beans covers why.
Two habits at the finish change the cup more than their effort suggests.
Swirling the cone gently after the final pour settles the bed flat, so the last of the water is not running through a lopsided crust, and swirling the carafe before serving matters for a different reason entirely: coffee stratifies as it drips, the first liquid through is markedly stronger than the last, and pouring from an unmixed carafe gives two different cups out of one brew.
Grind, flow rate, and what the clock is telling you
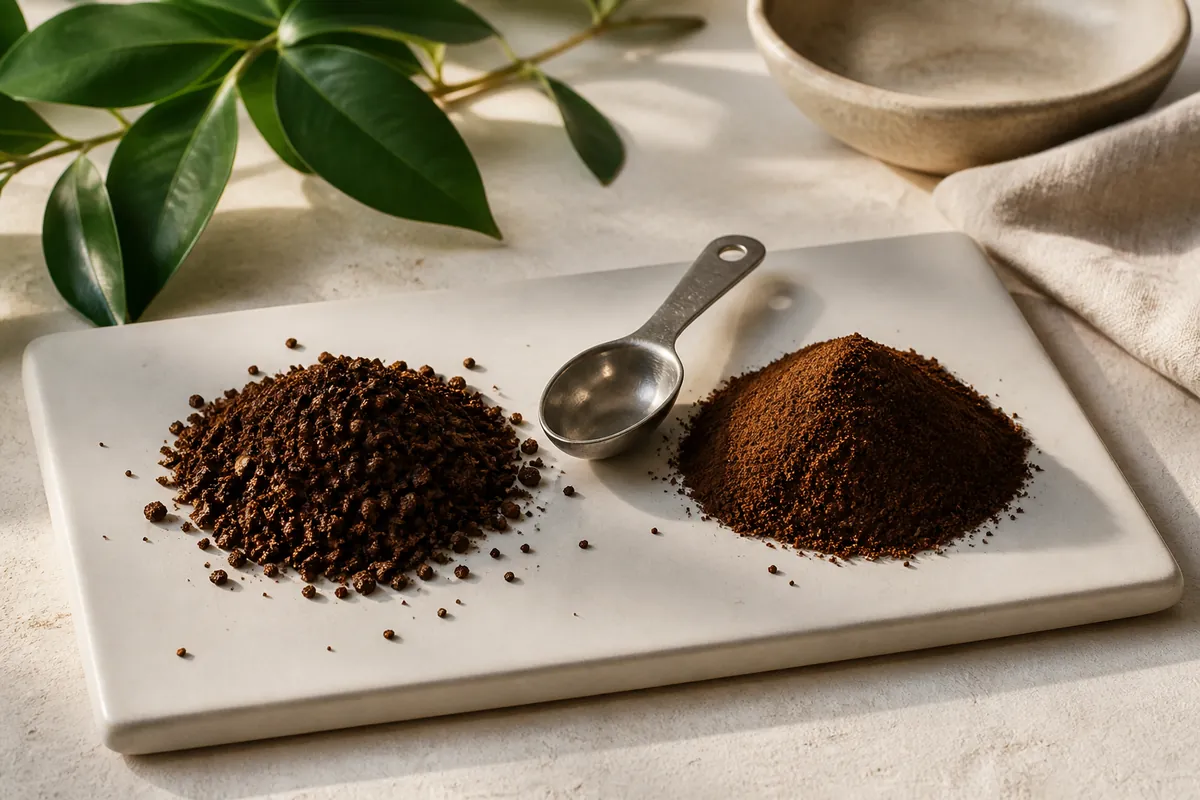
Medium, roughly the texture of table salt, is the usual starting point, adjusted by cone. In percolation the grind sets the flow rate, because the coffee bed is itself the restriction that the water has to get through.
Finer grounds pack tighter, slow the flow and extract more; coarser grounds drain faster and extract less. That relationship is what makes the cone unforgiving compared with an AeroPress, where a plunger rather than the bed decides how long the water stays.
Grind uniformity does the heavy lifting here, and what a burr grinder is doing to the particles explains why a bed of mixed sizes cannot be rescued by any pour.
Target times for a single cup
- Bloom
- 30 to 45 seconds
- Total brew
- Around 2 min 30 to 3 min 30 for 250 to 350 ml
- Too fast
- Under 2 minutes suggests the grind is too coarse or the pour too quick
- Too slow
- Over 4 minutes suggests the grind is too fine or the filter is clogged
- Stalled
- Water sitting on the bed means fines have blocked the paper
Adjust the grind first when the time is wrong, because grind is what sets the flow. Changing the pour rate to fix a time problem treats the symptom and leaves the cause where it was, and it usually introduces a second variable on top of the first.
Dose, ratio, and the four things that move at once
A 1:16 ratio, about 15 g of coffee to 250 ml of water, is the common middle of the range, and moving to 1:15 gives a stronger cup while 1:17 gives a lighter one without changing anything else about the brew.
The method's reputation for difficulty is really a reputation for variability. Nothing about a pour-over is hard in itself; what makes it inconsistent is that four variables move at once between brews, since dose, grind, pour rate and total time all drift unless you hold them.
Fix three deliberately and vary one, and the cone becomes as repeatable as any other method.
Ratio is also the lever people reach for when they mean strength rather than extraction. A weaker ratio makes a thinner cup of the same coffee rather than a differently extracted one, and it changes how much caffeine ends up in the cup as well, which caffeine by brew method sets out across the range.
Reading the spent bed, and the faults it explains
The grounds left in the cone say what happened. They are the fastest diagnostic available, and reading them takes two seconds.
Doing it after every brew teaches the technique faster than any recipe does.
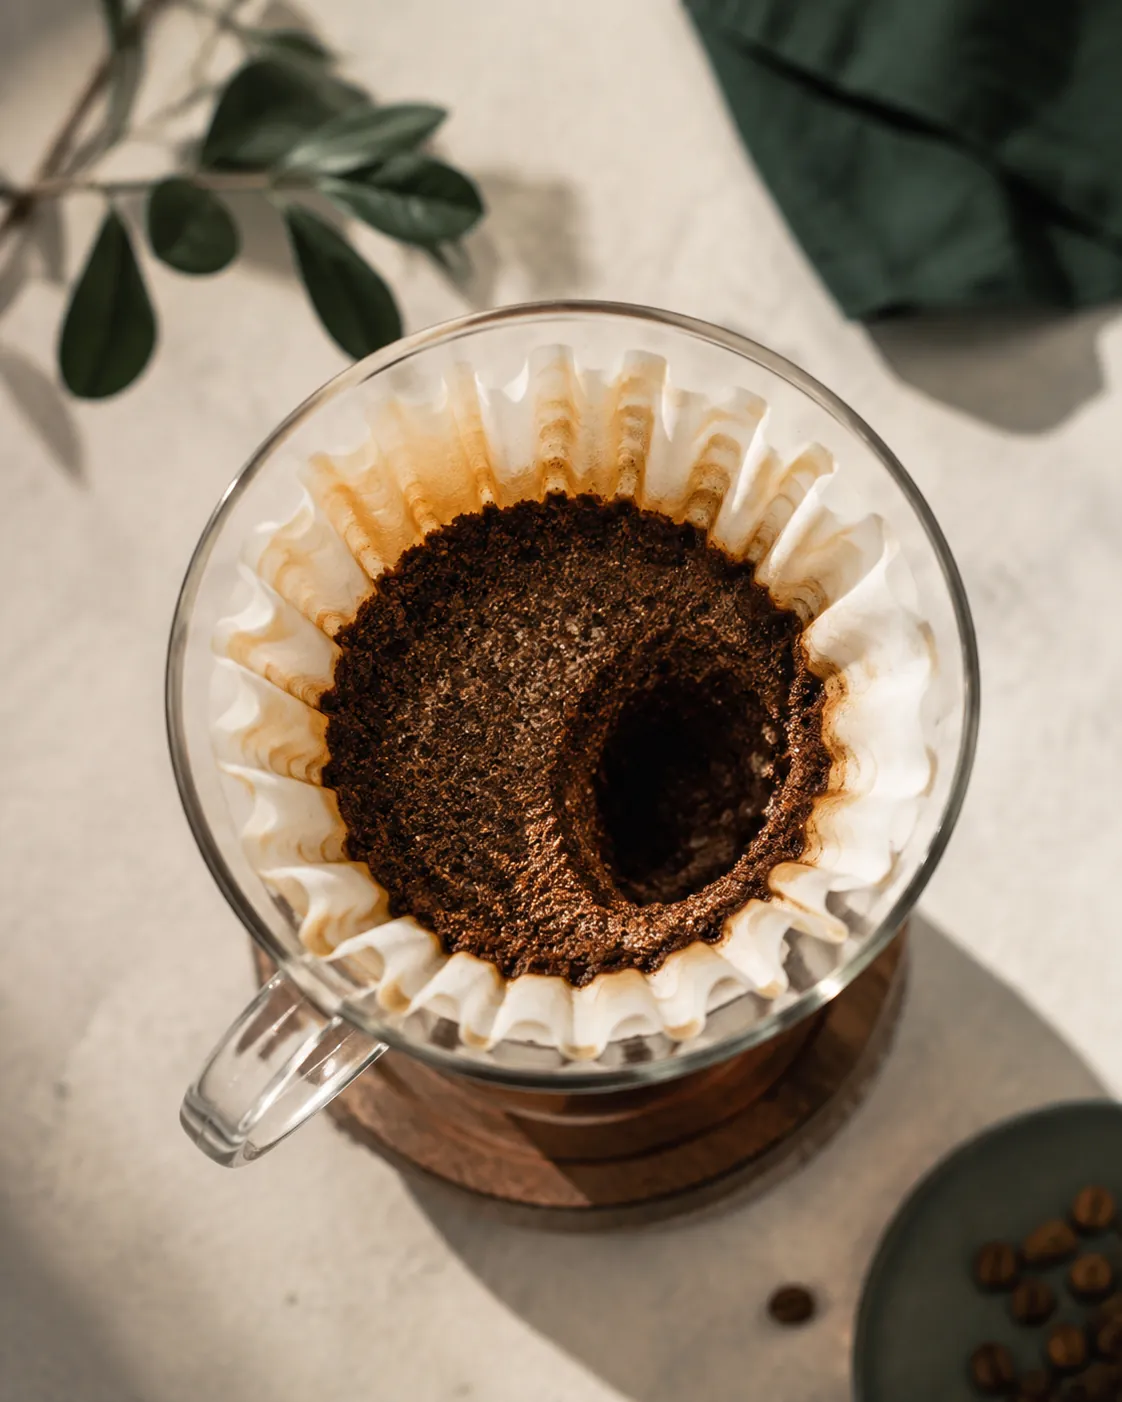
- Flat and even. The pour was distributed properly. This is what you want.
- A crater in the middle. The pour was too central and too fast, so water channelled straight down.
- Coffee high up the paper. The pour was too aggressive at the edges, and those grounds never brewed properly.
- A deep muddy layer. The grind was too fine, and fines migrated to the bottom and blocked the flow.
Weak and sour
Under-extracted. Grind finer, or slow the pour so the water spends longer in the bed.
Harsh and drying
Over-extracted. Grind coarser, or check the brew is not running past four minutes.
Weak despite a slow brew
Bypass. The filter is not sitting flush and water is running down the side.
Inconsistent cup to cup
The pour rate is varying. This is what a gooseneck kettle and scales are for.
Bypass is the case people rarely diagnose, because every visible part of the process looked right and the timer even read long. The tell is a slow brew that still tastes weak, which is a combination the bed alone cannot produce: if the water really had spent four minutes in the coffee it would not taste under-extracted.
Brewing one cup, or brewing four
The method does not scale linearly, and each direction fails in its own way.
A single small cup
The bed is shallow, water passes through fast and under-extracts. Grind slightly finer.
Two to three cups
The comfortable range for most cones, where the standard advice applies unchanged.
Four or more
The bed is deep, flow slows, and the last water over-extracts the top. Use a larger flat-bottomed brewer.
Batch quantities
A drip machine or a press is the better tool. A cone is not designed for a litre.
Bed depth is the variable underneath all four rows. A cone holding 12 g of coffee and a cone holding 45 g present the water with very different distances to travel, and the recipe that suits one is wrong for the other before you have touched the grind.
The deep bed is the harder end, because the top of it is in contact with water for the whole brew while the bottom only meets it near the end.
If you regularly brew for several people, a French press handles the volume in one go and asks nothing of your pouring, and a drip machine handles it without asking anything of you at all.
Which coffees the cone flatters, and which it strips
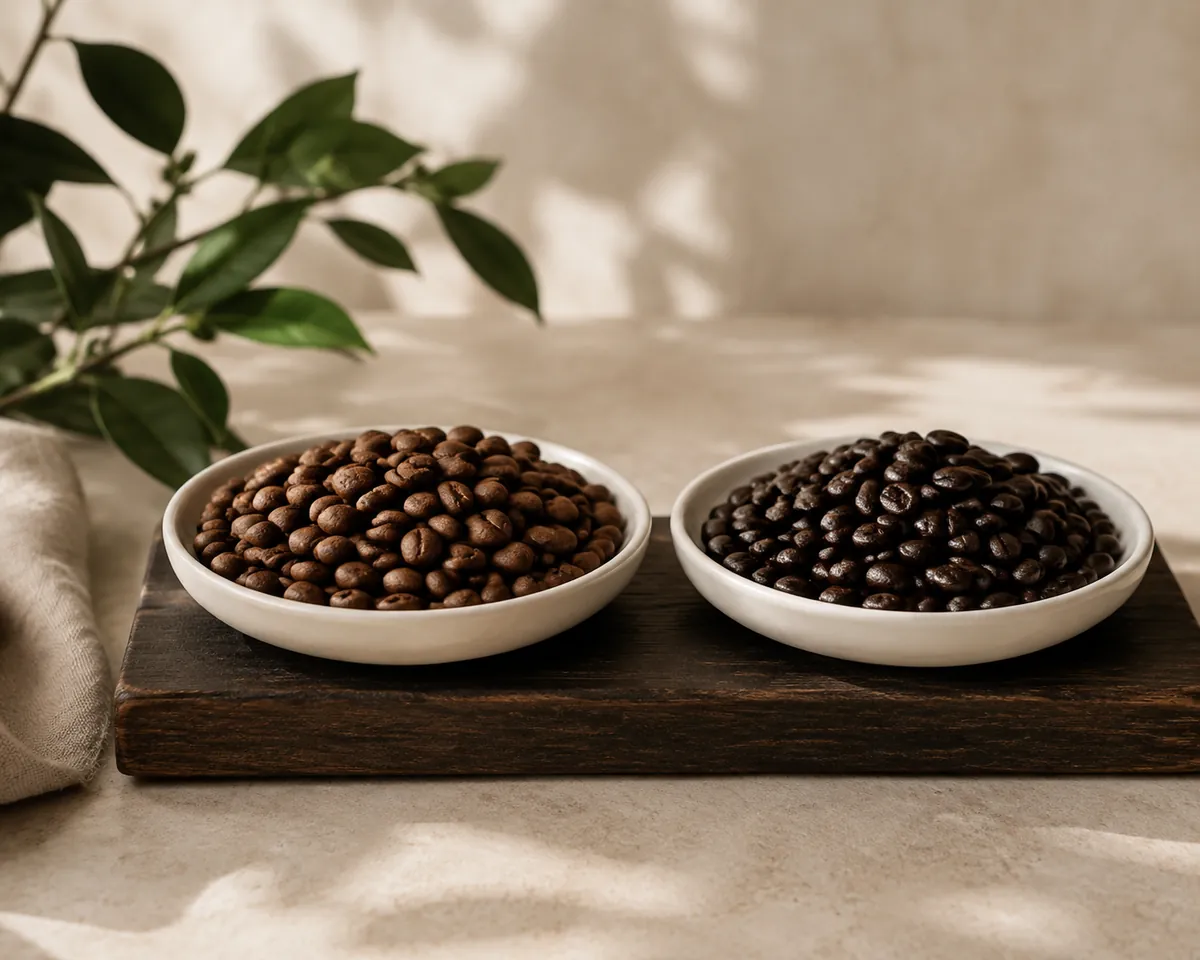
Pour-over rewards one kind of bean and punishes another more sharply than most methods, which is a consequence of the paper rather than a matter of taste: the clarity that removes body also removes what would otherwise mask a coffee's brighter notes.
Light and medium roasts with floral, citric or fruit character are precisely what a paper filter is for, and a well-grown arabica at a light roast shows more through a cone than through anything else in a domestic kitchen. A dark, oily roast is the harder case, since the body carrying it is exactly what the paper strips out, so a dark roast through a cone can read thin where it was meant to read rich.
Works well for
- The cleanest cup of any common method, with no sediment
- Shows delicate and complex coffees at their best
- Very controllable once the technique is there
- Equipment is inexpensive
Struggles with
- Genuinely requires technique, and early results are inconsistent
- Needs paper filters as a consumable
- Slower, and awkward to scale beyond two or three cups
- Light body, which is a drawback if you want a heavy, rich cup
That mismatch is an argument for owning both a cone and a press rather than an argument against either, and the direct comparison sets out where each one wins.
The kit, in the order worth buying it
The list is short and the order matters more than anything on it. Every item below except the first can be improvised for a while; the first cannot.
- A burr grinder, which does more for the cup than any other item and is the one worth spending on first.
- A cone and filters to match it. Filters are cone-specific and a mismatched filter causes bypass.
- Scales, ideally with a timer. Weighing the water removes the largest uncontrolled variable.
- A gooseneck kettle, which makes the pour controllable rather than approximate.
- A vessel to brew into that is not the cup, so you can swirl and serve evenly.
A cheap cone behind a good grinder beats an expensive cone behind a blade grinder every time, and the gap is not close. Scales come next rather than the kettle, because an unweighed pour makes every other measurement provisional, and you cannot repeat what you did not measure.
The kettle is the item most often bought first and most often needed third. It makes an already-controlled pour more precise; it does nothing for a brew whose dose and grind are still changing between mornings, which is where most inconsistency in brewed coffee actually lives.
What the tap is doing to the cup
Grind, ratio and pour all get sections of their own above, and the largest single variable in the cup has so far had none of them.
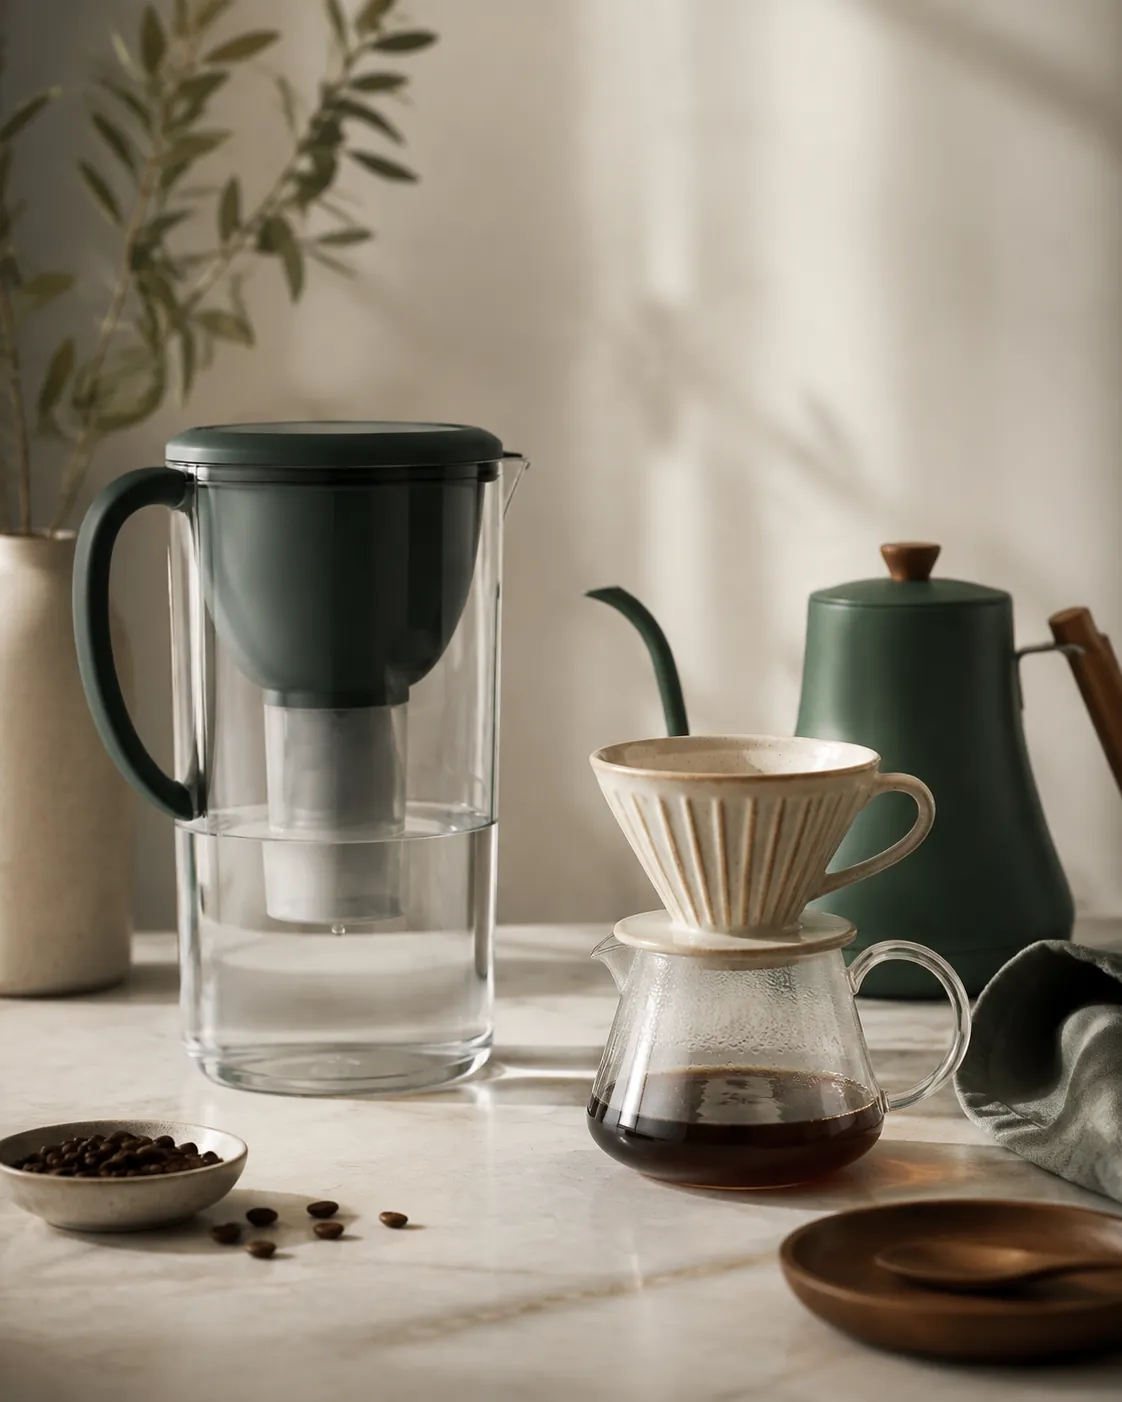
Coffee is about 98 per cent water, and the minerals dissolved in it are what bind to the compounds coming out of the bed. Water with too little mineral content extracts weakly and tastes hollow; water with too much extracts unevenly and tastes chalky or flat.
What the water is doing
- Calcium and magnesium
- The ions that actually extract. Magnesium favours brightness, calcium favours body
- Alkalinity
- Buffers acidity. High alkalinity flattens a coffee that should taste lively
- Chlorine
- Detectable in the cup at levels well below what you can smell in the glass
- Total hardness
- Very soft water makes thin coffee; very hard water makes dull coffee
- Temperature
- 92 to 96 C, which a variable kettle holds and a stovetop one guesses
A jug filter removes chlorine and some hardness and is the cheapest experiment available. Brewing water sets out what to aim for and how to find out what comes out of your own tap.
Anyone chasing a fault they cannot place should change the water before changing anything else, since a coffee that tastes dull in every brewer in the house is usually telling you about the supply rather than the beans.
Brewing straight onto ice
The same cone makes a genuinely different iced coffee. It is not the fridge method under another name, and the difference is where the chilling happens.
Japanese-style iced coffee replaces part of the brew water with ice in the carafe below, so the coffee is brewed hot and chilled the instant it lands. The acidity and aromatics that only hot water extracts survive, because nothing sits warm long enough to lose them.
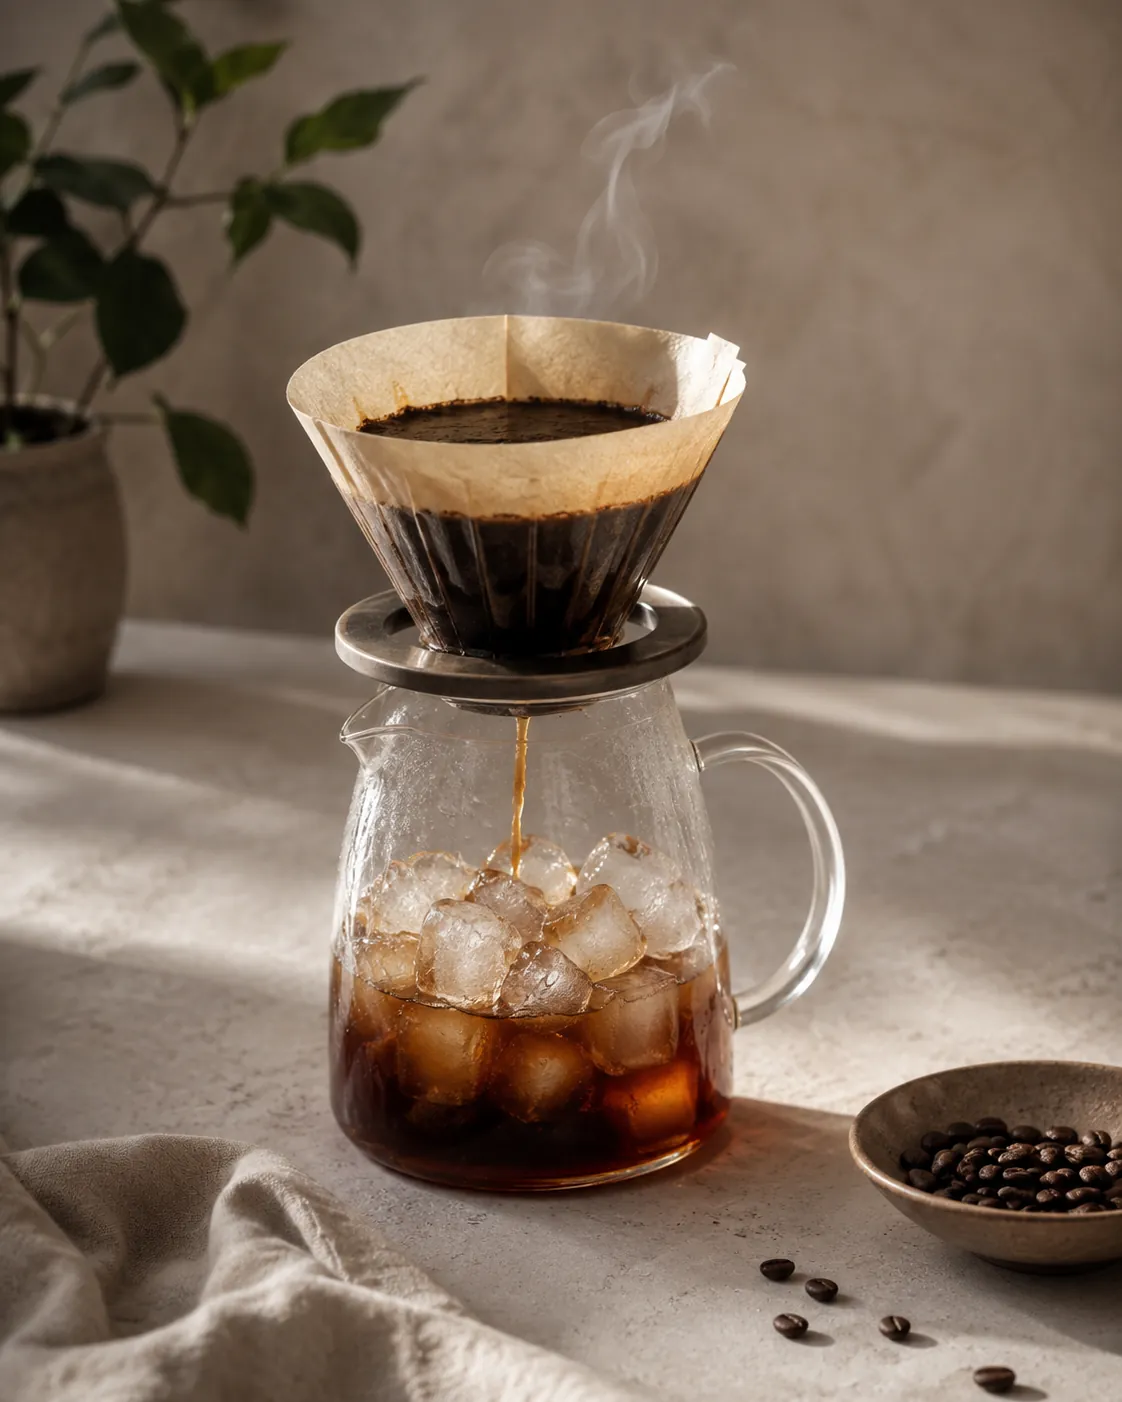
Iced, on a single cone
- Coffee
- 22 g, ground slightly finer than usual
- Ice in the carafe
- 150 g, weighed
- Brew water
- 200 ml at 94 C
- Total liquid
- 350 ml, once the ice melts
- Method
- Brew as normal; swirl the carafe when the drip stops
Weighing the ice is the part that matters, because it is brew water in a solid state and guessing at it gives a drink that is either watery or undrinkably strong. The full routine is in making iced coffee.
This is the opposite approach to cold brew, which never meets hot water and loses the acidity deliberately. Which one is right depends on whether you want the brightness kept or removed, as what cold brew tastes like and the comparison between the two both set out.
Common questions
Why do you bloom coffee in a pour-over?
Fresh coffee releases carbon dioxide when it meets water, and that gas blocks water from reaching the grounds. A small initial pour and a 30 to 45 second pause lets it escape so the main pour extracts evenly.
Do I need a gooseneck kettle for pour-over?
It is not essential but it helps considerably. The narrow curved spout gives a slow, precise stream, which is exactly what keeping a coffee bed evenly saturated requires.
Why is my pour-over draining too fast?
Usually the grind is too coarse. In percolation the coffee bed is the restriction, so a coarser grind drains faster and extracts less. Grind finer and time it again.