Making Kombucha, from the First Ferment to the Second
Kombucha is sweet tea that a culture has eaten most of the sugar out of. The ratio is forgiving, the timing is a taste judgement rather than a date, and the starter liquid does more for a safe batch than the disc floating on top.
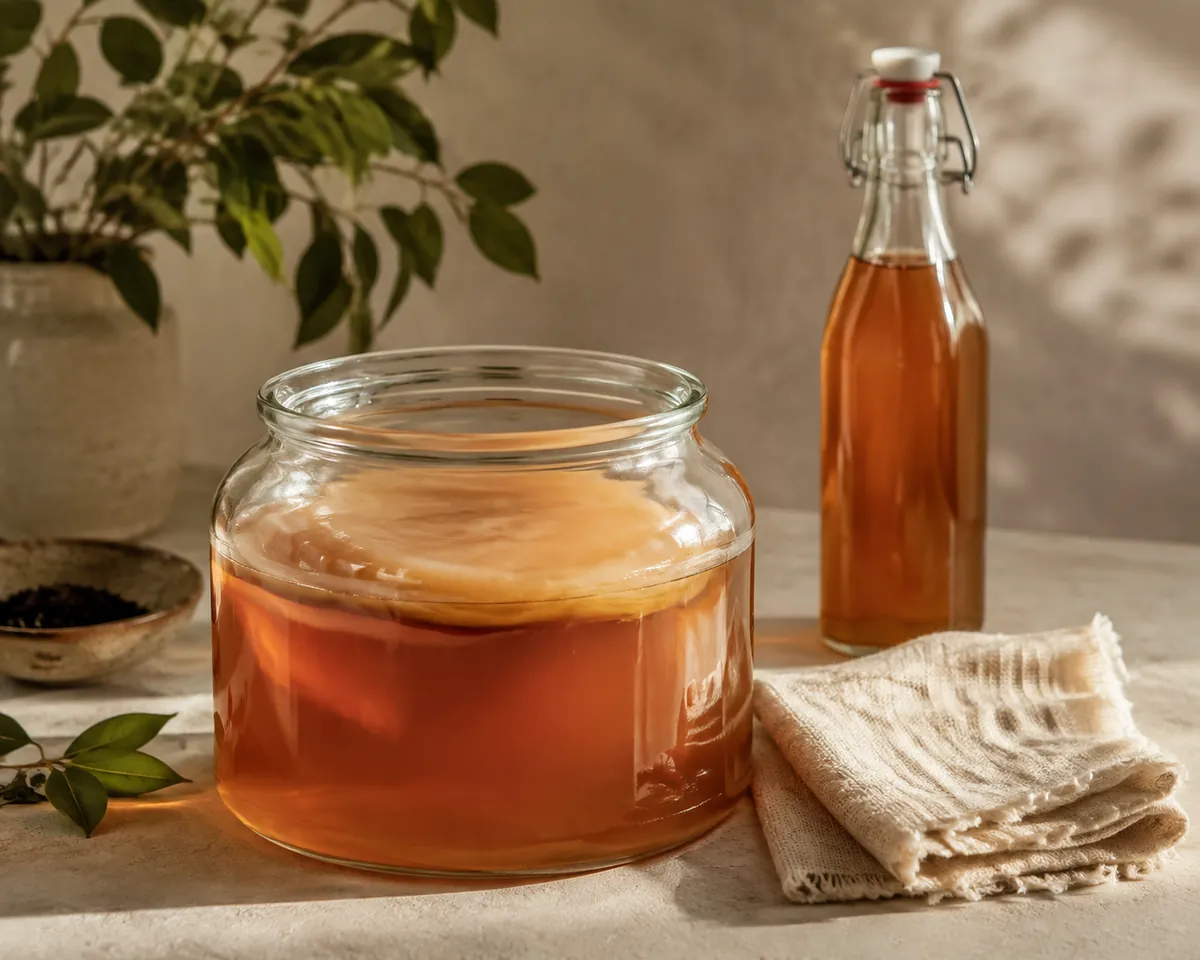
Kombucha is made in two stages, and only the first one needs a culture. Brew strong sweet tea, cool it to room temperature, add a culture along with a generous measure of mature liquid from a previous batch, then cover the jar and leave it somewhere warm for seven to fourteen days.
After that you taste it, and you keep tasting it. The batch is finished when the sweetness has dropped to where you want it, which is a judgement rather than a date.
This page is the method. What the drink actually is, and what the two organisms in it are doing to the sugar, belongs to kombucha itself.
Everything below is written for a two litre jar. That is the size most people start with, and it is forgiving enough that one warm week or one cold one does not ruin it.
What one two-litre batch takes
- Sweet tea
- 1.6 litres of water, brewed strong and cooled
- Sugar
- 130 to 160 g of plain white sugar
- Tea
- 8 g of loose black tea, or four to six bags
- Starter liquid
- 350 to 400 ml of mature kombucha from a finished batch
- Culture
- One healthy pellicle, the rubbery disc that forms on top
- Vessel
- A wide glass jar, covered with woven cloth
- First ferment
- 7 to 14 days at 22 to 26 C
What a batch needs before day one
The shopping list is short, and two items on it decide whether the batch works at all.
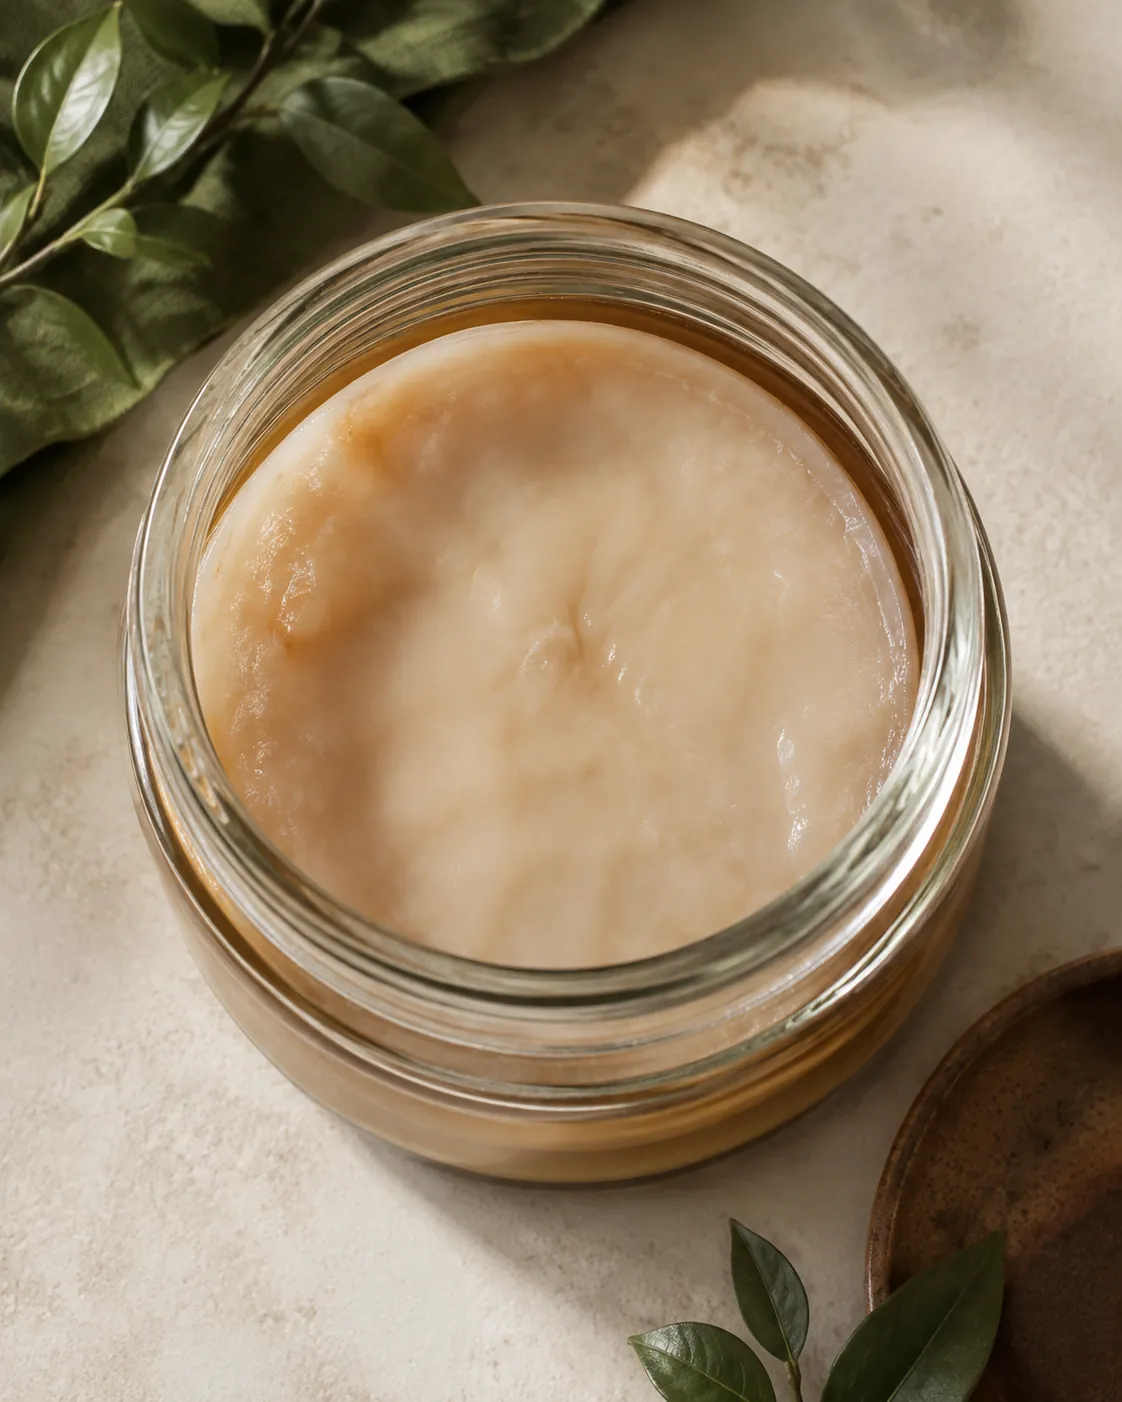
The first is the culture, a rubbery disc that people call a SCOBY and brewers call a pellicle. It floats on the surface and looks alarming, which is normal.
The second is the liquid it arrives in. That sour, cloudy fluid is doing more work than the disc is, and a culture posted to you in plain water is worth very little.
Everything else is ordinary. A wide glass jar, a square of tightly woven cloth, a rubber band, and a wooden or plastic spoon for anything you stir.
Loose tea can go straight into the water and be strained out later, so a tea infuser is a convenience here rather than a requirement.
Avoid metal vessels and decorative glazed crocks. A finished batch is acidic enough to pull material out of both, and glass is the only surface worth trusting for a fermenting jar.
Water matters less than people expect, though heavily chlorinated tap water can slow a batch down. Boiling it for the tea drives most of that off, which is why the brewing water question is smaller here than it is for coffee.
How much tea and sugar one jar takes
The ratio is more forgiving than a coffee recipe and less forgiving than it looks, because the sugar is not there for you.
It is the food supply for the whole ferment, and cutting it does not produce a less sweet drink. It produces a weak, slow batch that never gets sour enough to be stable.
For a two-litre jar
- Water
- 1.6 litres, leaving room for the starter
- Sugar
- 130 to 160 g, which is roughly 7 to 8 per cent
- Loose tea
- 8 g, or four to six teabags
- Starter liquid
- 350 to 400 ml, about 20 per cent of the finished volume
Plain white sugar is the default because it is what the culture handles most predictably. Cane sugar and beet sugar behave the same way in the jar.
Most of that sugar does not survive to the glass. It is consumed during the ferment, which is why a finished batch tastes sour rather than sweet even though it started at eight per cent.
Honey is the one substitution to think twice about. It carries its own microbes and pushes the balance somewhere else, so keep honey for the bottling stage if you want it at all.
The starter liquid is not optional at any ratio. Twenty per cent sounds generous until you understand what it is for, which is the next section but one.
Brewing the base, and why it has to cool
Brew the tea strong and hot, then get it cold before the culture goes anywhere near it.
Plain black tea is the reliable choice and the one most cultures were raised on. Steep 8 g in about half a litre of just-boiled water for ten minutes, which is far longer than you would ever steep tea to drink.
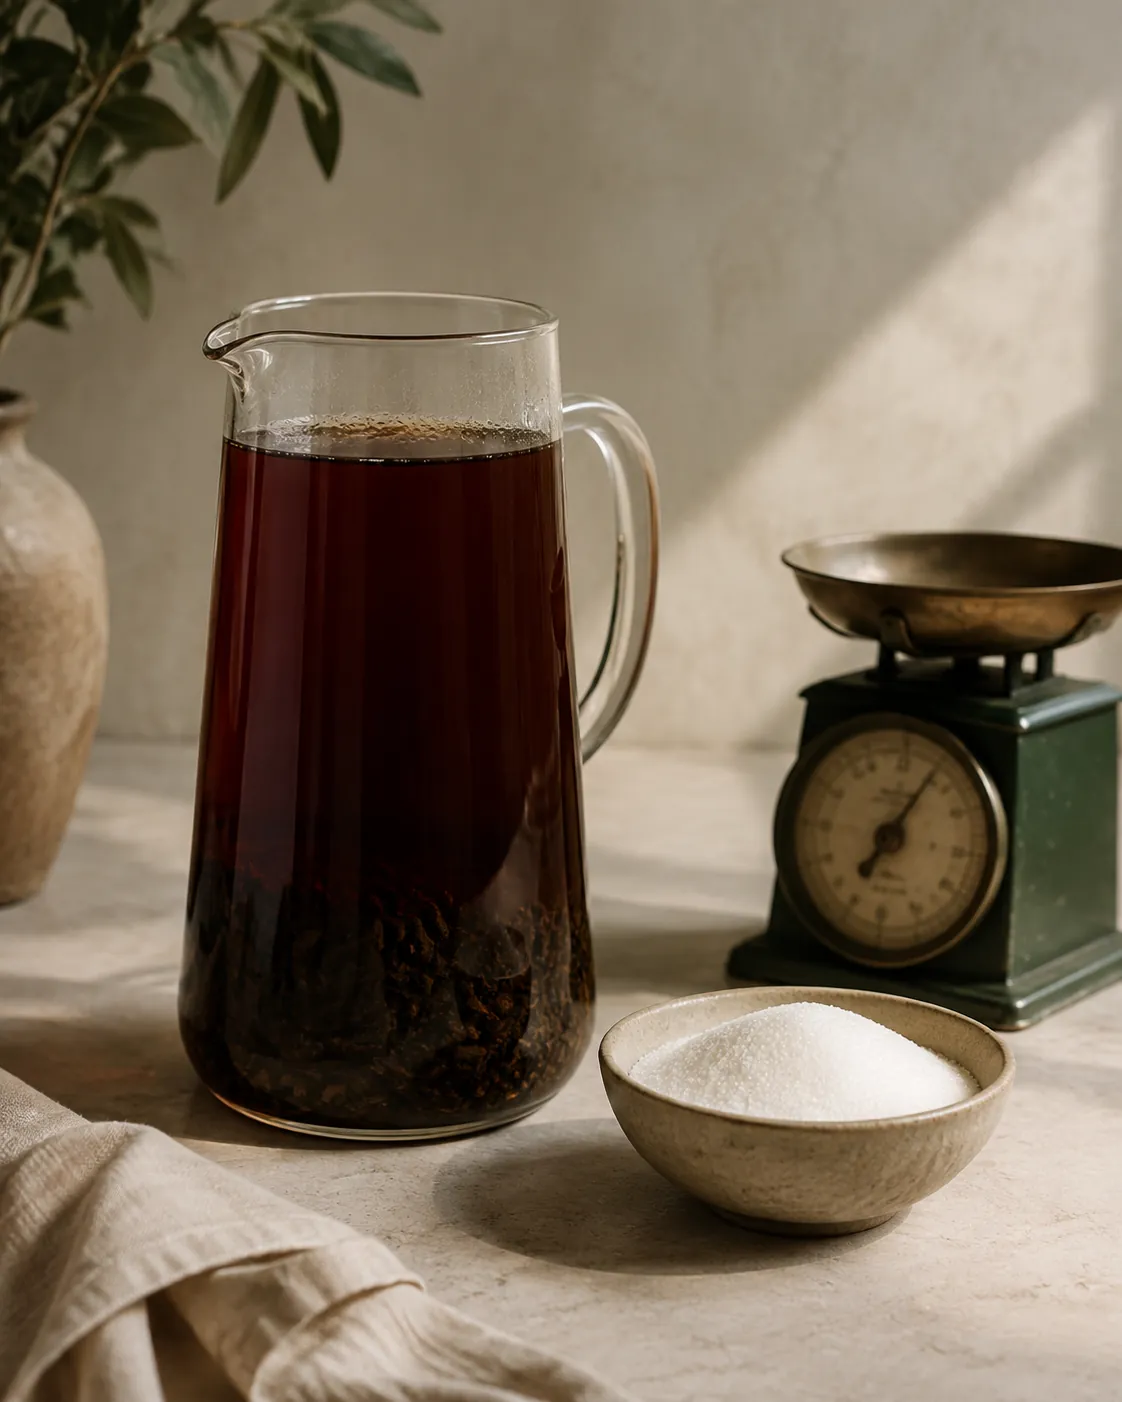
Boiling water is correct here and nowhere else in tea. The usual steeping temperature rules exist to protect flavour, and this base is being built for strength rather than for drinking.
Stir the sugar into the hot tea until it dissolves completely, then top up with the remaining cold water. That shortcut does most of the cooling for you and saves an hour of waiting.
Green tea works and gives a lighter, sharper result, though a culture moved onto it from black tea usually sulks for a batch or two before it settles.
Oolong sits between the two and ferments well once a culture is used to it, which is worth trying after the first few jars rather than on the first.
Flavoured and oiled teas are the ones to avoid. The bergamot oil in Earl Grey and the coating on most flavoured blends build up on the pellicle over repeated batches.
Nothing goes in above 30 C. Warm tea will not kill a culture instantly, but hot tea will, and there is no way to tell from looking at it afterwards.
The method, from sweet tea to first taste
Once the base is cold the sequence is short, and most of it is waiting.
One batch, start to finish
- Brew the teaSteep 8 g of black tea in 500 ml of just-boiled water for ten minutes, then lift the leaves out.
- Sweeten it hotStir in 130 to 160 g of sugar until no grains are left on the bottom of the jug.
- Cool it downTop up to 1.6 litres with cold water and check it is at room temperature.
- Add the starter firstPour in 350 to 400 ml of mature kombucha, then slide the culture in on top of it.
- Cover and leave itFix woven cloth over the mouth with a band, and stand the jar out of direct sun at 22 to 26 C.
- Taste from day sevenDraw a little out with a straw each day and stop when the sweetness has dropped to where you want it.
- Bottle or start againReserve 400 ml and the culture for the next batch, then bottle the rest.
The order inside that list is the part worth memorising. Starter liquid goes in before the culture, so the jar is already acidic by the time the disc is floating on it.
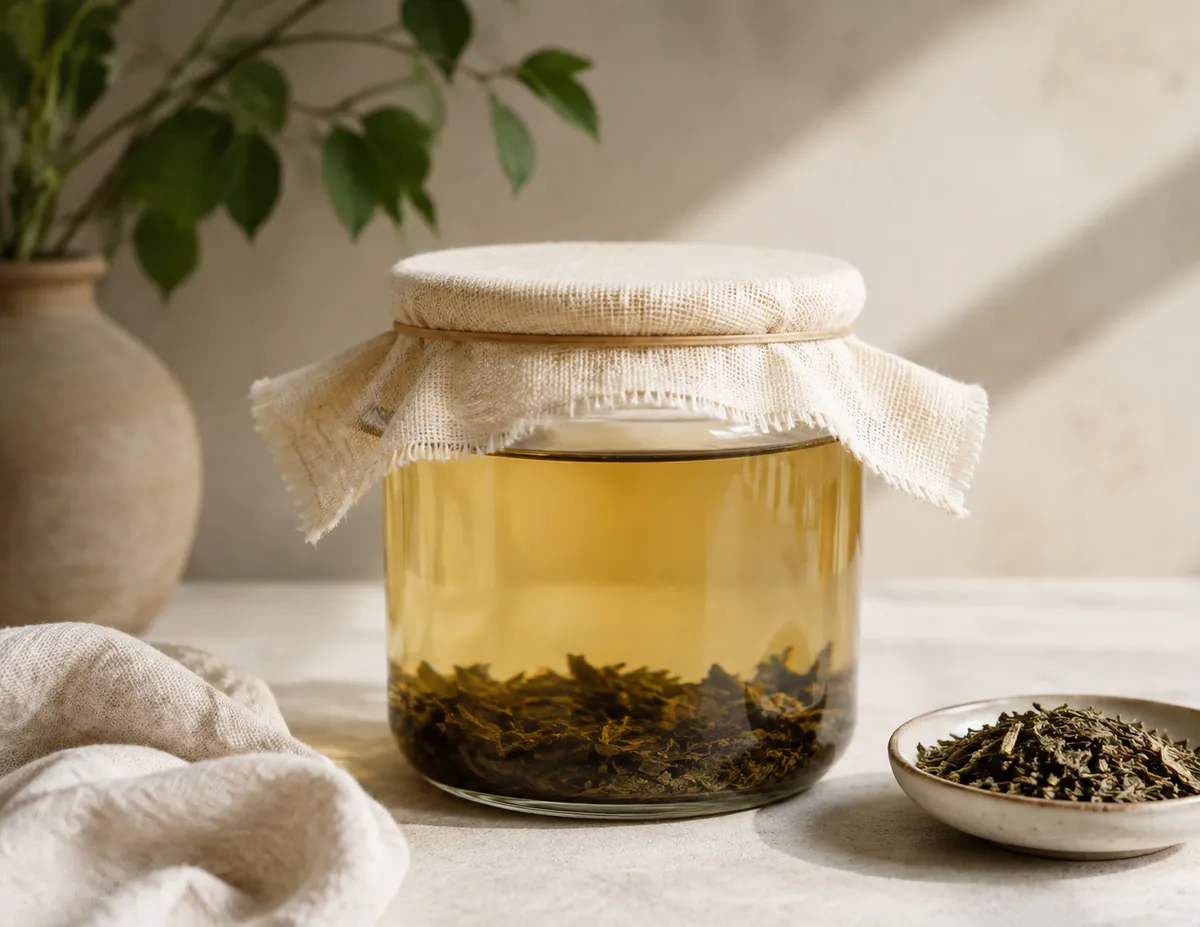
The cloth matters more than it looks. It has to breathe, because the ferment needs air, and it has to be woven tightly enough to keep fruit flies out.
A lid is wrong at this stage for both reasons. Save it for bottling, where the seal is the entire point.
Leftover loose tea keeps its strength for months in a sealed tin, and the same rules apply as for any other leaf you are storing loose-leaf tea from.
Why the starter liquid matters more than the culture
Here is the part most first batches get wrong, and it is the part that matters for safety rather than flavour.
The pellicle is not really the engine. It is a by-product, a cellulose mat the bacteria build, and a batch will ferment perfectly well from mature liquid alone with no disc in it at all.
What the starter liquid does is drop the pH of the whole jar immediately. A fresh jar of sweet tea is a comfortable place for almost anything to grow, and acidity is the only thing making it inhospitable to everything except the culture you want.
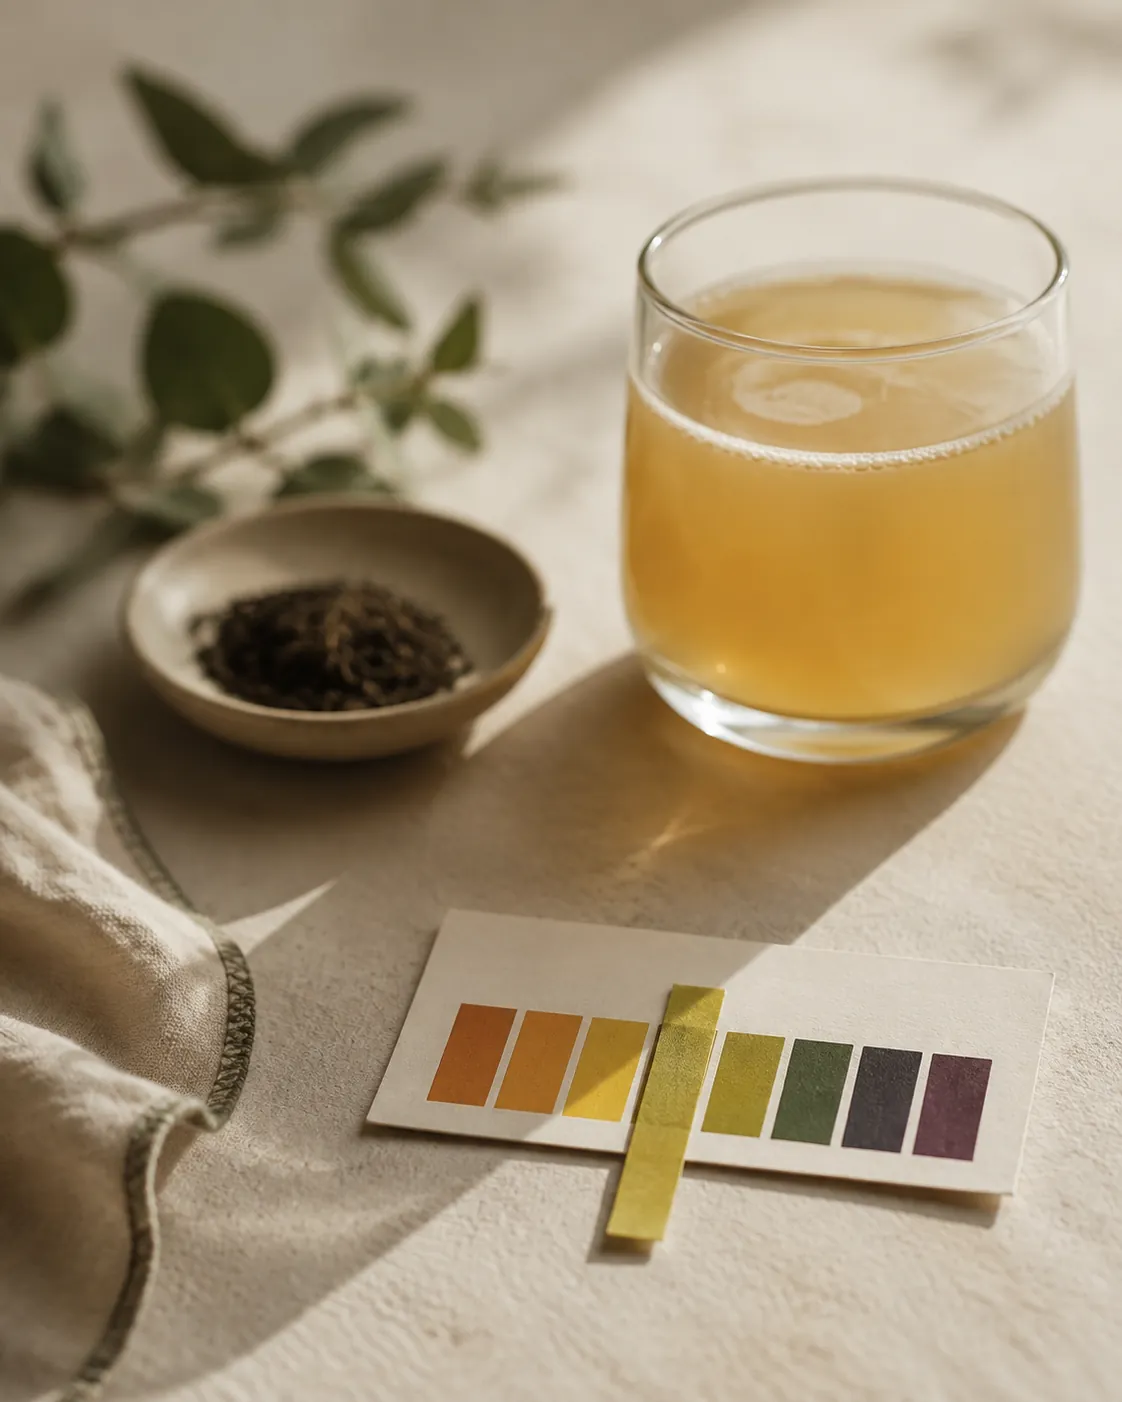
That is why the measure is 20 per cent rather than a splash. It takes a real volume of mature liquid to bring two litres below the line on day one, before anything else has had a chance to establish.
The acid a finished batch carries is mostly acetic and gluconic rather than the citric acid you would find in fruit, which is why it smells of vinegar rather than of lemons.
If you have no mature liquid, distilled white vinegar will acidify a first jar, and the batch it produces should be used as starter rather than drunk. The first days are the vulnerable ones, and after that the batch is making its own protection.
How long it takes, and how to tell it is finished
Seven to fourteen days is the honest range, and temperature moves it more than anything else you control.
A jar at 26 C can be finished in six days. The same jar at 18 C may still be sweet at three weeks, and a cold kitchen in winter is the usual reason a batch seems to have stalled.
What the temperature does
- Below 18 CSluggish and prone to stalling. The culture survives but barely works
- 18 to 21 CSlow but sound, often two weeks or more
- 22 to 26 CThe working range. Seven to twelve days for most jars
- 27 to 30 CFast, sour quickly, and yeasts start to dominate the balance
- Above 30 CStressed. Sour without depth, and hard on the culture
Taste it rather than counting days. Slide a straw down the side of the jar past the pellicle, draw a small amount, and taste that.
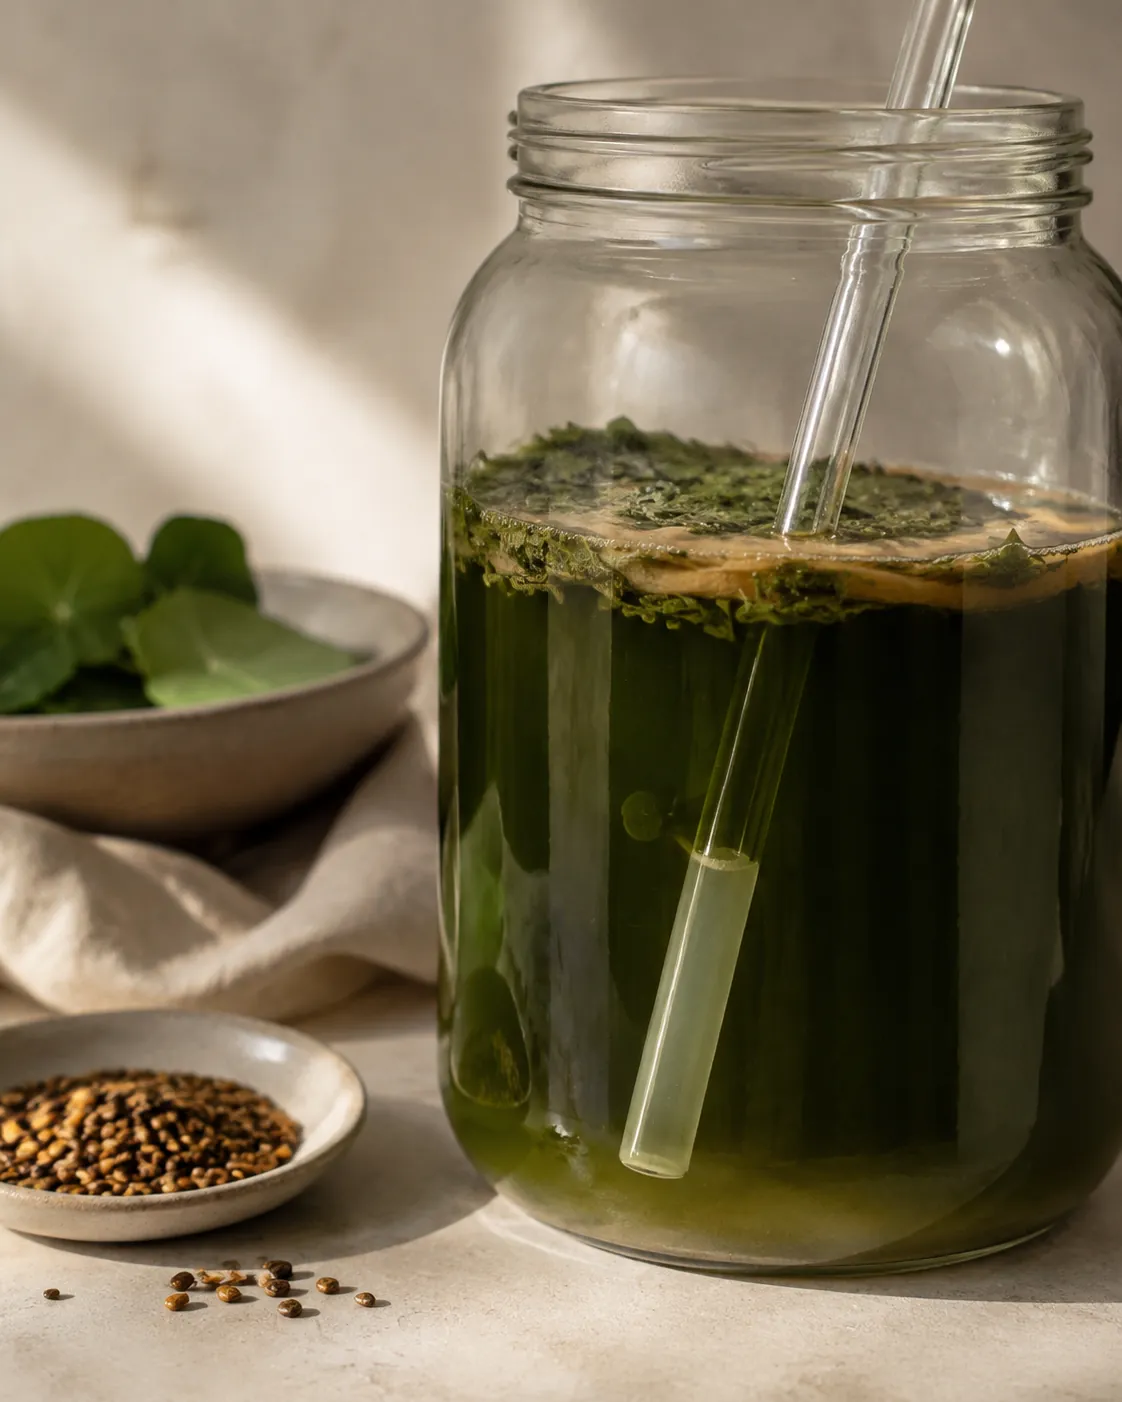
You are looking for a clean sourness with the sweetness gone and no harshness behind it. Left longer, the same jar keeps going and turns into something closer to vinegar.
That over-soured batch is not wasted. It is the strongest starter you will ever have, and it goes straight into the next jar.
A hydrometer or pH strips will tell you the same thing in numbers, and neither is necessary once you have tasted three or four batches through to the finish.
Bottling, and where the fizz comes from
A first ferment under cloth is almost flat, because the gas it makes leaves through the cloth. Fizz is made in the second stage, in a sealed bottle.
Fill flip-top bottles to about four fifths, leaving headspace, and seal them. Add a small amount of sugar in some form if you want carbonation, because the yeasts need something left to work on.
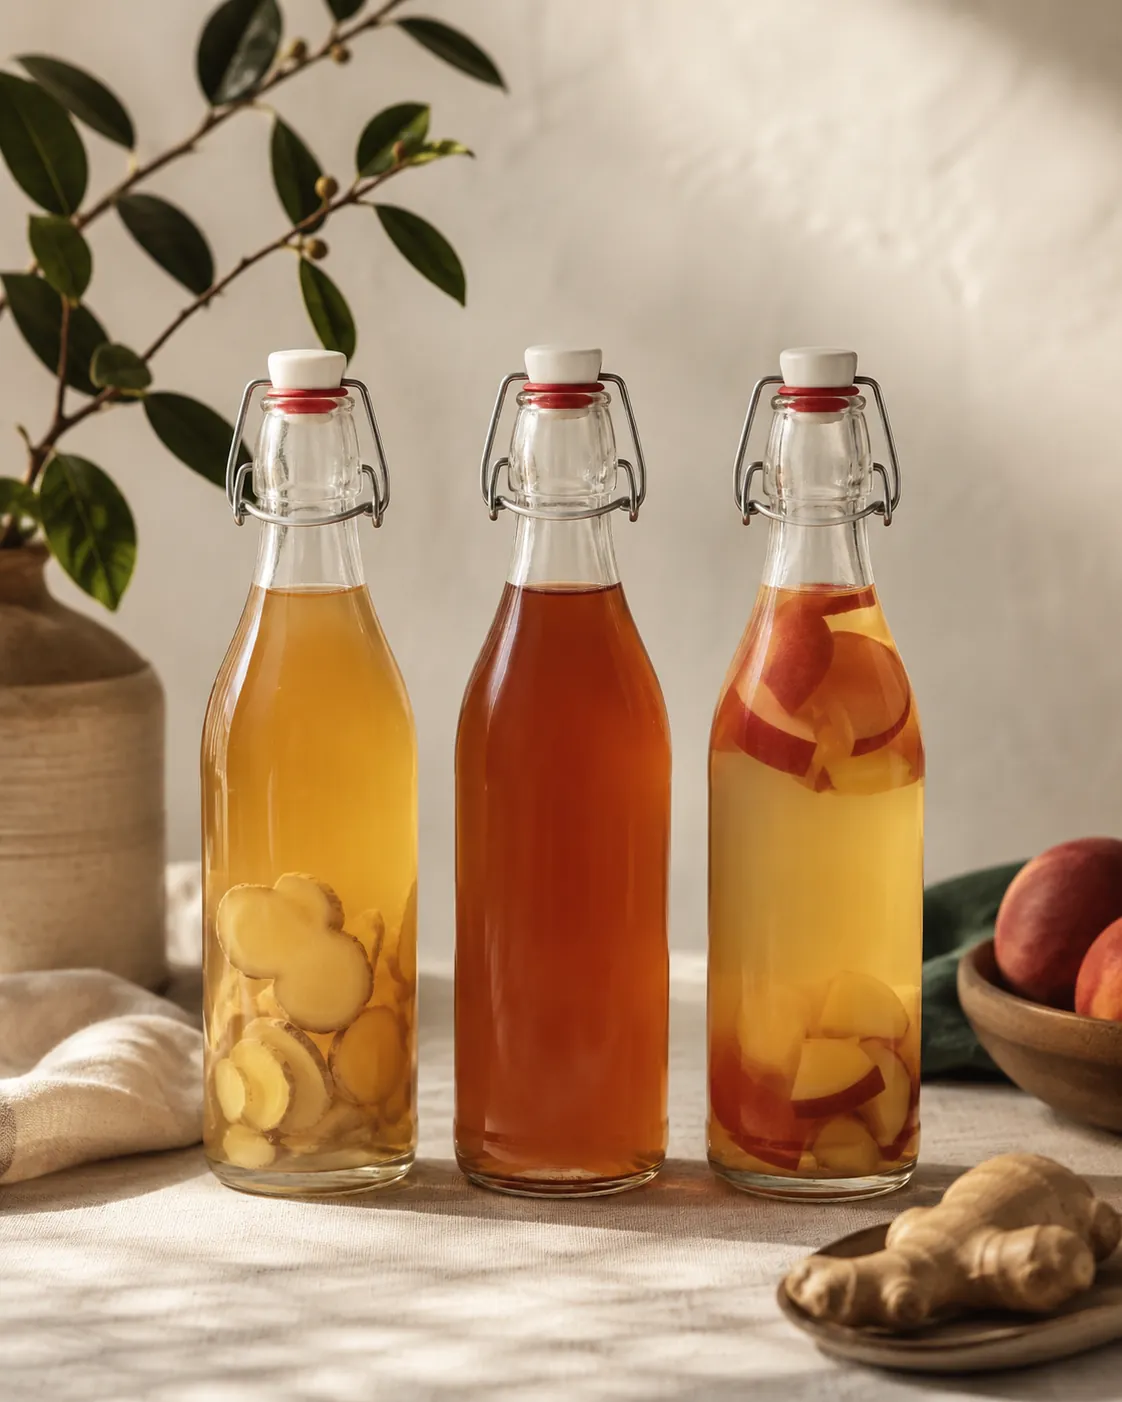
Fruit juice is the easiest route and doubles as the flavouring. A tablespoon of apple juice in each bottle is plenty.
A few slices of ginger give a sharper result and carbonate strongly, which is a reason to watch those bottles more closely than the rest.
Peel rather than juice is the safer citrus addition, since a strip of lemon rind flavours without adding much extra sugar.
Leave the bottles sealed at room temperature for one to three days, then refrigerate them. The carbonation this builds is finer and softer than the sharp bubble of seltzer, because it forms slowly and under low pressure.
Open one bottle a day to check the pressure while you are learning. A bottle left warm and forgotten builds far more gas than people expect, and glass under pressure is genuinely dangerous, so refrigerate on time rather than gambling on another day of fizz.
What goes wrong, and what each fault looks like
Most faults announce themselves clearly once you know which surface to look at.
| What you see | What it is | What to do |
|---|---|---|
| Brown stringy threads hanging down | Yeast strands, entirely normal | Nothing. Strain them out at bottling if you dislike them |
| Dry fuzzy spots, white, green or black | Mould, sitting proud of the surface | Discard the batch and the culture. Do not try to rescue it |
| A thin new layer forming on top | A new pellicle, which forms every batch | Nothing. It is a sign the jar is working |
| Sweet after three weeks | Too cold, or too little starter | Move it somewhere warmer and start the next batch with more mature liquid |
| Sharp and vinegary | Left too long | Keep it as starter for the next jar rather than drinking it |
| Flat after bottling | No sugar left for the second ferment | Add a little juice at bottling and give it another day sealed |
The distinction that matters is mould against yeast. Yeast hangs down, mould sits up, and that single test settles almost every anxious first batch.
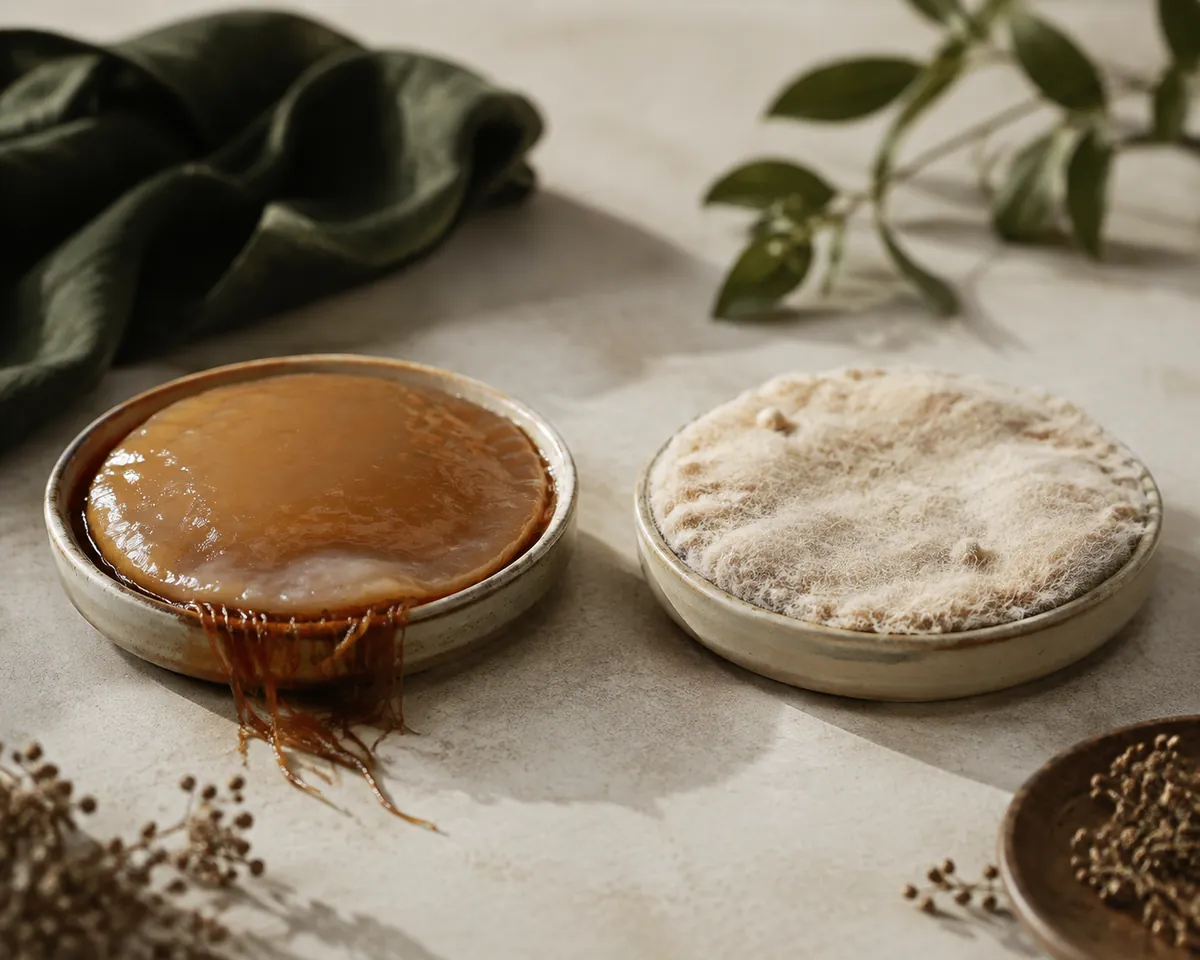
Yeast strands are wet, brown and trail below the surface. Mould is dry, fuzzy and sits on top of the pellicle like something growing on bread.
There is no partial recovery from mould. A batch that grows it was not acidic enough on day one, which is a starter problem rather than bad luck.
Vinegar flies and a sour smell around the jar mean the cloth has worked loose. Retie it and check the batch, which is usually fine.
Keeping the culture between batches
A culture does not need feeding constantly, but it does need to sit in its own liquid rather than in air.
Keep a spare jar with the pellicles you are not using, covered in mature kombucha, with cloth over the top. Brewers call it a hotel, and it will hold at room temperature for months with an occasional spoonful of sugar dissolved into it.
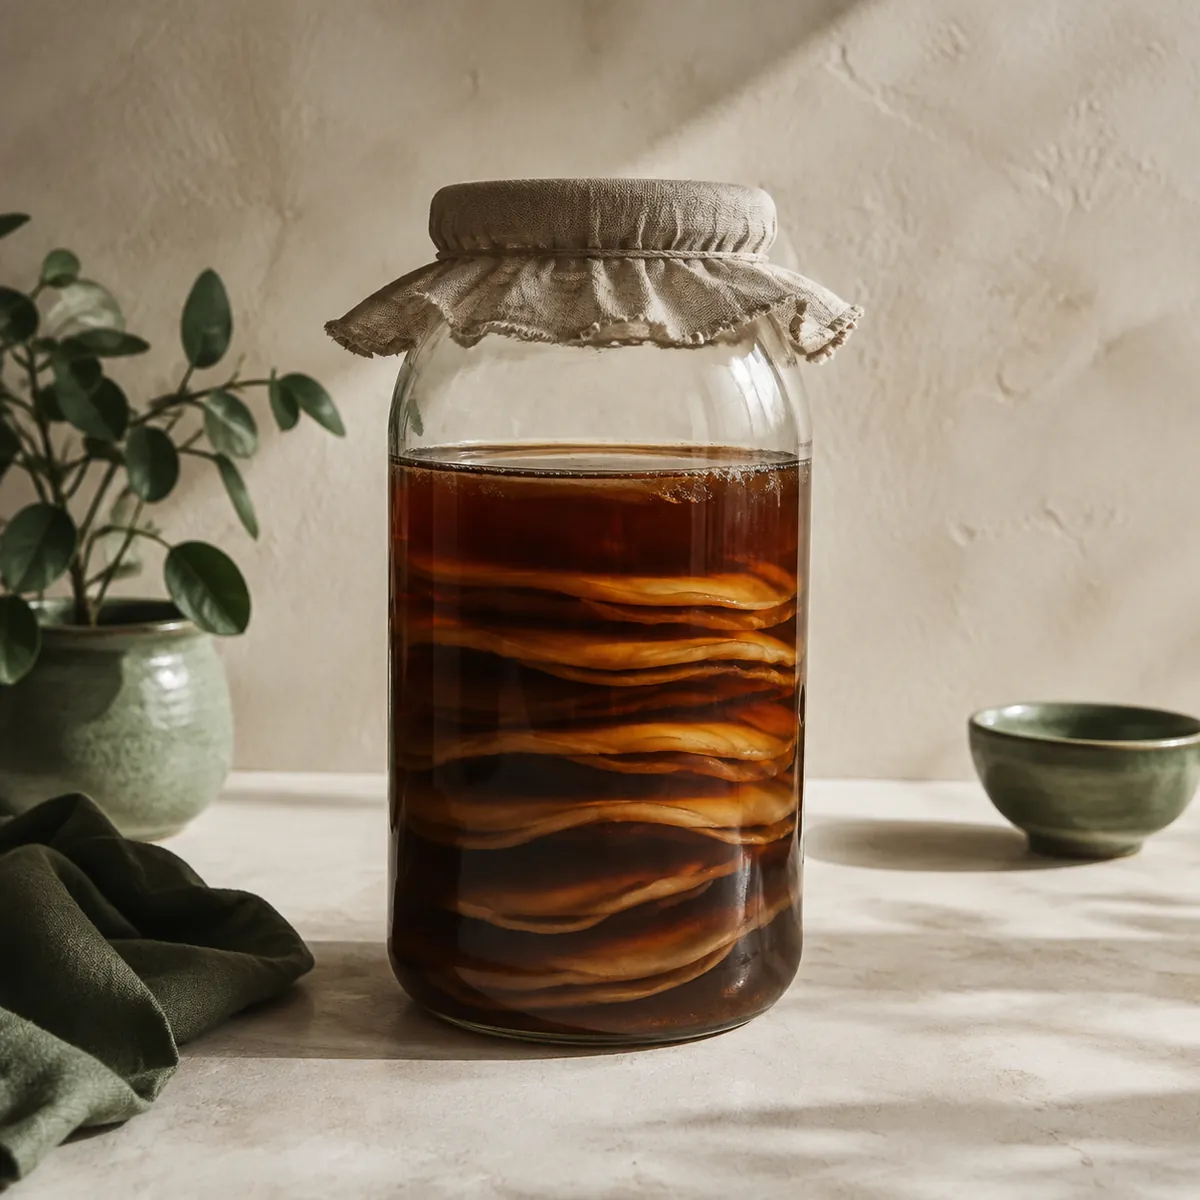
Cultures stack up quickly, since every batch makes a new one. Two or three is a useful reserve and everything beyond that can be thrown away without guilt.
Refrigeration is the one thing to avoid. Cold storage weakens a culture in a way that room temperature in acidic liquid does not.
A chilled pellicle often takes two slow batches to recover, which is longer than simply keeping it on the counter would have cost.
A pellicle that has gone dark and leathery at the bottom of a hotel is old rather than spoiled. The newest layer is the active one, and older discs can be peeled away and discarded.
Brewing more, and the continuous jar
Scaling up is a straight multiplication, with one thing that does not scale.
Double the tea, sugar, water and starter together and the ratio holds. Fermentation time barely moves, because the rate depends on temperature and on the surface area at the top of the jar rather than on the volume beneath it.
A tall narrow vessel ferments noticeably slower than a wide one of the same capacity, which surprises people who scale up by buying a demijohn.
The other route is continuous brewing, using a jar with a tap. You draw off a third at a time and top it back up with fresh sweet tea, so the culture never returns to a fully sweet jar and never goes through the vulnerable first days again.
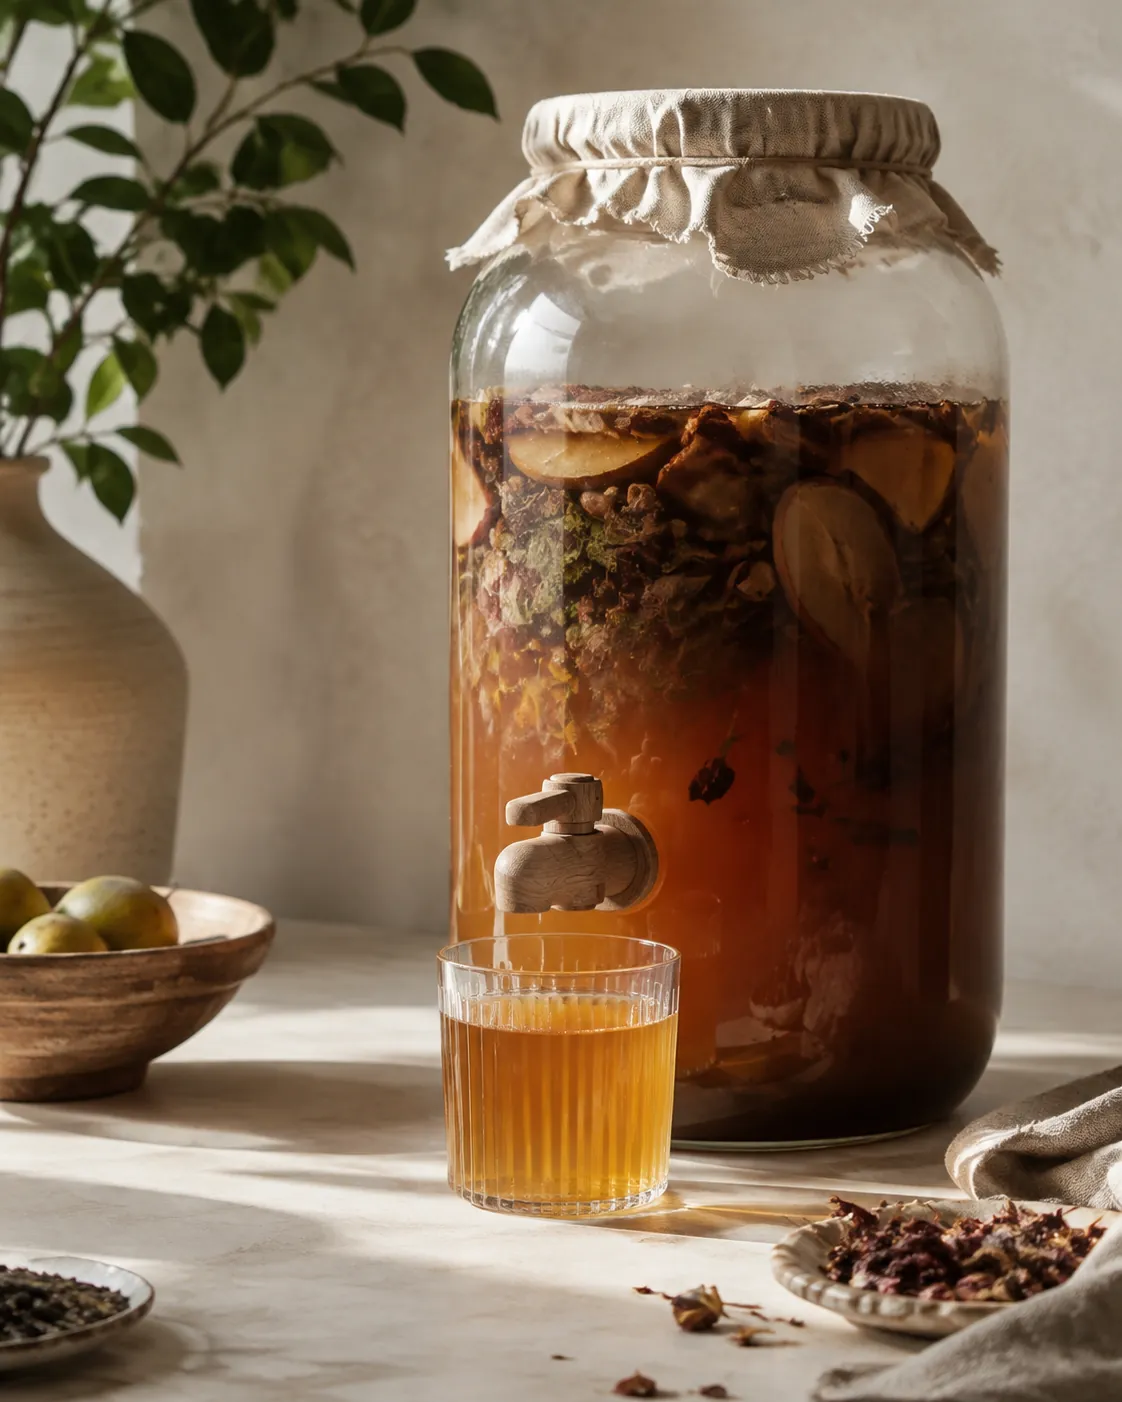
That method suits a household drinking it steadily. It asks for a full strip and clean every few months, because sediment and old yeast build up under the tap where you cannot see them.
Works well for
- Batch brewing shows you the whole arc, so the timing becomes obvious
- Every batch starts from a known point, which makes a fault easy to trace
- One jar and one cloth is the entire kit
Struggles with
- Two or three jars in rotation if you want it continuously
- Every batch passes through the vulnerable first days again
- Continuous brewing gives a steadier supply and skips that exposure
- A tapped vessel needs stripping and cleaning every few months
Batch brewing is easier to learn on, since every jar starts and finishes in the same place and you can taste the whole arc. The continuous jar is less work once the timing is familiar, and it makes the same drink.
Either way the output is a chilled, sour, lightly fizzing tea, and a large batch keeps in the fridge about as long as a jug of iced tea does before it starts to taste tired.
The method
- Makes
- About 1.6 litres, less the starter you hold back
- Water temp
- Ferment at 22 to 26 C, and nothing goes in above 30 C
- Total time
- 20 min
What you need
- 8 g loose black tea, or four to six teabags
- 130 to 160 g plain white sugar
- 1.6 litres water
- 350 to 400 ml mature kombucha as starter liquid
- One healthy kombucha culture
Equipment
- A wide glass jar of about two litres
- A square of tightly woven cloth and a rubber band
- A jug for brewing and cooling the tea
- Flip-top bottles for the second ferment
Method
- Brew the teaSteep 8 g of black tea in 500 ml of just-boiled water for ten minutes, then lift the leaves out.
- Sweeten it hotStir in 130 to 160 g of sugar until no grains are left on the bottom of the jug.
- Cool it downTop up to 1.6 litres with cold water and check it is at room temperature.
- Add the starter firstPour in 350 to 400 ml of mature kombucha, then slide the culture in on top of it.
- Cover and leave itFix woven cloth over the mouth with a band, and stand the jar out of direct sun at 22 to 26 C.
- Taste from day sevenDraw a little out with a straw each day and stop when the sweetness has dropped to where you want it.
- Bottle or start againReserve 400 ml and the culture for the next batch, then bottle the rest.
Common questions
How long does kombucha take to ferment?
Seven to fourteen days at 22 to 26 C. Temperature moves it more than anything else, so a jar at 26 C can finish in six days while the same jar at 18 C may still be sweet after three weeks. Taste it from day seven rather than working to a date.
How much starter liquid does a batch need?
About 20 per cent of the finished volume, which is 350 to 400 ml in a two litre jar. That volume is what drops the acidity of the whole jar on day one, and it matters more than the size of the culture.
Can you make kombucha without a SCOBY?
Yes. The pellicle is a by-product rather than the engine, and a batch will ferment from mature liquid alone. A new disc forms on the surface of every batch anyway.
How do you tell mould from yeast on kombucha?
Yeast strands are wet, brown and hang below the surface. Mould is dry, fuzzy and sits proud on top of the pellicle, in white, green or black patches. There is no partial recovery from mould.
Why is my kombucha still sweet after two weeks?
Usually the jar is too cold, or it started with too little mature starter liquid. Move it somewhere between 22 and 26 C, and begin the next batch with a full 20 per cent of starter.
Why is my bottled kombucha flat?
The second ferment needs sugar left for the yeasts to work on. Add a tablespoon of fruit juice at bottling, seal the bottle, and leave it at room temperature for one to three days before refrigerating.