Stovetop Hot Cocoa, and Why the Pan Beats a Mug
Cocoa powder does not dissolve into milk. Mix it with the sugar first, make a paste with a little liquid, then add the rest. That one order of operations is what separates smooth cocoa from lumpy cocoa.
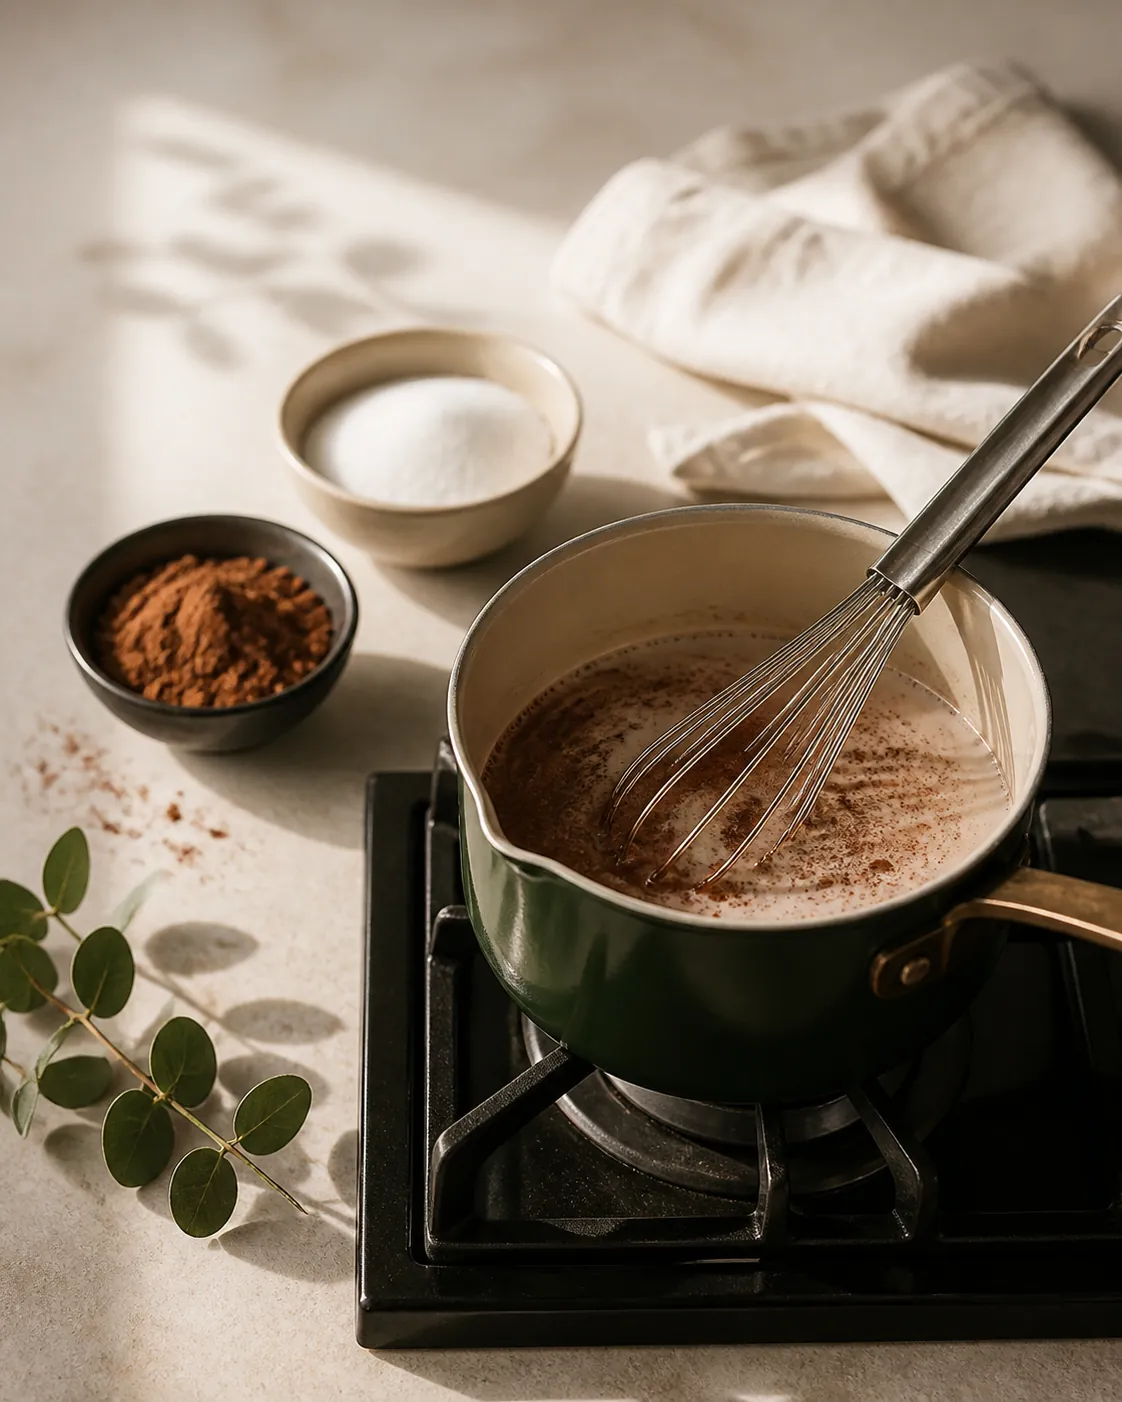
Cocoa powder is not soluble. It is a fine solid that has to be dispersed through the liquid and then held there, which is why every reliable method starts by breaking the powder up before the bulk of the milk arrives.
Get that one step right and the rest of the pan is heat control. What the finished drink is, and how it differs from a cup built on melted chocolate, belongs to hot chocolate rather than to this method.
The order that keeps the powder smooth
Six minutes is the whole job, and five of them are the paste and the warming.
For two mugs
- Milk
- 500 ml
- Cocoa powder
- 3 tbsp, about 18 g
- Sugar
- 2 to 3 tbsp, to taste
- Salt
- A pinch
- Dark chocolate
- 20 g, chopped, optional
The chocolate is optional and the salt is not. What follows is the sequence that keeps the powder from clumping, and no step in it can be swapped for a later one.
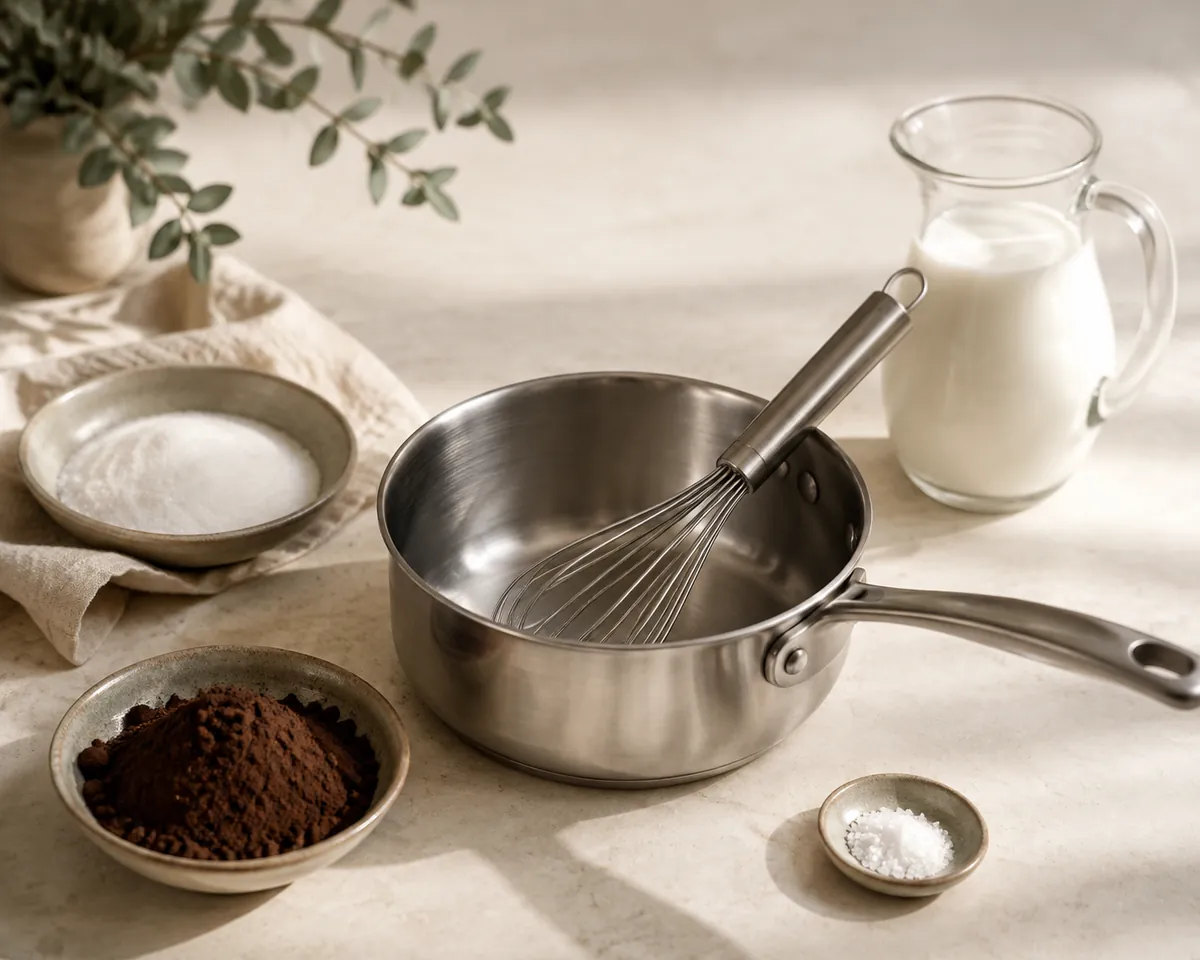
Method
- Mix the dry ingredientsWhisk the cocoa, sugar and salt together in the cold pan. The sugar keeps the cocoa particles apart.
- Make a pasteAdd about 3 tbsp of the milk and work it against the base of the pan until it is completely smooth and glossy.
- Loosen itAdd another splash of milk and whisk again. The paste should now pour rather than hold its shape.
- Add the restPour in the remaining milk, whisking as you go.
- Heat gentlyMedium-low, whisking regularly. Do not walk away.
- Stop before it boilsWhen the surface steams and the edges just begin to move, take it off.
- Finish with chocolateOff the heat, whisk in the chopped chocolate until it melts.
Each stage exists to head off one specific failure. Dry-mixing prevents clumping, the paste stage prevents grit, the second splash prevents a paste too stiff to thin, and the low heat prevents scorching.
Why the order matters
- Dry mixSugar separates the cocoa particles before any liquid arrives.
- PasteA little milk plus friction against the pan breaks every clump down.
- LoosenA second splash turns the paste pourable without reintroducing lumps.
- HeatThe bulk of the milk goes in and warms gently to just below a simmer.
Total time is about six minutes, and the only part worth hurrying is the pour. A fuller version of the sequence, with the timings written out, sits at making hot cocoa.
Why lumps form and refuse to go
When cocoa powder meets liquid, the outside of each clump wets first and forms a barrier. The dry powder inside stays dry however hard you whisk afterwards, and once a lump has set like that it does not break up.
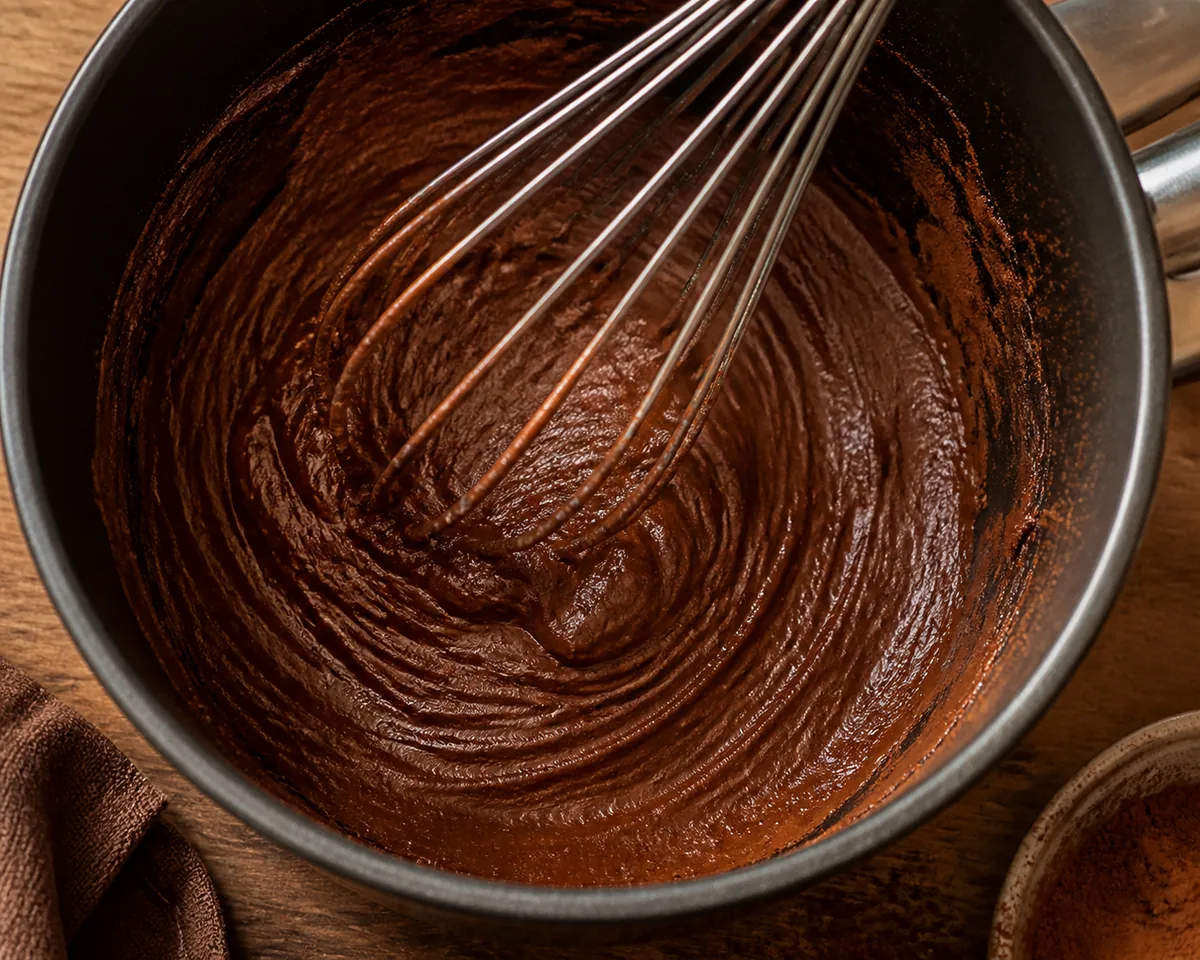
That glossy paste is the target. If the mixture still looks dull and grainy against the pan base, keep working it before any more milk goes in, because nothing later in the method will rescue it.
Two things stop the barrier forming.
Mixing the cocoa with sugar physically separates the particles with something that does dissolve, and adding a small quantity of liquid first lets you press the powder against the side of the pan, where there is enough friction to break every lump down.
Salt and sugar both go in at the dry stage for the same reason. Both dissolve into the paste and both need to be there before the powder has anything to clump around, so adding either at the end wastes most of what it can do.
Heat control, and why the pan beats the microwave
Milk scalds on a hot base. Heated too hard, the proteins on the base of the pan set and catch, and that burnt note carries through the whole batch and cannot be stirred, sweetened or diluted out of it.
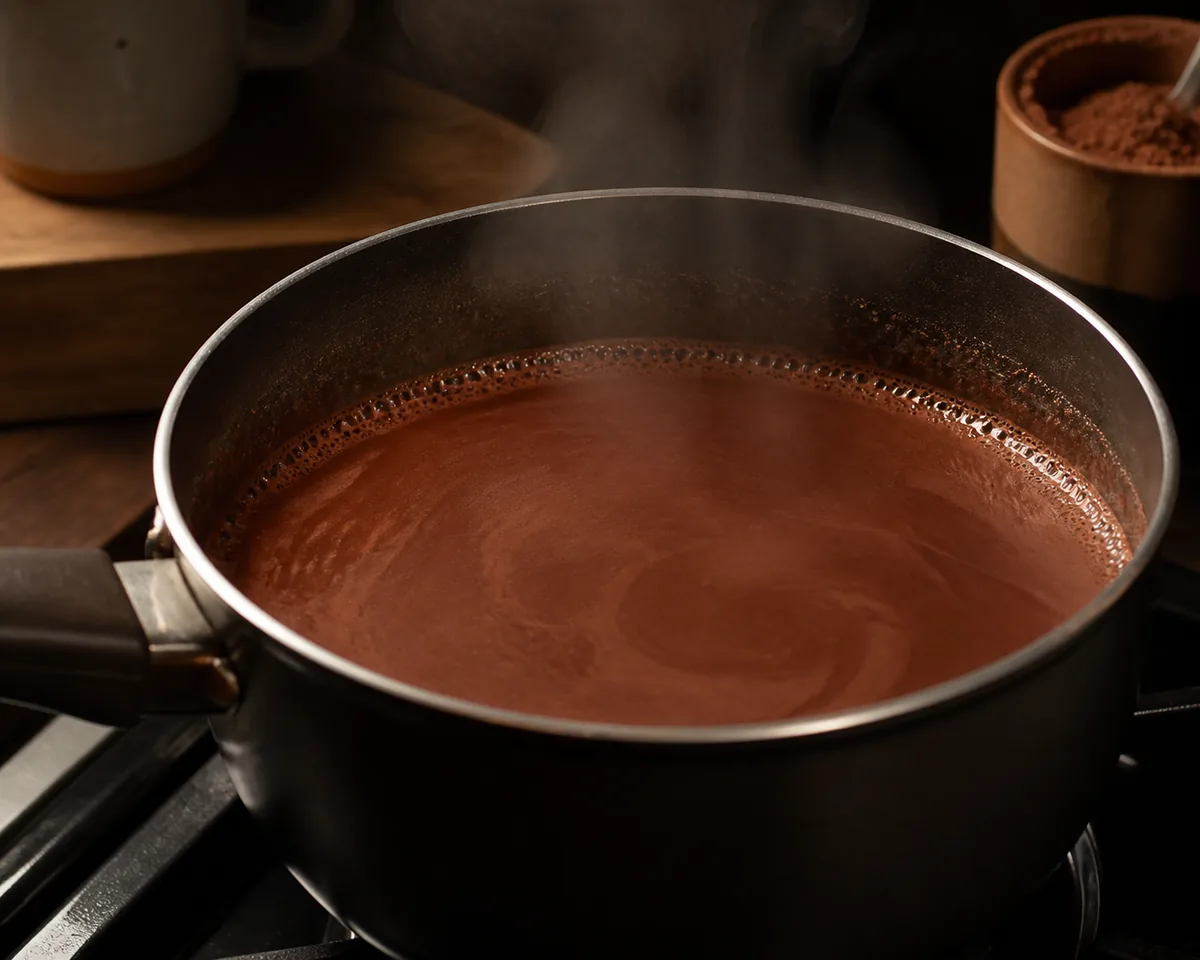
Bubbles at the edge and nowhere else is exactly where to stop. Past that the surface starts forming a skin, which is a protein film that whisking will not fully return to the liquid, and the drink loses body along with it.
A microwave takes both of those decisions away from you. It heats unevenly and from within, so one part of the mug reaches boiling while the surface is still cool, and there is no way to whisk while it happens.
The pan is not tradition. It gives an even rise in temperature and a whisk in your hand throughout, which are the two things this drink actually needs.
Every common fault traces back to one of two moments: a paste that was rushed, and a heat setting too high.
Which liquid goes in the pan
Changing the liquid changes body far more than flavour, so the choice is worth making deliberately.
- Whole milk. The default, and the richest. Fat carries the cocoa aromatics and gives the drink its weight.
- Semi-skimmed. Works fine and reads noticeably thinner. Adding the optional chocolate compensates.
- Oat. The best plant option here, because its body is closest to dairy. Its own sweetness means less added sugar.
- Almond or rice. Thin, and the cocoa ends up tasting watery. Use more chocolate rather than more powder.
Plant drinks scorch at least as readily as dairy, so the heat guidance tightens rather than relaxes. Oat drinks also thicken as they warm, because of the starch in them, so a cup that looked right in the pan sets heavier in the mug.
Splitting is a smaller risk than in coffee, because cocoa is only mildly acidic, and the mechanism is set out in plant milk curdling. Rice drinks are the thinnest option here and want the chopped chocolate rather than another spoon of powder.
What goes in the pan, and how it changes the method
Powder, a chopped bar and a bought drinking chocolate each behave differently once the heat is on, and the difference decides how many steps you need.
| Name | Made from | In the pan | Body |
|---|---|---|---|
| Hot cocoa | Cocoa powder, sugar, milk | Disperses, needs a paste first | Lighter, clearly cocoa-flavoured |
| Hot chocolate | Melted chocolate, or cocoa plus chocolate | Melts in | Richer, from the cocoa butter |
| Drinking chocolate | Chocolate ground for the purpose | Melts in | Thickest, sometimes almost pourable |
Anything carrying cocoa butter melts and needs no pasting, and anything that has had the butter pressed out disperses and does. That single fact is why the method above has three stages before the milk goes in, and why a bar-based cup has none.
The ingredients list settles which you have bought, whatever the front of the packet says. If cocoa powder leads, you are pasting, and the pages on hot cocoa and drinking chocolate set out what each name is expected to deliver.
| Chocolate | Behaviour in cocoa | Result |
|---|---|---|
| Milk, 30 to 40 per cent | Melts easily, adds sweetness and dairy notes | Mild, sweet, closer to a childhood cocoa |
| Dark, 55 to 70 per cent | The usual choice, balanced | Rich without being harsh |
| Dark, 80 per cent and above | Adds body and bitterness, needs extra sugar | Intense, and easy to overdo |
| White | Contains no cocoa solids at all | Sweet and creamy, but not chocolate in flavour terms |
For the optional 20 g going in off the heat, 55 to 70 per cent is the working range. Above about 70 the bar starts fighting the powder rather than supporting it, and you end up adding sugar to correct what you just put in, while a white chocolate finish brings cocoa butter and no cocoa flavour at all.
Natural or Dutch-process powder in this pan
Both work, and the pan treats them slightly differently.
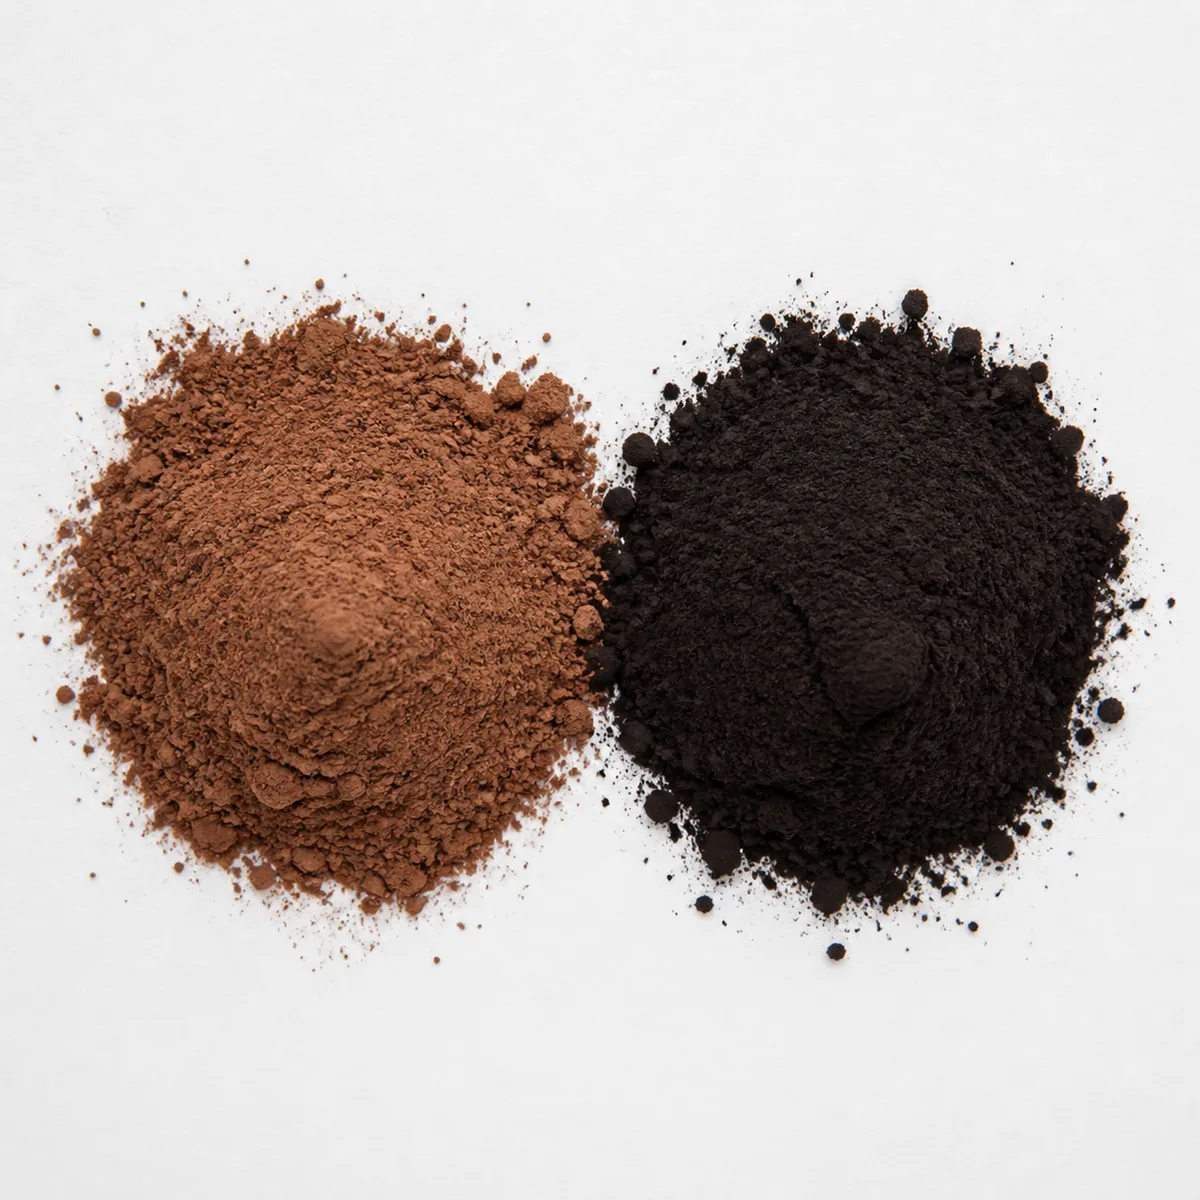
Natural on the left, alkalised on the right, and the colour gap is visible before either tin is opened. Natural cocoa is acidic, and it tastes sharper, fruitier and more astringent in the finished cup.
Dutch-process cocoa has been treated to take that acidity down. It is darker, mellower, and it wets and disperses more willingly at the paste stage, which makes it marginally the easier powder to work with when you are making several mugs at once.
Natural cocoa needs a little more sugar at the same weight, because the sharpness reads as bitterness against milk rather than as fruit. Dutch-process gives the rounder, more familiar cup and natural gives the brighter one, and the choice only becomes a rule rather than a preference in baking, where the acidity has a raising agent to react with.
Tuning it after the first mouthful
One adjustment per batch is the whole discipline. Cocoa is forgiving enough that a single change is easy to taste and easy to remember, and three at once teaches you nothing.
- Too thin: use less milk, or add chopped chocolate rather than more cocoa powder.
- Too bitter: add sugar in small increments, or switch to a Dutch-process powder.
- Not chocolatey enough: increase the cocoa to 4 tbsp, and check the salt is in there.
- Grainy at the bottom: the paste stage was rushed. Whisk longer before adding the bulk of the milk.
Serving temperature is the adjustment people never think to make. Around 60 to 65 C is where the aromatics read best, and a cup poured straight from a pan that has just stopped steaming is usually hotter than that, so the first mouthful tastes of less than the third.
A thick mug straight off a cold shelf takes several degrees out of the drink immediately, which argues for rinsing it with hot water first. Cream on top mutes the cocoa underneath it rather than enriching it, and honey stirred in at the end never quite dissolves, where sugar in the dry mix always does.
A pinch of cinnamon belongs with the dry ingredients too, for the same reason the salt does.
Making more than two mugs
Doubling the recipe is arithmetic. Doubling the pan is not, and two things stop scaling cleanly once you pass about four cups.
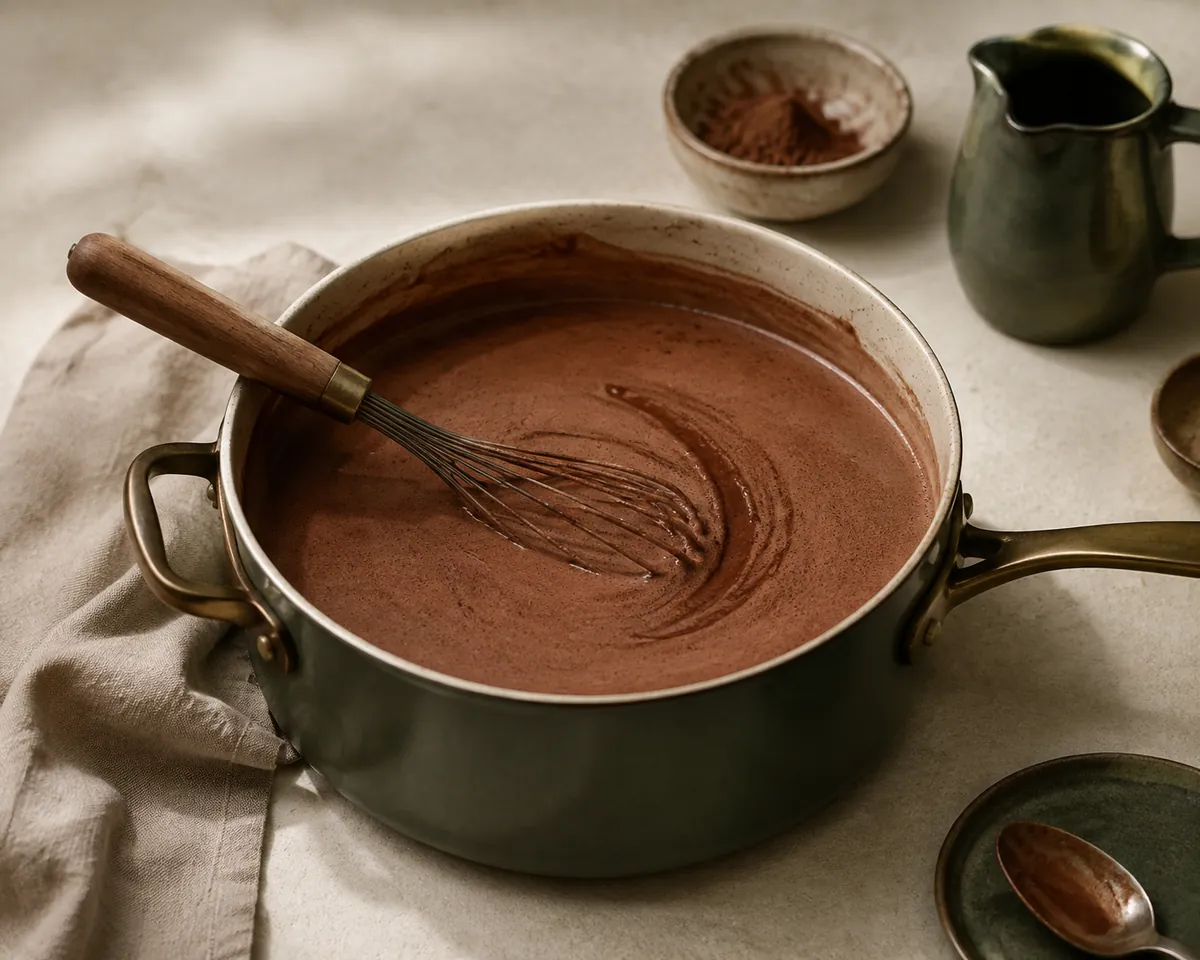
Heating time grows faster than volume, because a larger pan has proportionally less of its contents in contact with the heat. A litre takes noticeably more than twice as long as 500 ml, and the longer it sits over a flame the greater the chance of catching at the base.
The paste gets harder too. A larger quantity of powder needs proportionally more liquid to wet it properly, so take longer over that stage and use a touch more milk than the ratio suggests rather than fighting a stiff paste.
- Use a heavy-based pan for anything over a litre. Thin pans develop hot spots that scorch the milk.
- Whisk more often, not harder. Scorching happens at the base where you cannot see it.
- Make the paste with proportionally the same small amount of milk, not a larger splash.
- Keep the heat lower for larger volumes and accept it takes longer.
- Hold it below a simmer if it has to wait. A skin forms within a few minutes on a still surface.
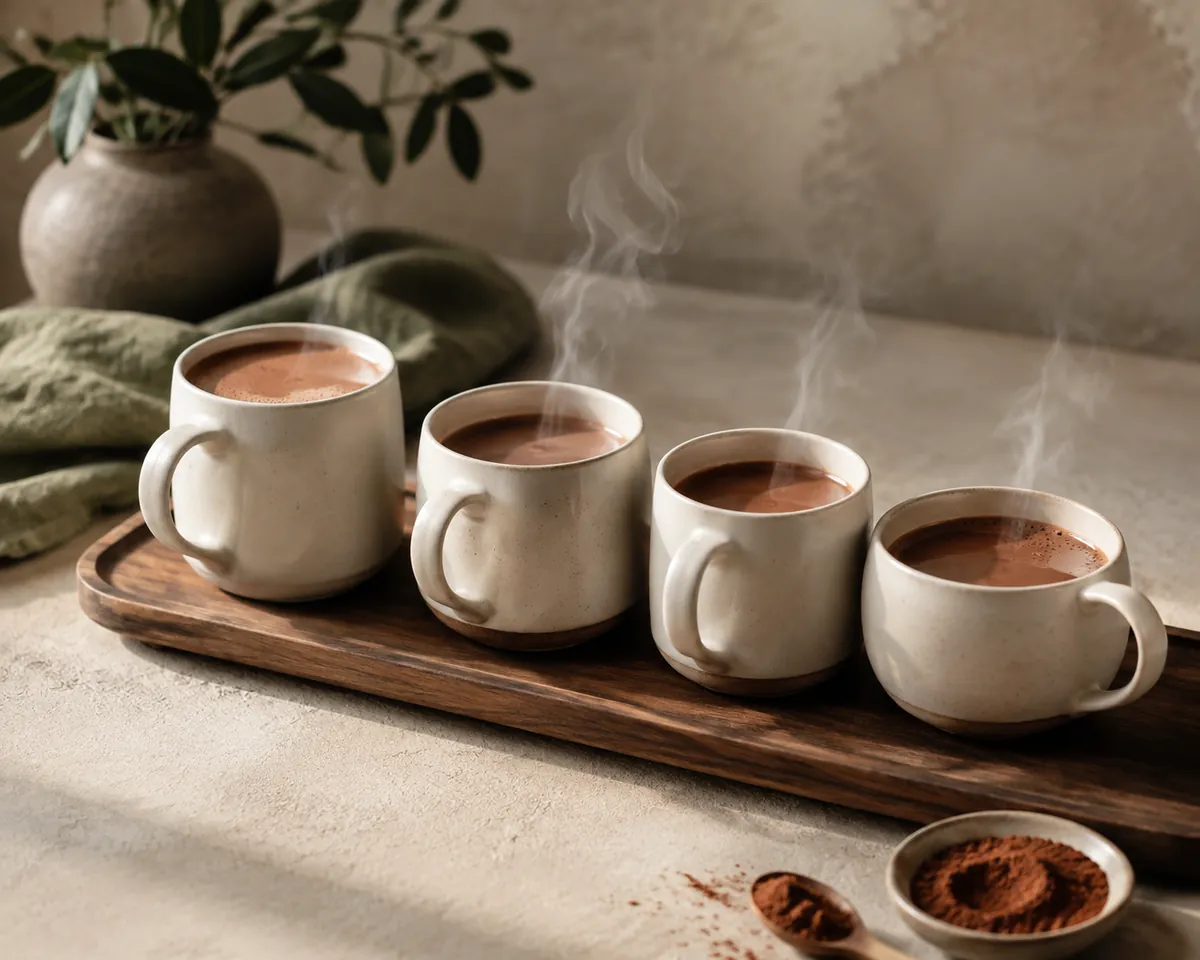
If it has to stand before serving, cover the surface directly with baking parchment rather than putting a lid on. A lid traps steam that condenses back into the pan and thins the drink.
Beyond six or seven cups, melted chocolate is genuinely the easier route, since it skips the pasting stage that causes all the trouble at volume.
What goes wrong, and which moment caused it
Almost every fault in this drink is traceable to the paste or to the flame, and knowing which one saves you repeating it.
Skin on the surface
Protein film from heating too hard or letting it stand uncovered. Whisk it back in or lift it off.
Catching at the base
Heat too high, or a thin pan. The burnt note carries through everything and cannot be fixed.
Separating when reheated
Cocoa settles out on standing. Whisk while reheating rather than stirring at the end.
Chalky mouthfeel
Undissolved cocoa. The paste was rushed, or the powder was old and clumped.
Too sweet
Drinking chocolate was used where the recipe assumed unsweetened cocoa powder.
Old powder deserves singling out. Cocoa keeps for years while it stays dry, and a tin that has taken up humidity clumps hard enough that the paste stage cannot break it down, which reads in the mug as grit rather than as staleness.
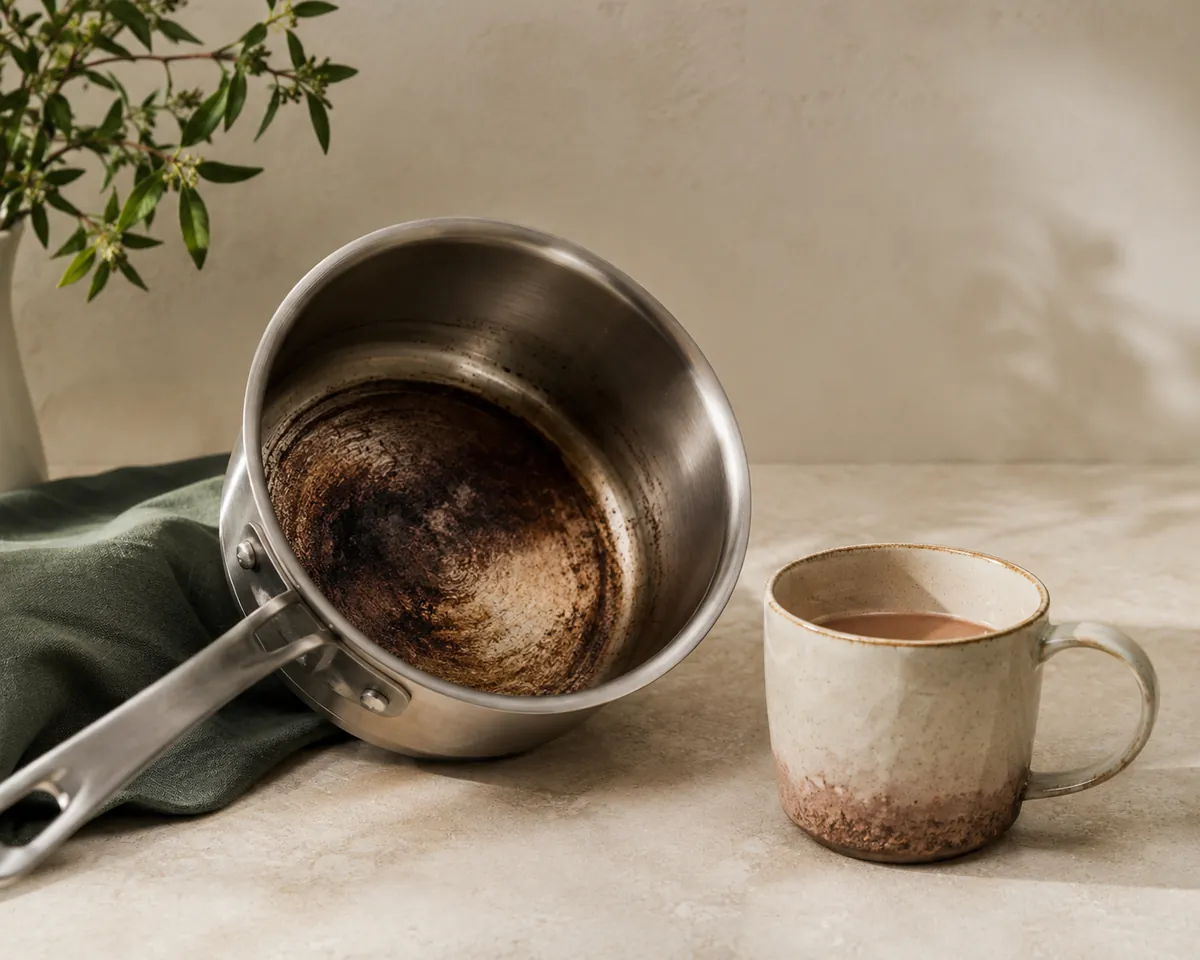
The chalky cup and the scorched cup are the two worth learning to tell apart, because they call for opposite corrections. Grit means slowing down before the milk goes in, and a burnt note means turning the hob down and whisking more often.
Further diagnoses are collected in hot cocoa problems.
Keeping it, and warming it up again
Cocoa reheats better than most milk drinks, provided the second heating is gentler than the first.
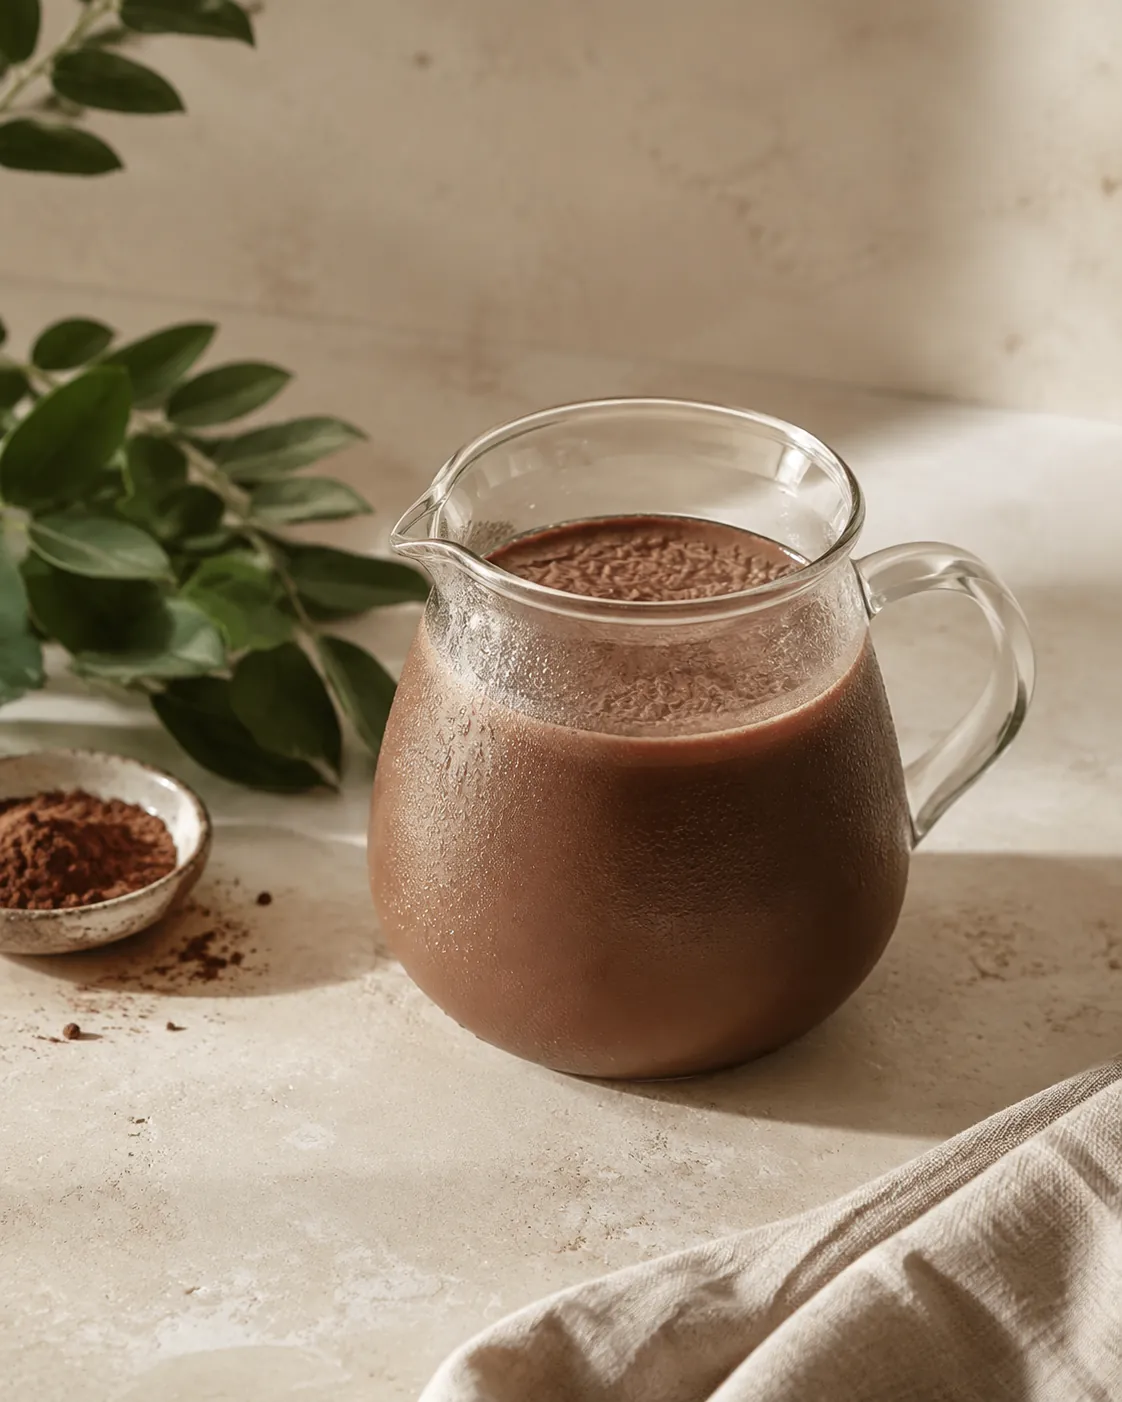
The powder settles out as it stands, so it wants whisking as it warms rather than a stir at the end, and a microwave scalds the base of the mug while the top is still cold. Made-up cocoa is a milk drink rather than a syrup, which is what limits how long it keeps.
- Cool it quickly if you are storing it, and refrigerate within an hour.
- Keep it no more than two days, since this is a milk drink rather than a syrup.
- Reheat on the hob over low heat, whisking as it warms.
- Do not boil it on reheating any more than on the first pass.
- Add a splash of milk if it has thickened in the fridge, which it will.
A dry base keeps far better than a made one. Cocoa, sugar and salt mixed in a jar is a fortnight of drinks that needs only milk and the same paste stage, and it removes the one step people rush on a weekday.
Keeping times for the made drink are set out in storing hot cocoa.
Four changes that make a different drink
The base method holds while the ingredients around it change, and these four produce genuinely different cups rather than flavoured versions of the same one.
Mexican-style
Cinnamon and a coarse-ground tablet, whisked to a foam. Grainier and more aromatic by design.
Bar-based
Melted chocolate rather than powder. Much richer, and it needs a smaller cup.
White
No cocoa solids at all, so it needs salt and acid to be drinkable.
Alkalised powder
Darker, smoother and less sharp than natural cocoa, and it dissolves more willingly.
The powder-against-bar decision changes the drink most, and it changes the method with it. A powder version stays lighter and leaves the sugar entirely in your hands, where a bar version arrives sweetened and sits closer to a dessert than a drink.
Everything else on that list is a flavour choice sitting on top of whichever you picked. Where none of them is available, hot cocoa substitutes covers what else will make a chocolate drink, and hot cocoa taste describes what a well-made one should read like in the mouth.
The method
- Makes
- 2 mugs, about 500 ml
- Water temp
- Below a simmer, do not boil
- Total time
- 8 min
What you need
- 3 tbsp unsweetened cocoa powder
- 2 to 3 tbsp sugar, to taste
- A pinch of salt
- 500 ml milk, or a plant drink of your choice
- Optional: 30 g chopped dark chocolate, for a richer cup
Equipment
- A small saucepan
- A whisk
- A measuring spoon
Method
- Combine the dry ingredientsWhisk the cocoa, sugar, and salt together in the cold pan. Mixing cocoa with sugar first separates the cocoa particles and is the main defence against lumps.
- Make a pasteAdd about 60 ml of the milk and whisk to a smooth, thick paste. Do not add all the milk yet, and do not move on while lumps remain.
- Add the rest of the milkPour it in gradually, whisking as you go.
- Heat gentlyBring it up over a medium-low heat, whisking often. Take it off when it is steaming and just short of a simmer.
- Add chocolate, if usingTake the pan off the heat, add the chopped chocolate, and whisk until it has melted through.
- ServePour into warmed mugs. Whisk again just before serving if it has been standing.
Common questions
Why is my hot cocoa lumpy?
Cocoa powder does not dissolve, and clumps seal on the outside as soon as they meet liquid. Whisk the powder with the sugar first, then work in a small amount of milk to make a smooth paste before adding the rest.
Can I make hot cocoa with plant milk?
Yes. Oat drinks work particularly well because they are naturally sweet and have enough body to carry the cocoa. Thinner drinks such as rice or almond can leave the cup watery.
What is the difference between cocoa powder and drinking chocolate?
Cocoa powder has most of the cocoa butter pressed out, so it disperses in liquid and gives a lighter cup. Drinking chocolate keeps the fat, so it melts and produces a thicker, richer drink.