How to Make Drip Coffee That Brews Evenly
The machine controls each pour, but the brewer still needs the right batch, grind, level bed, clean showerhead, and complete cycle to produce an even carafe.
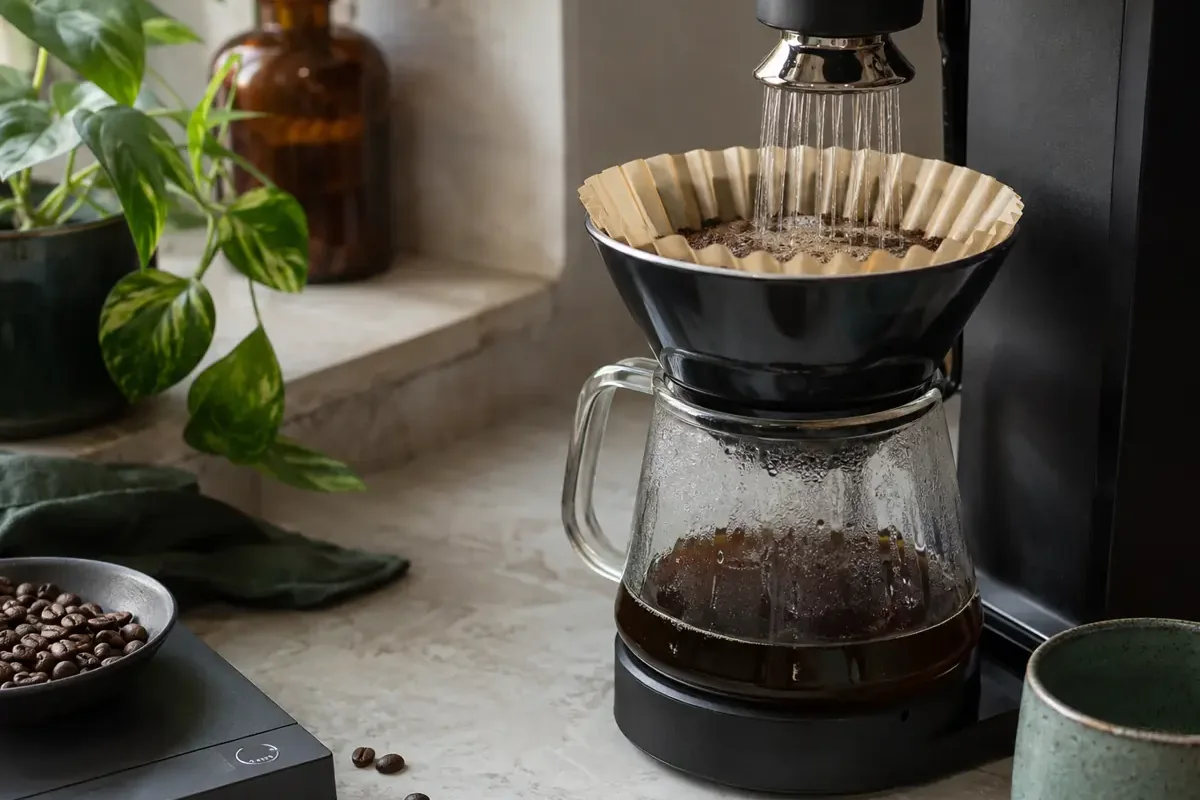
To make drip coffee, use 55 to 60 g of coffee per litre of water, match the grind to the basket, level the bed, and let the machine finish its full cycle.
A drip brewer handles the pouring, but dose, particle size, water distribution, temperature, and batch size still decide what reaches the carafe.
Drip coffee baseline
- Coffee
- 55 to 60 g per litre
- Water
- Fresh, measured brew water
- Grind
- Medium as a starting point
- Contact
- Commonly 4 to 6 minutes for a full batch
- Filter
- Rinsed paper or a clean permanent filter
- Serving
- Swirl the carafe and serve promptly
Match the batch to the brewer
Automatic machines are designed around a useful water depth in the basket and a useful reach from the showerhead. A tiny batch in a large brewer may receive uneven spray and pass through too quickly, even when the coffee-to-water ratio is correct.
Check your machine's actual cup markings because many brewers use a cup smaller than the kitchen measure of 240 ml. Weighing the water once reveals what the reservoir lines mean and makes later ratio changes repeatable.
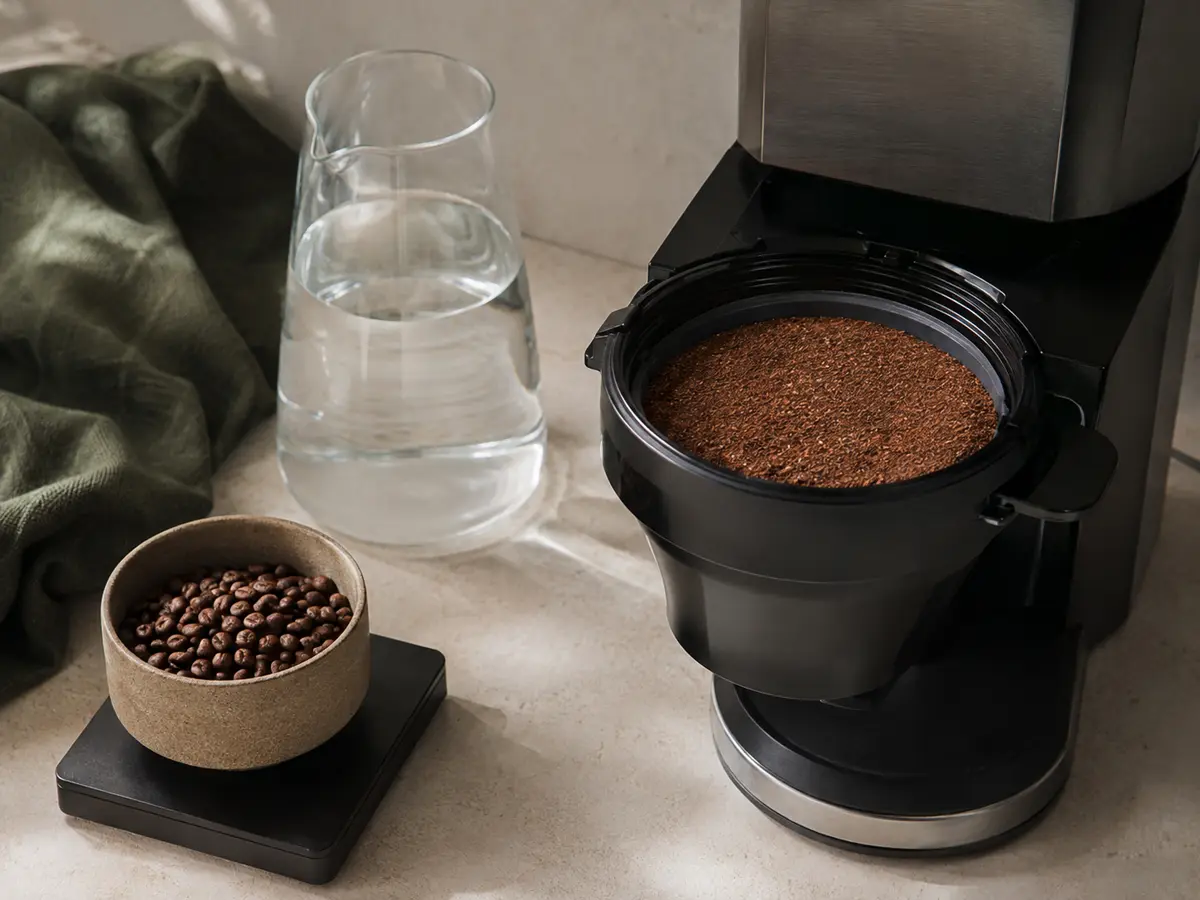
The drip coffee profile explains what distinguishes the drink from pour-over.
Here, the practical boundary is simple: work with your machine's water delivery rather than trying to imitate hand pouring through an automatic basket.
Find the manufacturer's minimum batch and begin there when making one mug.
If the spray pattern misses half the bed at that level, a larger batch or a smaller brewer will produce a more even result than repeated stirring.
Capacity is limited by both reservoir and basket. Overfilling the basket creates a slurry that can climb the filter wall, carry grounds into the carafe, or block the outlet before the reservoir is empty.
Choose grind from basket shape and flow
A flat-bottom basket spreads the bed wider and shallower, while a cone gathers it into a deeper central column. The same grind can therefore drain at different speeds in two machines that hold the same dose.
| Basket | Bed shape | Flow risk | Useful first move |
|---|---|---|---|
| Flat bottom | Wide and shallow | Water may find short paths at very small doses | Use the brewer's intended batch range |
| Cone | Narrow and deep | Fine grounds can slow the lower point | Begin medium and watch the finish |
| Small cone | Deep for its dose | Easy to stall with excess fines | Grind a little coarser if water pools |
| Permanent mesh | Faster and oil-retaining | Fine sediment reaches the cup | Keep the grind consistent and clean the mesh |
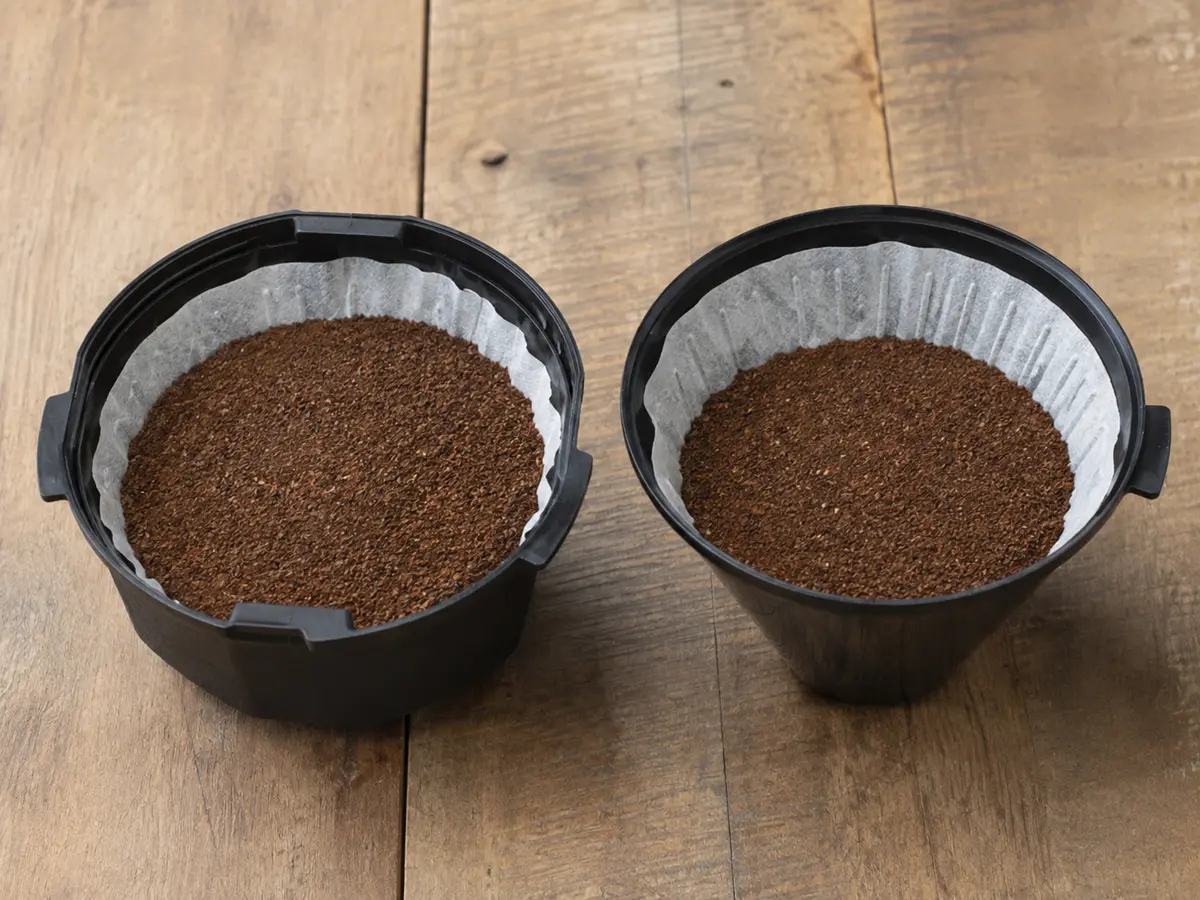
Finer particles expose more surface and resist flow. Coarser particles do the opposite.
If the machine finishes slowly and leaves a muddy bed, move coarser before cutting the dose.
Basket shape changes flow even when the numbered grinder setting does not. Treat a replacement brewer or filter style as a new dial-in.
Paper and permanent filters also change the cup. Paper traps more suspended particles and oils for a clearer finish, while metal mesh passes more body and a little sediment; neither result proves better extraction by itself.
Match the grind to the filter that will actually be used. Powder that a paper filter holds back may pass through mesh, and a grind chosen for fast metal flow may drain too slowly after switching to dense paper.
Prepare the filter and level the bed
Rinse a paper filter to remove loose paper dust and warm the basket or carafe, then drain the rinse water completely. Seat the filter against the walls so it cannot fold over and allow grounds into the server.
- - Confirm the filter fits the exact basket shape
- - Add the measured coffee without compacting it
- - Shake gently until the bed is level
- - Fill the reservoir with the measured water
- - Check that every showerhead opening is clear
- - Place the empty clean carafe squarely under the outlet
Do not tamp drip coffee.
Compaction increases resistance unevenly and encourages water to travel around the bed rather than through it.
A clean level surface cannot guarantee even saturation, but it gives the showerhead a fair starting point. Preparation should remove avoidable channels before the machine controls the rest.
Grind immediately before loading when practical, then start the machine without a long delay.
Ground coffee loses aroma quickly and can absorb moisture near a filled reservoir, making the first morning batch less repeatable.
Fold paper filters only along seams when the manufacturer expects it. Extra creases can pull paper away from the basket or narrow the outlet, while forcing an oversized filter into place creates folds that invite bypass.
Close the basket fully before starting because an incompletely seated brew chamber can alter the drip-stop opening. If the machine permits delayed brewing, load dry coffee shortly beforehand rather than leaving grounds exposed overnight beside an open water reservoir.
Use a dry spoon or dosing cup. Moisture on the grinder chute or inside the filter creates clumps that resist even wetting and can carry old grounds into a fresh batch.
Watch how water reaches the coffee
During the first minute, look for dry islands, one deep crater, or water climbing the filter wall. Those patterns show whether the spray reaches the whole bed and whether the grind is slowing flow too much.
What the machine should do
- HeatBring brew water into a useful extraction range
- WetReach the full coffee bed rather than one central spot
- BuildMaintain enough water depth for even contact
- DrainLet liquid cross the bed without bypassing the edge
- FinishComplete the cycle before the carafe is removed
- MixSwirl the carafe so early and late extraction combine
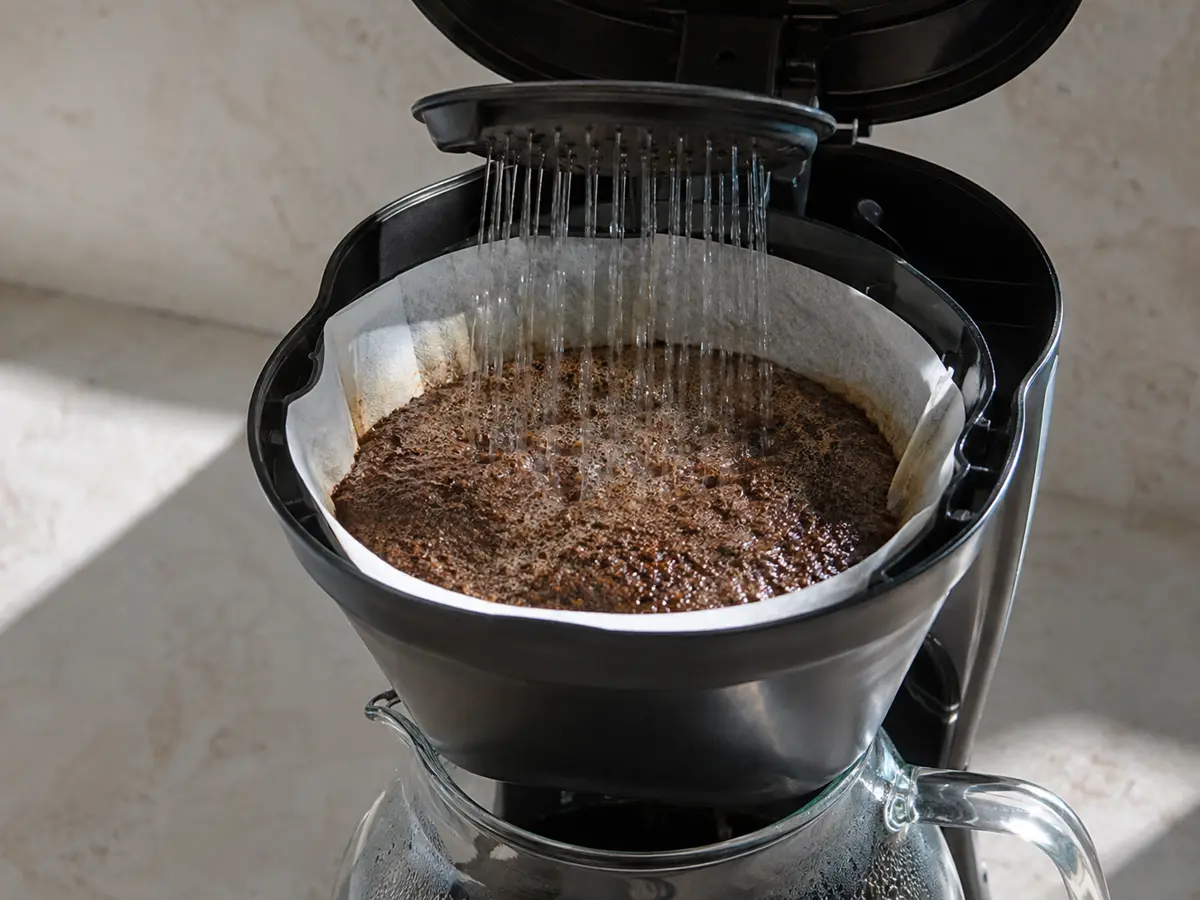
Pausing to stir can help a machine with poor coverage, but it can also knock fine particles downward and stall the filter. First clean blocked spray holes and use an appropriate batch before adding manual intervention.
The Specialty Coffee Association's general brewing guidance places coffee brewing water near 94 C and drip contact commonly around four to six minutes. Machine design and batch size still control the real path, so observe the bed and taste together.
Check brew temperature only after you eliminate simple maintenance problems. Scale on the heater, a cold reservoir, and a lid that no longer closes can reduce effective heat, but opening the machine during every cycle also releases heat and changes the test.
If a thermometer is used, measure water near the coffee bed rather than in the finished carafe. The beverage cools as it crosses the grounds, basket, air gap, and server, so carafe temperature cannot represent brewing temperature directly.
Let the full cycle reach the carafe
Coffee early in the cycle is more concentrated and often brighter, while later liquid is weaker and carries more of the finishing extraction. Pulling the carafe early gives an unbalanced sample and can leave hot coffee dripping onto the warming plate.
A complete drip cycle
- MeasureUse 55 to 60 g coffee for each litre of brew water
- PrepareRinse the filter and level a medium-ground bed
- BrewStart the machine and leave the carafe in place
- InspectCheck saturation and drainage without repeatedly opening the basket
- FinishWait until flow falls to occasional drips
- MixSwirl the closed carafe before pouring
- ServeMove coffee off strong direct heat when practical
Swirling matters because the first and last parts arrive at different concentrations. A quick circular movement integrates the batch without introducing another utensil or cooling the drink much.
Do not judge the recipe from the first pour taken before the cycle ends.
The completed batch is the drink the ratio describes.
If the brewer offers a “bold” or small-batch setting, determine what it changes before relying on the label. Many machines pulse water or extend contact, so pairing that mode with a much finer grind can compound the change and stall the basket.
Keep the mode stable during dial-in.
A recipe recorded without the selected program is incomplete because the same dose and grind can taste different under a slower water-delivery cycle.
Batch scaling may require one grind step rather than ratio changes. A deeper bed creates more resistance and contact, so a full carafe can need a slightly coarser grind than a half batch even when both use 60 g per litre.
Record coffee mass, actual water mass, filter, grinder setting, and batch size together. A note that says only “medium grind” cannot be transferred between grinders or explain why the same machine behaved differently at another volume.
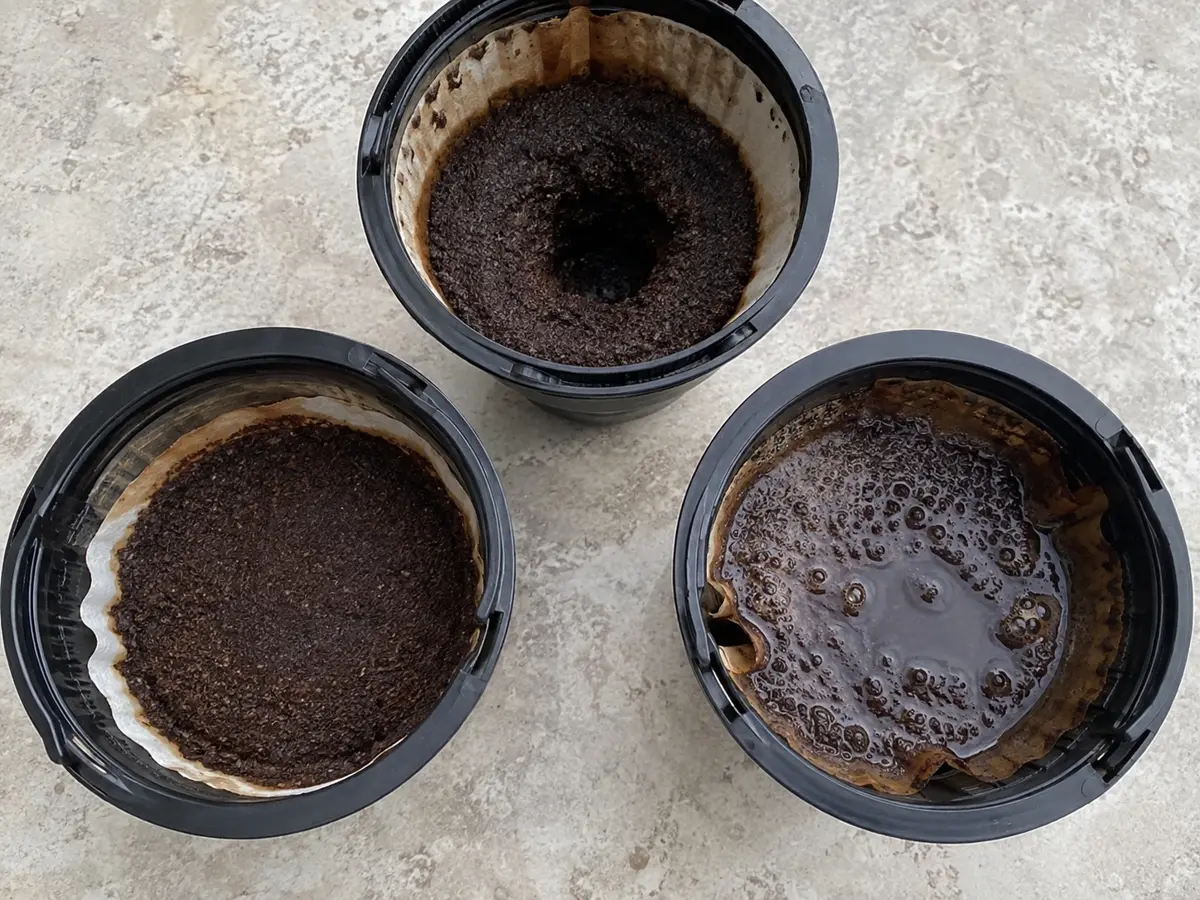
Diagnose the cup and the spent bed
Taste identifies the fault, while the bed often shows where to look. A muddy flat surface suggests fines or slow drainage.
A deep crater and pale sidewalls suggest uneven spray. Grounds stuck high on the filter can indicate bypass.
- Sour and thin: grind slightly finer or use a batch the brewer wets fully.
- Bitter and drying: grind coarser, verify water volume, and avoid a long hot hold.
- Weak but clean: add coffee while keeping the water amount stable.
- Strong but pleasant: dilute in the cup or reduce dose next time.
- Papery: rinse the filter and check that it fits without folded edges.
- Stale or oily: clean the basket, lid, showerhead, and carafe.
Read several signals together before correcting. A long brew with a clean, sweet cup may simply reflect a deep batch, while a short brew with bitterness can come from very fine particles extracting rapidly even though total contact was brief.
Roast level shifts the useful starting point. Dark coffee is more soluble and may taste hollow or ashy when pushed with high heat and a fine grind, while a dense light roast can need more energy before sweetness becomes clear.
Keep ratio stable for the first grind comparison.
If concentration itself is wrong after extraction tastes balanced, then change the dose rather than using grind to solve two separate problems.
If every roast tastes equally dull, test the brewing water and descale the machine. Mineral buildup can lower water temperature and redirect spray before it becomes visible outside the brewer.
Inspect the underside of the basket and the drip-stop valve as well. Old oils collect in narrow channels that ordinary rinsing misses, and a sticky valve can hold concentrated coffee until late in the cycle.
Clean with the product and frequency specified for the machine, then run enough fresh water to remove residue. Vinegar odor left inside a brewer can overwhelm delicate coffee and makes a cleaning problem resemble stale beans.
Keep the carafe from flattening the result
A glass carafe on a hot plate continues cooking the coffee after extraction has ended. Aroma escapes, water evaporates, and a pleasant drying finish can become harsh during a long hold.
Transfer a batch to a clean thermal server or switch off the plate once the amount needed has brewed. A thermal carafe avoids direct heat, although old coffee oils inside its lid can still spoil a fresh batch.
One immediate mug | Brew within the machine's useful minimum batch
Several cups now | Complete the cycle, swirl, and pour promptly
Coffee over an hour | Use a clean thermal carafe
Iced serving | Increase concentration deliberately and count melt water
Leftover coffee | Cool promptly and refrigerate for a later cold use
The guide to storing coffee beans addresses the raw material. Brewed coffee has a much shorter aromatic window.
Reheating restores temperature but cannot replace volatile compounds that have already left the carafe.
Clean equipment protects tomorrow's brew. Empty grounds soon after the cycle, rinse removable parts, wash oily surfaces, and let the basket dry open.
Wash the carafe lid and narrow pouring channel, not only the visible glass or steel wall. Condensed coffee collects beneath gaskets and can drip oxidized flavor into the next clean batch.
Before storing the machine, leave the reservoir and basket open until dry where the design allows it. Closing damp parts traps odor and creates a maintenance problem that a new coffee or finer grind cannot solve.
Automatic drip coffee method
- Makes
- About 1 litre
- Ratio
- 55 to 60 g coffee per litre of water
- Water temp
- Machine-controlled, ideally near 92 to 96 C / 198 to 205 F
- Grind
- Medium, adjusted for basket and flow
- Total time
- 10 min
What you need
- 55 to 60 g coffee
- 1 litre fresh water
Equipment
- Automatic drip brewer
- Correct paper or permanent filter
- Scale
- Grinder
- Clean carafe
Method
- MeasureWeigh coffee and the actual brew water.
- PrepareRinse the filter and level a medium-ground bed.
- BrewStart the machine and leave the carafe in place.
- InspectCheck saturation and drainage without compacting the bed.
- FinishWait until flow falls to occasional drips.
- MixSwirl the carafe before serving.
Common questions
What coffee-to-water ratio works for drip coffee?
Start around 55 to 60 g of coffee per litre of water. Use ratio to change concentration and grind to change extraction and flow.
Why is drip coffee weak?
The dose may be low, the grind may be too coarse, or the batch may be too small for the showerhead to wet evenly. Identify whether the cup is clean but light or sharp and hollow before adjusting.
Should you stop a drip machine before it finishes?
No. Early and late liquid have different concentrations, so removing the carafe early gives an unbalanced sample and leaves the intended batch incomplete.