How to Make Oat Milk Without a Slimy, Gummy Texture
Cold water, a short blend and hands-off straining produce a clean, light oat drink. The method is simple, but the way oats release starch and soluble fibre makes timing matter.
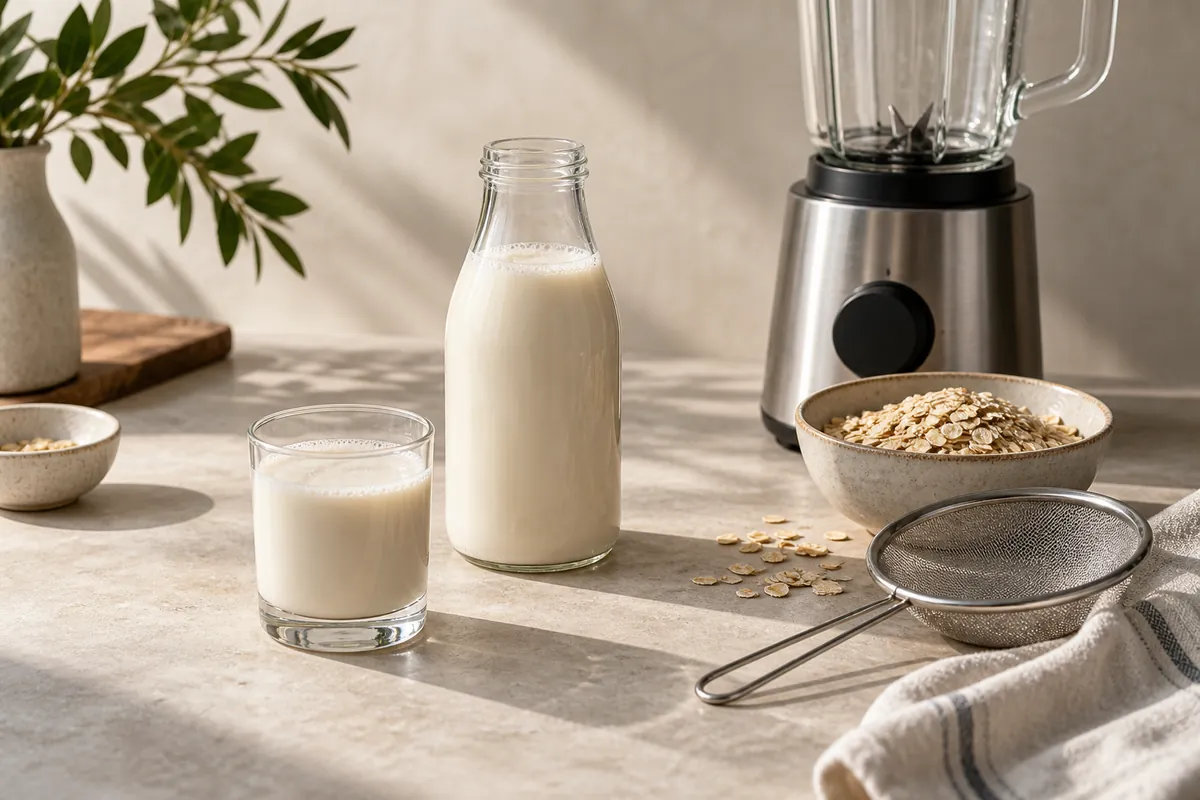
You can make oat milk by blending rolled oats with very cold water, then straining the liquid without forcing the pulp through.
Start with 80 g oats to 800 ml water and blend for only 20 to 30 seconds.
That restrained method matters because oats thicken as their starch and soluble fibre hydrate. Long soaking, warm water, extended blending and hard squeezing all move more of that material into the drink.
| Use | Oats per 800 ml water | Straining | Expected body |
|---|---|---|---|
| Drinking or cereal | 70 to 80 g | Fine sieve, then a second pass if needed | Light and clean |
| Smoothies | 90 to 100 g | One fine pass | Fuller, with some oat sediment |
| Coffee | 80 g | Two gentle passes | Light, but likely to split or thin in hot acidic coffee |
| Cooking | 100 to 120 g | One pass | Thickens readily when heated |
Which oats make the cleanest drink?
Old-fashioned rolled oats are the useful middle ground because they break down in an ordinary blender without behaving like fine oat meal.
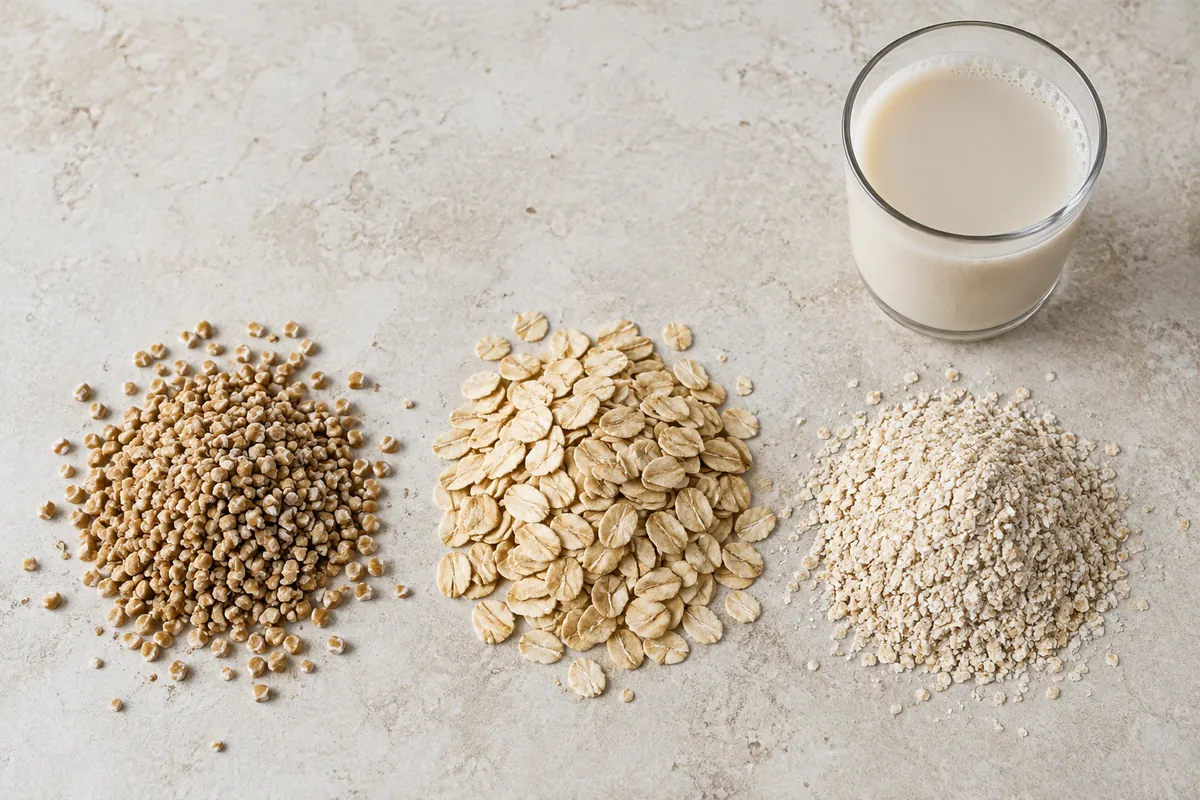
How oat form changes the drink
- Steel-cut oats
- Leave coarse fragments and usually need soaking or stronger milling
- Instant oats
- Release fine starch quickly and narrow the margin before gumminess
- Oat flour
- Passes through kitchen strainers and makes a chalky, thick liquid
Rolled oats give the widest margin for error. They make enough body to taste like a drink without filling the liquid with fine meal.
Use plain oats with no flavour sachet, sugar or dried milk. Certified gluten-free oats are necessary when cross-contact with gluten matters, since the word oats alone does not make a packet gluten-free.
Why cold water and a short blend prevent gumminess
Finer oat particles absorb more water and raise solubility and final viscosity, so blending harder or longer can make the drink thicker before straining begins.
How a thin drink becomes gummy
- Warm waterHydrates starch and soluble fibre faster
- Long blendingCreates smaller particles with more exposed surface
- Hard squeezingForces fine oat material through the cloth
- Heating laterSwells remaining starch and thickens the finished drink
Control exposure rather than trying to remove every solid. Very cold water slows hydration, while a short high-speed blend breaks the flakes before they can warm up.
When room-temperature water is the only option, chill it before blending or measure ice as part of the 800 ml total so melting does not change the ratio.
A soak is not required for rolled oats. Soaking can soften a weak blender's workload, but it adds hydration time, so rinse the soaked oats well and expect a lighter oat flavour.
The blend-and-strain method, from dry oats to bottle
Put the water in first so the oats do not pack beneath the blades.
Add the oats, sea salt and optional flavouring, then blend on high until the visible flakes disappear.
- Measure 80 g rolled oats and 800 ml very cold water.
- Add water first, then oats, to keep dry flakes away from the blade housing.
- Blend for 20 to 30 seconds. Stop before the jug feels warm.
- Pour through a fine-mesh sieve or a thin clean cloth over a bowl.
- Let gravity do most of the work. Move the pulp once or twice, but do not wring it.
- Taste the strained liquid before adding more sweetener or salt.
- Bottle it in a clean covered container and refrigerate immediately.
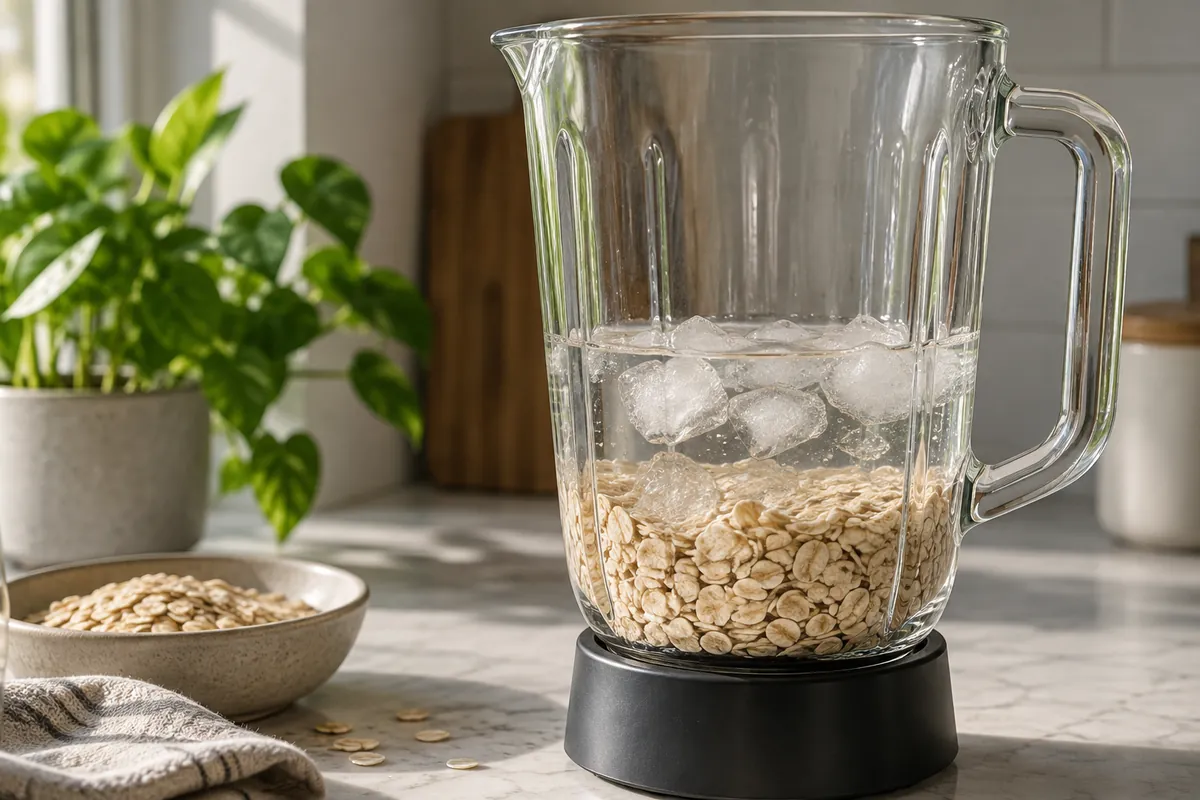
Stop when the oats are broken, not when the liquid looks perfectly smooth. The suspended particles make the blender jug look creamy before straining, so appearance is a poor reason to keep running it.
The starting formula is a 1:10 ratio by weight. Measuring the oats is more repeatable than using cups because flakes settle and pack differently from one scoop to the next.
Straining decides whether it feels clean or chalky
A nut-milk bag is not automatically the best tool for oats. Its tight weave catches particles well, but the natural urge to twist and squeeze it pushes hydrated oat solids through and can undo the careful cold blend.
| Tool | What it removes | Best technique | Result |
|---|---|---|---|
| Fine-mesh sieve | Coarse pulp | Pour, stir once, repeat | Light with mild sediment |
| Thin kitchen cloth | Fine meal | Let it drip, gather without wringing | Cleaner and slower |
| Nut-milk bag | Very fine meal | Hold open and press only lightly | Clean if left unsqueezed |
| Cheesecloth | Depends on the weave | Use several layers | Can shed fibres or pass grit |
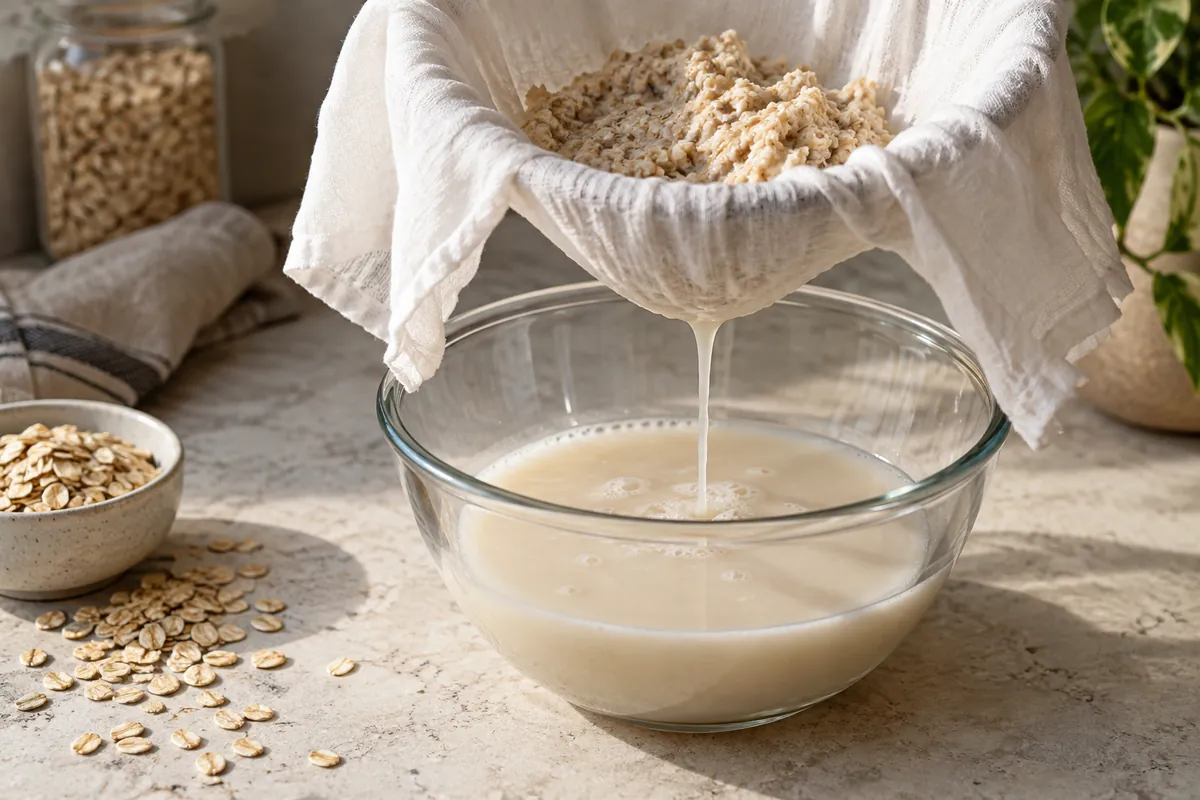
Pressure changes the texture more than a second strain because wringing pushes fine pasty material through, while a second gravity pass removes stray particles.
Do not judge the warm-looking foam on top as thickness. Blender foam settles quickly, and skimming it before bottling gives a more even pour.
Season only after you know the base
Plain homemade oat milk tastes more cereal-like and less sweet because commercial products may use enzymes, oil, minerals, vitamins, emulsifiers or stabilisers.
Start with a small pinch of salt because it reduces the flat, raw-grain impression without making the drink salty. Taste the strained base before adding sweetness, since the pulp removal changes the balance.
Neutral
Salt only, for savoury cooking and cereal
Soft vanilla
Half a teaspoon of vanilla per batch
Coffee-oriented
A pinch of salt and no vanilla, so the coffee remains legible
Flavouring cannot repair gummy texture. Fix the water temperature, blend time and straining pressure first, then adjust salt or sweetness.
Oil can make the drink feel richer, but an ordinary blender does not create the stable emulsion found in packaged oat drinks. Added oil may rise into a visible layer, so it is better treated as an optional cooking adjustment than a default ingredient.
Why homemade oat milk separates in the bottle
Without a commercial stabiliser, heavier oat particles settle beneath a thinner water-rich layer.
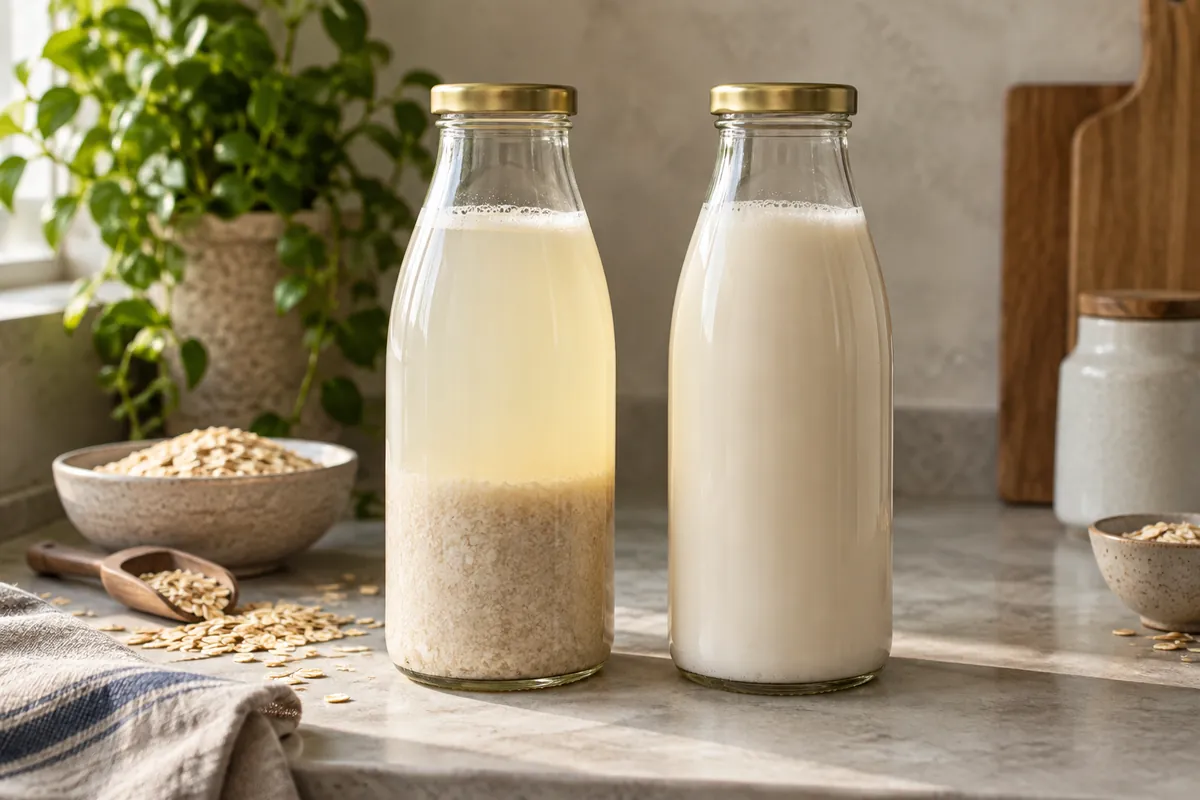
A clean separation that remixes is normal.
Normal settling or discard?
- Normal settling
- A pale layer forms, then returns to an even liquid after firm shaking
- Discard
- The bottle hisses, smells fermented, develops rope-like strands or stays sharply lumpy after shaking
A tall narrow bottle makes settling look dramatic because the layers are easy to see. A wide jar settles too, so changing the container does not make the suspension more stable.
Can homemade oat milk go in hot coffee?
It can behave differently from a barista carton because heat hydrates residual starch, coffee adds acidity, and little added fat or emulsifier supports the foam.
| Use | Likely behaviour | Better approach |
|---|---|---|
| Warm cereal | Thickens slightly | Add near the end and stir |
| Hot coffee | May feather or look thin | Warm gently and pour coffee into the milk |
| Steam wand | Large unstable bubbles | Keep the drink cool and stop early |
| Sauce | Thickens faster than expected | Add gradually and watch the pan |
| Baking | Works as liquid, not as dairy structure | Follow the recipe's other fat and protein needs |
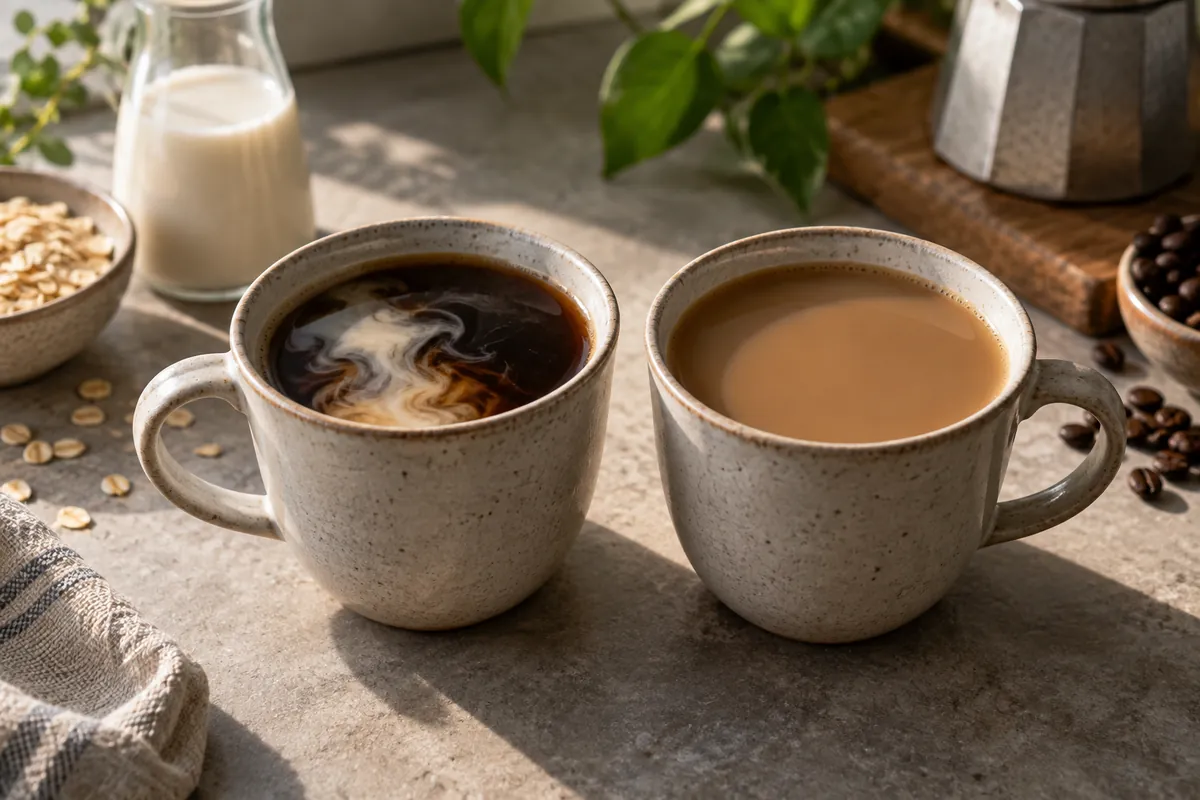
Do not promise carton performance from two kitchen ingredients. Industrial oat drinks use controlled milling, enzymes, homogenisation and added ingredients to create sweetness, heat stability and foam.
For a gentler test, warm a small amount in a saucepan only until steaming and add coffee slowly. If it turns pudding-like before reaching the cup, shorten the original blend and strain more lightly next time.
Diagnose slime, grit, thinness and bitterness separately
Calling every disappointing batch slimy hides separate faults in texture, sediment, body and flavour.
Fault finder
- Ropey or gummy
- Water was warm, blending ran long, or the pulp was squeezed. Use colder water and less contact
- Chalky
- Fine oat meal passed the strainer. Use rolled oats and strain again
- Watery
- Too few oats or too much dilution. Increase oats by 10 g per 800 ml
- Bitter
- Old oats, over-processed oat bran, or too much flavour extract. Start with a fresh plain packet
- Cooked porridge taste
- The blend warmed up or the drink was heated hard. Blend colder and heat only the portion needed
- Foamy bottle
- Blender air was bottled. Rest for a minute and skim before filling
Change one variable in the next batch. If you shorten the blend, change the oat type and tighten the strainer together, you will not know which correction worked.
Grittiness can be fixed after blending with another gravity strain. Gummy texture usually cannot be filtered out because the thickening material is already dissolved or fine enough to pass through.
In simple batters, homemade oat milk can replace another unsweetened plant drink, but its low fat and thickening starch make untested custards, enriched breads and sauces less predictable.
Homemade describes the process, not nutritional equivalence. The strongest reason to make it is control over freshness, consistency and flavour, not a claim that fewer ingredients make it universally better.
Refrigeration is part of the recipe
Homemade oat milk is neither shelf-stable nor commercially pasteurised.
Use a clean bottle, refrigerate it promptly and pour rather than drinking from the container.
A two-to-four-day refrigerated window is a reasonable reference point for a homemade version. A practical home rule is to make only what you will use within three days, since kitchen hygiene and refrigerator temperature vary.
- Write the made-on date on the bottle.
- Keep it on a cold main shelf rather than in the door.
- Return it to the refrigerator immediately after pouring.
- Freeze only for a smoothie or cooked dish that can tolerate separation.
A date on the bottle makes the storage decision visible.
Batch size follows the same cold-contact constraint because an overfilled blender leaves some oats coarse while warming others near the blades.
Make two normal batches rather than one overfilled batch, then combine them after straining. This preserves the 1:10 ratio and produces more even texture than extending the blend until every visible piece disappears.
A smaller half batch also works, but very little liquid may not reach the blades properly. Check the blender minimum and keep the ratio constant rather than guessing from the sound of the motor.
Scale the ratio and equipment capacity together because volume is not the only limit on a short, cold blend.
The pulp still has a useful job
Refrigerate the damp pulp separately and use it promptly in a preparation that welcomes moisture and cereal texture.
- Stir it into porridge near the end of cooking.
- Add a small amount to pancake or muffin batter, reducing another liquid.
- Blend it into a smoothie where fine sediment is irrelevant.
- Spread it thinly and dry it fully before treating it as meal.
- Compost it if you do not have a planned use.
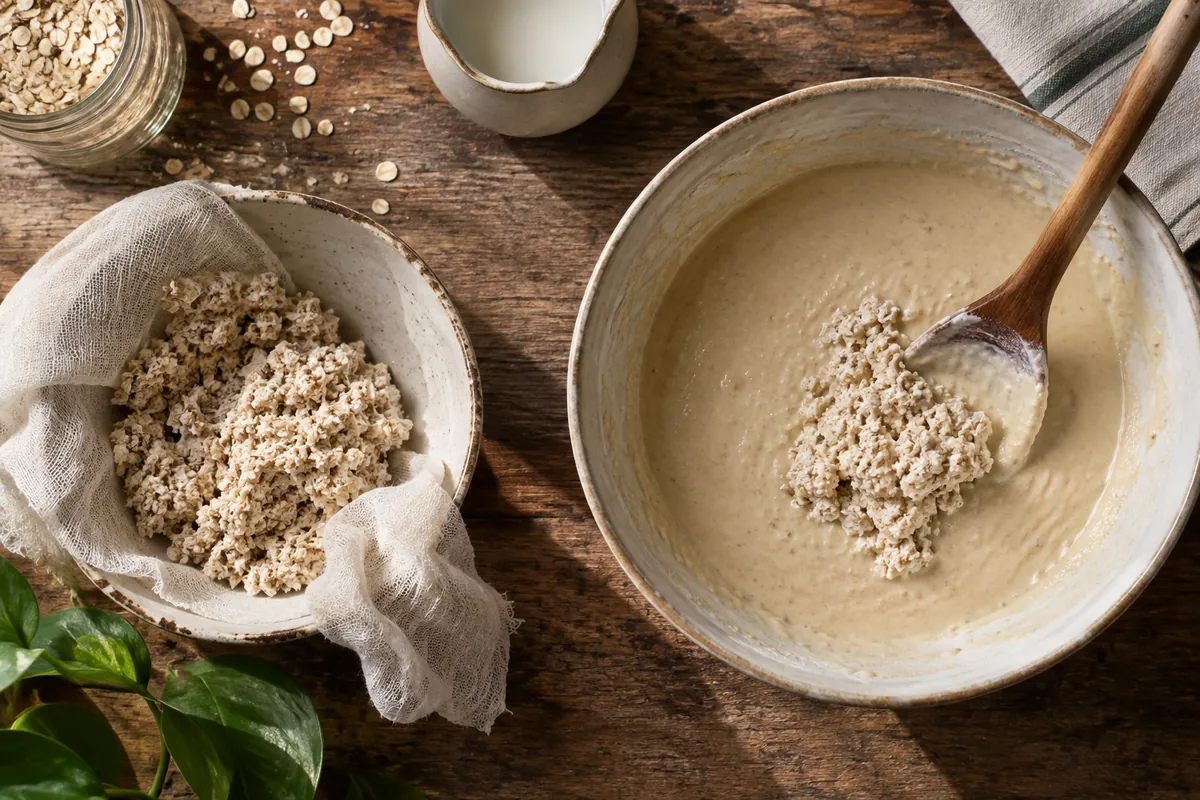
Wet pulp is perishable, not pantry flour. Keep it cold and do not leave it in the straining cloth while the finished drink is being stored.
The yield from 80 g oats is modest enough that using the pulp should remain optional. Keeping it without a real use merely moves food waste from one container to another.
Cold-blended oat milk
- Makes
- About 800 ml
- Water temp
- Use very cold water
- Total time
- 15 min
What you need
- 80 g old-fashioned rolled oats
- 800 ml very cold water
- A small pinch of salt
- Optional: 1 to 2 tsp maple syrup or sugar
- Optional: 1/2 tsp vanilla extract
Equipment
- A blender
- A fine-mesh sieve or clean thin kitchen cloth
- A large bowl or jug
- A clean covered bottle
Method
- Chill the waterUse refrigerator-cold water, or add a few ice cubes and measure after they melt.
- Load the blenderAdd water first, then rolled oats, salt and any optional flavouring.
- Blend brieflyRun on high for 20 to 30 seconds, stopping as soon as no large oat pieces remain.
- Strain by gravityPour through a fine sieve or thin cloth and let the liquid fall through. Stir lightly if needed, but do not squeeze the pulp.
- Strain again if neededA second pass removes fine particles when the first sieve was coarse.
- Chill promptlyTransfer to a clean covered bottle and refrigerate. Shake before each pour.
Common questions
Do you need to soak oats before making oat milk?
No. Rolled oats break down in an ordinary blender without soaking. A soak can help a weak blender, but the hydrated oats should be rinsed well and blended with fresh very cold water.
Why should you not squeeze oat milk through the bag?
Squeezing pushes fine hydrated oat material through the weave. That material makes the drink feel pasty or gummy, while gravity straining leaves more of it with the pulp.
How long does homemade oat milk last?
Plan to use it within three refrigerated days. Store it in a clean covered bottle and discard it sooner if it smells fermented, releases gas, grows mould or stays stringy after shaking.
Can you froth homemade oat milk?
It can make bubbles, but they are usually larger and less stable than foam from a barista carton. Homemade oat milk lacks the controlled fat, protein, emulsifiers and processing used to make commercial versions tolerate heat and hold foam.