How to Make AeroPress Coffee
Start with a measured upright brew, press gently, and use taste and plunger resistance to make one useful adjustment at a time.
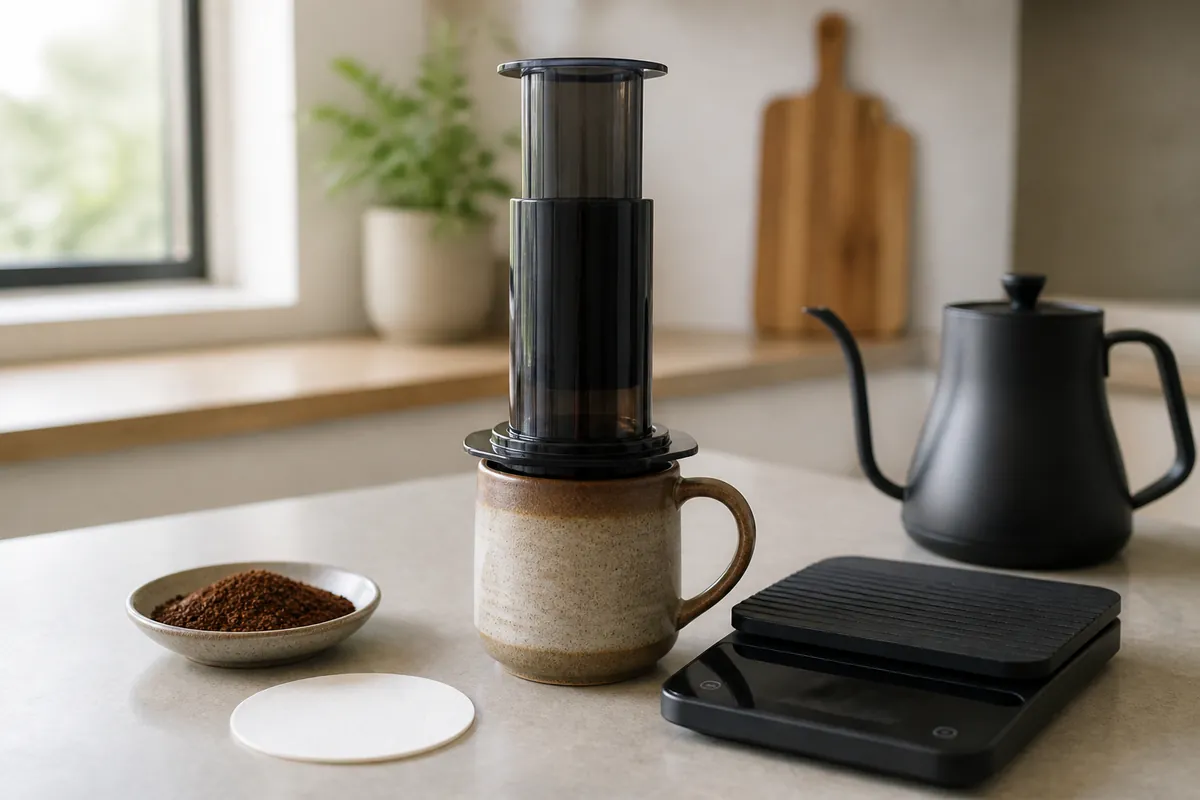
A dependable AeroPress coffee starts with a moderate recipe: 16 grams of coffee, about 240 grams of water, a medium-fine grind, and a gentle upright press. That baseline makes a balanced mug while leaving enough room to adjust roast, grind, time, or dilution after you have tasted it.
The upright method keeps the chamber on a stable cup throughout the brew. It also avoids flipping a chamber full of hot slurry, which makes it the better first method for learning how dose, water, and press resistance affect the cup.
What ratio, grind and temperature should you start with?
Use one coherent set of variables before experimenting.
A recipe assembled from one person's dose, another person's grind, and a competition brewer's unusually cool water may work, but it gives you no useful baseline when the result misses.
Upright AeroPress starting recipe
- Coffee
- 16 g
- Water
- 240 g, or as much as the chamber safely holds for the model
- Ratio
- About 1:15 coffee to water
- Grind
- Medium-fine, finer than typical drip but clearly coarser than espresso
- Water temperature
- 85 to 92 C, chosen for roast development
- Steep
- About 1 minute before a gentle swirl
- Press
- 20 to 30 seconds with steady, light pressure
- Yield
- One mug, roughly 200 to 220 ml after the grounds retain water
The official AeroPress signature instructions use 16 to 18 grams and 85 C water, while recipes for lighter roasts often move hotter. Start near 85 C for a developed roast and nearer 92 C for a light roast, then let taste justify the next change.
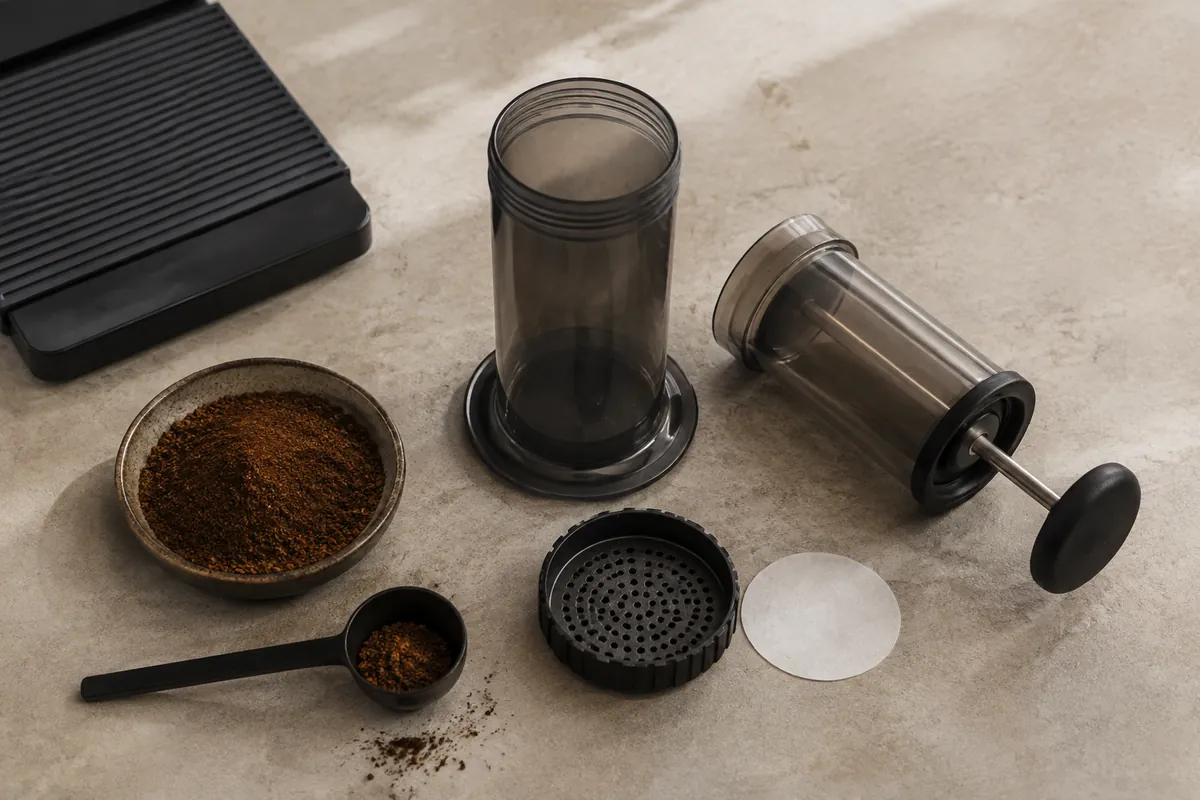
Medium-fine coffee offers enough surface for a short immersion without making the press unnecessarily hard. The recipe is a starting coordinate, not a universal setting. Bean density, roast, water, grinder, and filter material all shift the useful range.
Weighing the water makes the baseline portable between AeroPress models and mugs. Chamber markings are convenient, but the amount represented by a mark changes with the coffee dose, foam, and speed of the pour.
Fresh water should taste neutral before it reaches the kettle. Strong chlorine can dominate a clean paper-filtered cup, while very hard water can flatten acidity and leave scale that slows heating over time.
Set up the brewer on a stable cup
Before heating the water, make four quick checks:
- The filter lies flat inside the cap, with no folded edge.
- The cap is fully locked onto the chamber.
- The cup is wider than the AeroPress base and does not rock.
- The plunger and seal are clean, dry, and within reach.
Downward force travels through the chamber into the vessel below it, so cup choice is part of safe setup. Use a sturdy ceramic or heat-safe metal vessel with a rim wide enough to support the flange, and avoid thin glass or a narrow cup that lets the brewer rock.
- Place one paper filter flat inside the cap with no folded edge.
- Lock the cap fully onto the chamber.
- Seat the chamber upright on a wide, stable, heat-safe mug or server.
- Confirm the planned water amount fits the chamber without filling above a safe working level.
- Keep the timer, stirrer, and plunger within reach before pouring.
Rinsing the paper is optional for flavor, but wetting it can help it sit flat while the cap is attached. A creased or off-center filter can let fine grounds bypass the paper and leave unexpected grit in the mug.
Inspect the silicone seal before brewing.
A seal that is twisted, cracked, or coated with old coffee oils may move unevenly and add stale odor even when the new coffee and recipe are sound.
Keep enough room to insert the plunger without displacing hot liquid.
If the chosen model cannot hold the full water amount safely, brew a smaller concentrate and add measured bypass water after pressing.
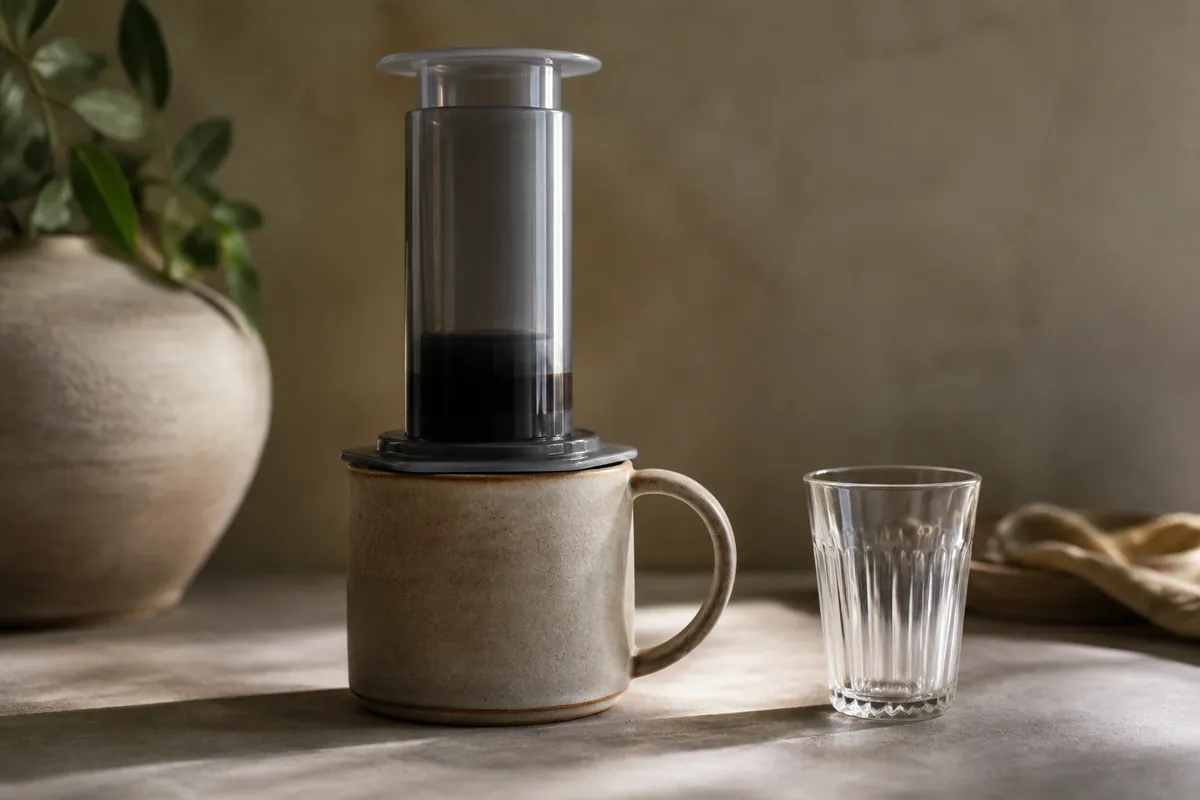
The mug must remain stable without your hand correcting its balance. If the setup leans before water is added, change the vessel rather than hoping pressure will straighten it later.
How to brew an upright AeroPress
Add 16 grams of medium-fine coffee and shake the chamber gently to level the bed. Start the timer as you pour water, wetting the full surface quickly so no dry island remains above the slurry.
One complete upright brew
- PrepareHeat the water, fit the paper filter, lock the cap, and place the chamber on a sturdy mug
- DoseAdd 16 g medium-fine coffee and level it with a gentle shake
- PourAdd about 240 g water promptly, making sure every part of the bed becomes wet
- Stir and sealStir gently for about 3 seconds, insert the plunger around 1 cm, then pull it back slightly to reduce drip-through
- SteepWait until about 1 minute, then remove the plunger and give the slurry one gentle swirl
- PressReinsert the plunger and press straight down for 20 to 30 seconds with light, constant pressure
- CleanRemove the cap over a bin, push out the puck, discard the paper, and rinse the seal and cap
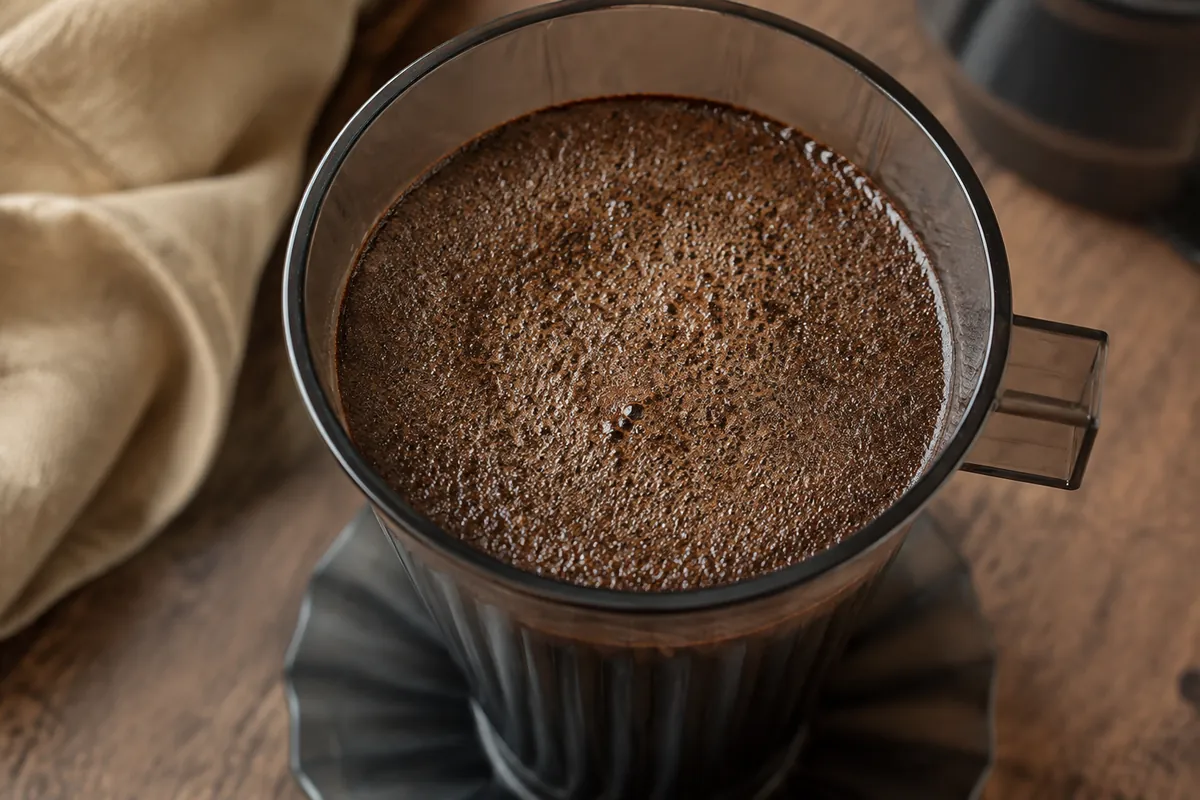
Inserting the plunger creates a partial seal that slows early drip-through. Some coffee may enter the mug before the seal is made, and a small amount of early dripping is normal rather than evidence that the brew has failed.
At the end of the steep, a gentle swirl settles floating grounds and evens the slurry without aggressive stirring. Reinsert the plunger, keep your forearm vertical, and press slowly enough that resistance remains controlled.
Immersion makes the pour pattern less demanding than a pour-over, but complete initial wetting still matters. A dry clump extracts later than its surroundings and can remain pale inside the puck after the rest has given up much of its soluble material.
The seal reduces drip-through rather than stopping time. Extraction continues while water and grounds remain together, so a long delay before pressing is a recipe change even if nothing moves visibly.
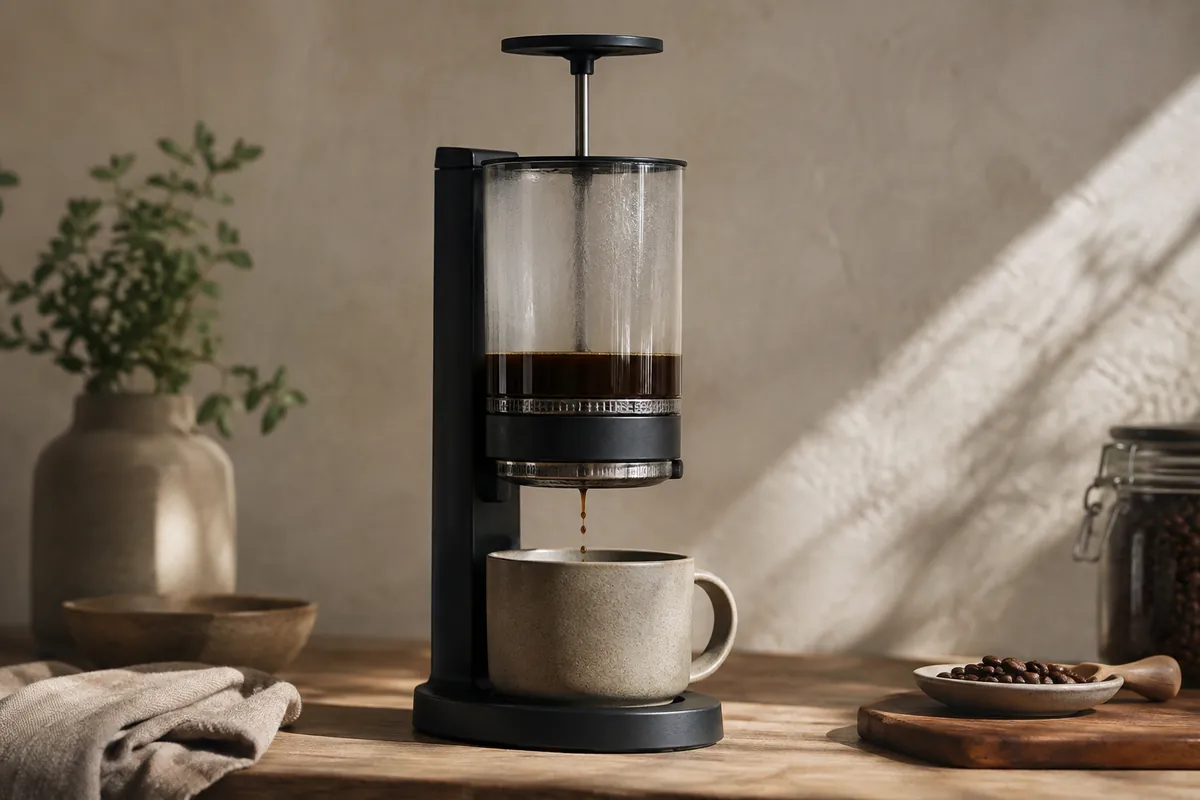
Stop when the main liquid has passed and air begins to hiss through the bed. Pressing harder at the hiss does not recover hidden sweetness. It mainly sends more air, fines, and residual liquid through the filter.
Adjust grind, time and temperature by taste
Taste the coffee after it cools enough to show sweetness and finish.
Change one variable on the next brew, because moving grind, temperature, ratio, and time together removes any chance of knowing which change helped.
| What you taste | First change | What to hold steady |
|---|---|---|
| Thin and sharply sour | Grind a little finer | Keep dose, water, temperature, and time unchanged |
| Strong but underdeveloped | Extend the steep by 15 to 30 seconds | Keep the same ratio |
| Bitter and drying | Grind a little coarser | Keep the water amount unchanged |
| Flat and muted | Use fresher coffee or slightly hotter water | Do not compensate with a much larger dose |
| Balanced but too intense | Add a measured amount of bypass water after pressing | Keep the brew itself unchanged |
| Balanced but too weak | Use slightly less brew water or a little more coffee | Do not press harder |
Finer grinding exposes more surface, longer steeping gives water more contact time, and hotter water generally increases extraction. Those controls overlap, which is why one-variable changes teach you more than dramatic recipe swaps.
Strength and extraction are different. A cup can be strong and sour when a high dose is poorly extracted, or mild and bitter when a small dose spends too long in hot water; AeroPress troubleshooting starts by separating those failures.
Roast development changes which control is most comfortable to move first. Light coffee often tolerates hotter water or a finer grind, while a dark roast can release soluble material quickly and show harshness when the same settings are copied unchanged.
Agitation is another extraction control, but it is easy to overuse because stirring feels productive. Once all grounds are wet, repeated vigorous stirring can speed extraction and increase fines migration without solving a ratio that was wrong from the start.
Dilute a balanced strong cup; extract an underdeveloped cup more fully. That distinction prevents bypass water from masking sourness and prevents longer steeping from making an already balanced concentrate bitter.
Read the resistance during the press
Normal resistance feels steady and moderate, allowing the plunger to descend over roughly 20 to 30 seconds without the mug flexing or the brewer shifting. The pressure is only finishing filtration after immersion, so speed is not the goal.
A very hard press often points to a grind that is too fine, several stacked papers, a clogged metal filter, or excessive force compacting the bed. Pushing harder can make the bed tighter, so the response should be to ease off rather than overpower it.
An unusually fast plunge can mean the grind is coarse or the paper has folded away from the cap. Inspect the spent puck and filter before changing the recipe, since a bypassed filter is an assembly problem rather than an extraction preference.
Uneven resistance can also come from pressing at an angle. The silicone edge may drag against one side of the chamber, so straighten the plunger and stabilize the mug before interpreting that friction as a coffee-bed problem.
A reusable metal filter naturally offers a different path than paper. It passes more oils and fine particles and may change resistance, which means a paper-filter recipe should be tasted and adjusted rather than assumed to transfer unchanged.
Resistance is information from the coffee bed. Treating it that way gives you a useful diagnostic before the mug is even tasted.
Adapt the baseline for concentrate or ice
For a short concentrate, keep the dose substantial while reducing brew water, then press into a small sturdy vessel. The result can carry milk or become a longer drink after pressing, but it remains pressure-finished immersion coffee rather than machine espresso.
Bypass brewing separates extraction water from drinking water. Brew a controlled concentrate first, remove it from the grounds, then add hot water until the strength suits the serving; the added water changes concentration without extracting anything further.
Short concentrate
Use less water in the chamber and serve the pressed coffee in a small cup or under a modest amount of milk.
Hot bypass
Brew concentrated, then add measured hot water after pressing for a full mug.
Over ice
Count the ice as part of final water and brew concentrated enough to remain balanced after melt.
Metal-filter cup
Expect more oils and fine particles, then adjust grind or press time if resistance changes.

For iced coffee, pressing a normal-strength hot mug over a large glass of ice usually produces a thin result. Plan the melt water before brewing by reducing hot brew water, weighing the ice, and serving as soon as the intended amount has melted.
Cleanup should happen while the puck is still warm.
Removing the cap, ejecting the puck, and rinsing the silicone seal prevents old oils and fine particles from becoming the stale flavor blamed on the next bag of coffee.
Store the plunger pushed fully through the chamber or separated so the seal is not held compressed against the wall. Let the pieces dry before nesting them, especially for travel, because trapped moisture retains odors and loose grounds.
For two servings, the standard chamber is usually better used to make a controlled concentrate and divide it before adding water. Overfilling to imitate a batch brewer reduces working space and makes sealing, stirring, and pressing harder to manage safely.
Once the baseline is repeatable, the wide recipe range becomes useful rather than confusing. The AeroPress coffee profile explains why the same brewer can produce these different cup styles, while this method gives each variation a stable place to begin.
Upright AeroPress method
- Makes
- 1 cup, about 220 ml
- Ratio
- 17 g coffee to 220 g water
- Water temp
- 85 to 92 C / 185 to 198 F
- Grind
- Medium-fine
- Total time
- 4 min
What you need
- 17 g medium-fine coffee
- 220 g water at 85 to 92 C
Equipment
- AeroPress-style brewer
- Sturdy mug
- Kettle
- Scale and timer
Method
- PrepareFit a flat rinsed paper filter and lock the cap.
- LoadSet the brewer on a sturdy mug and add the coffee.
- WetAdd water evenly and stir gently once.
- SealInsert the plunger slightly and steep to about one minute.
- PressPress gently for 20 to 30 seconds and stop at the hiss.
Common questions
What grind works for AeroPress coffee?
Medium-fine is a useful baseline for a short upright brew. Adjust one step finer for weak sour coffee or coarser when the press is hard and the cup tastes dry.
How hard should you press an AeroPress?
Use steady gentle pressure. If the plunger needs force, stop and check grind, filter placement, and the coffee bed rather than leaning harder.
Can AeroPress coffee be made over ice?
Yes, but the ice must be counted as dilution water. Brew a smaller, stronger hot concentrate over a measured amount of ice.